


Dell PowerConnect J-Series J-SRX100S/SU Services Gateway Getting Started Guide
27
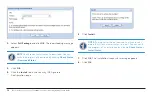
4 .3 .4 Applying the UTM Configuration Settings
4 .3 .5 Verifying the UTM Configuration Settings
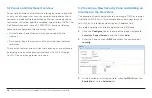
4.3.1 Enabling Anti-Virus
This section provides an example for configuring the full
file-based anti-virus scanning feature using the default
junos-av-defaults
anti-virus profile. To enable anti-virus, you
must perform the following configuration steps:
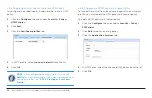
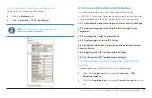
4 .3 .1 .1 Applying an Anti-Virus Profile to a UTM Policy
4 .3 .1 .2 Applying the UTM Policy to a Firewall Policy
4 .3 .1 .3 Creating an Anti-Virus Profile
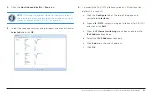
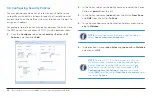
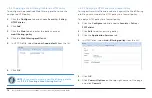
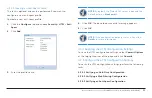
4.3.1.1 Applying an Anti-Virus Profile to a UTM Policy
To apply an anti-virus profile to a UTM policy:
NOTE:
You can either create a new UTM policy or use an
existing UTM policy (if any exits) to add Anti-Virus to it.
If
you want to create a new anti-virus profile, see
Creating an Anti-Virus Profile .”
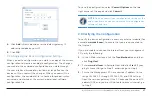
1 .
Click the
Configure
tab, choose
Security
>
Policy
>
UTM
Policies
, and then click
Add
.
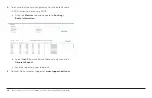
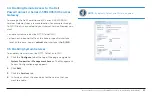
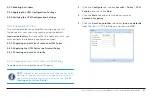
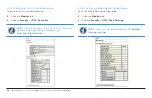
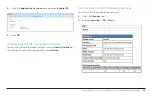
2 .
Click the
Main
tab and enter the policy name as
custom-utm-policy
.
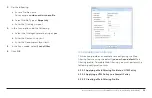
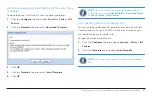
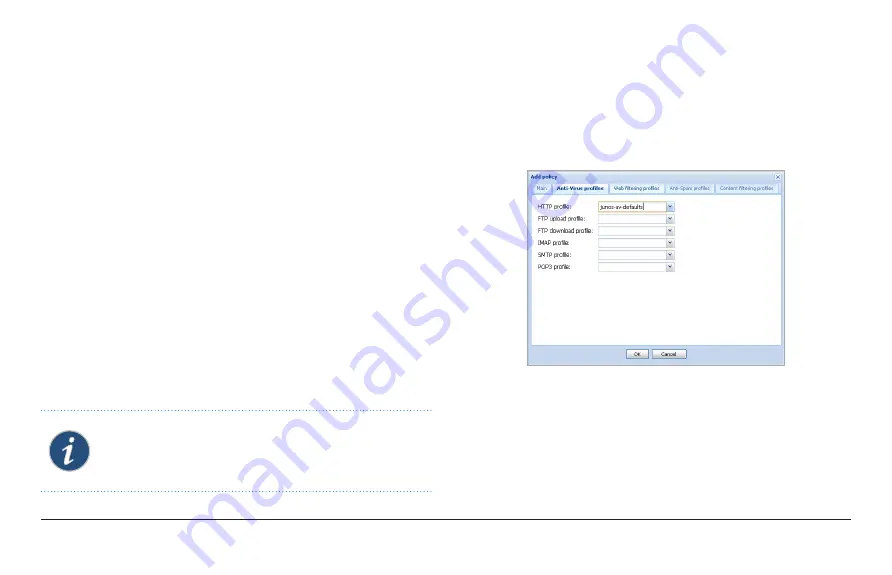
3 .
Click the
Anti-Virus profiles
tab, select
junos-av-defaults
from the list in HTTP Profile box, and then click
OK
.


