


Aspect Ratio
: Allows you to select the aspect ratio to adjust how the image appears. Options are: Origin, 16:10, 16:9, and 4:3.
•
Origin — Select Origin to maintain the aspect ratio of the image projector according to the input source.
•
16:10 — The input source scales to fit the width of the screen to project a 16:10 screen image.
•
16:9 — The input source scales to fit the width of the screen to project a 16:9 screen image.
•
4:3 — The input source scales to fit the screen and projects a 4:3 image.
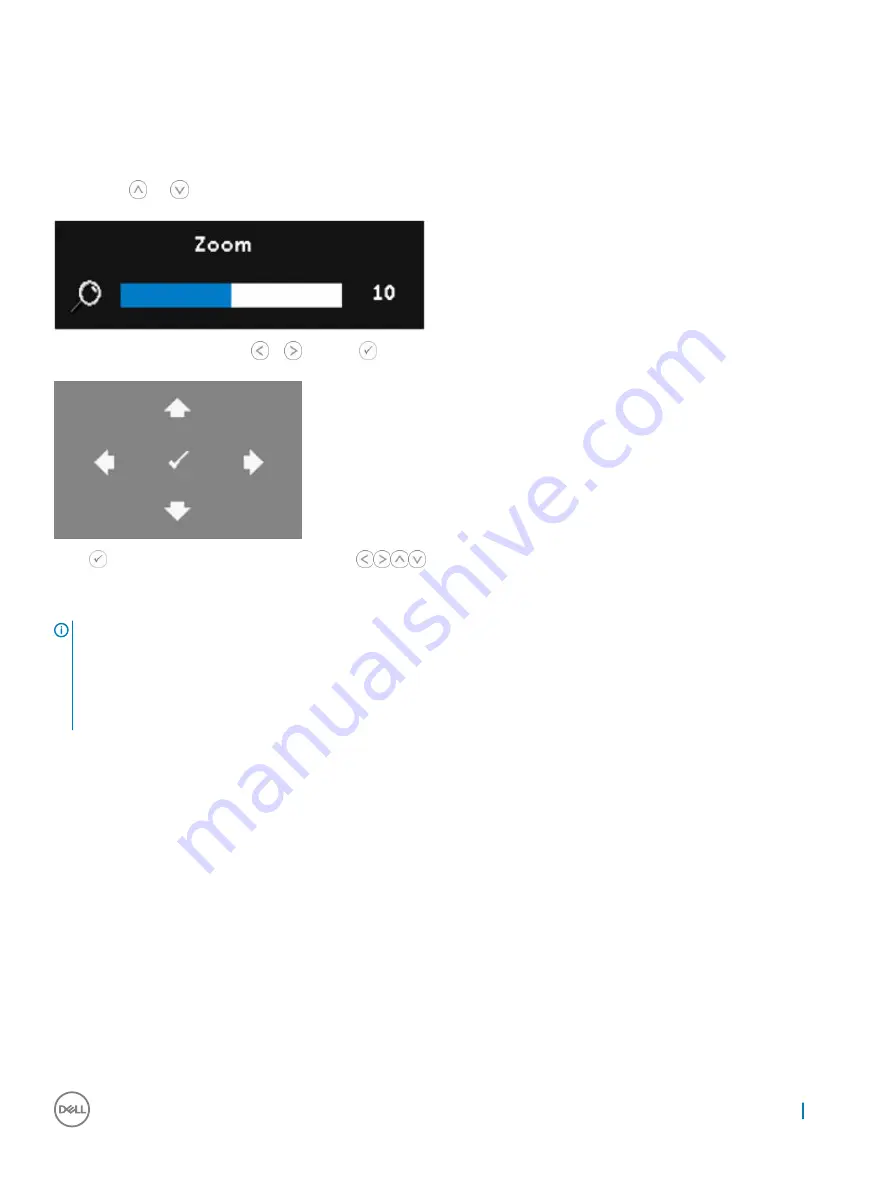
Zoom
: Press
and
to zoom and view the image.
Adjust the image scale by pressing
or
and press
to view on your remote control only.
Press
to activate the Zoom Navigation menu. Use
to navigate the projection screen.
3D Display
: Select On to activate the 3D display function (default is Off).
NOTE:
When you want to create a 3D experience, you will need a few other components including:
•
Computer/Laptop with a 120 Hz signal output quad-buffered graphics card.
•
“Active" 3D glasses with DLP Link™
•
3D content
•
3D player
2. Enable the 3D function when it satisfies any of the below-mentioned conditions:
•
Computer/Laptop with graphics card, capable of outputting at 120 Hz signal via VGA cable.
•
Input a suite of 3D content via Video.
3. "3D Display" selection will only be enabled in the "Display Settings of the Advanced Settings" menu when the projector detects either of
the inputs mentioned above.
4. 3D support and refresh rate are as below:
•
VGA/HDMI 1280 x 720, 1024 x 768, and 800 x 600 at 120 Hz
•
Composite at 60 Hz
5. The recommended VGA signal for laptops is Single-mode output (Dual mode is not recommended).
6. HDMI 1.4a 3D support rates:
•
1280 x 720p @ 50 Hz Frame Packing
•
1280 x 720p @ 59.94/60 Hz Frame Packing
Advanced Settings
25
Содержание P318S
Страница 1: ...Dell Projectors User Guide ...
Страница 15: ...Adjusting Projection Image Shape 15 ...
Страница 38: ...2 The log in page opens Enter the Administrator Password to continue 38 Dell Web Management for Projectors ...
Страница 39: ...3 The Home page opens Dell Web Management for Projectors 39 ...
Страница 40: ...4 To change language select from the drop down list and click Submit 40 Dell Web Management for Projectors ...
Страница 41: ...5 Click Network Settings tab to see the network settings Dell Web Management for Projectors 41 ...
Страница 42: ...6 Click Projector Status and Control to see the projector s status 42 Dell Web Management for Projectors ...
Страница 43: ...7 Select Power Saving frequency from the drop down list Dell Web Management for Projectors 43 ...
Страница 44: ...8 Select Projector Mode 44 Dell Web Management for Projectors ...
Страница 45: ...9 Select Source Dell Web Management for Projectors 45 ...
Страница 46: ...10 Select Video Mode 46 Dell Web Management for Projectors ...
Страница 47: ...11 Select Audio input Dell Web Management for Projectors 47 ...
Страница 48: ...12 Set E mail Alert 48 Dell Web Management for Projectors ...
Страница 49: ...13 Set a Password Dell Web Management for Projectors 49 ...
Страница 51: ...15 Access the Crestron RoomView application Dell Web Management for Projectors 51 ...


