


46
│
Operating your monitor
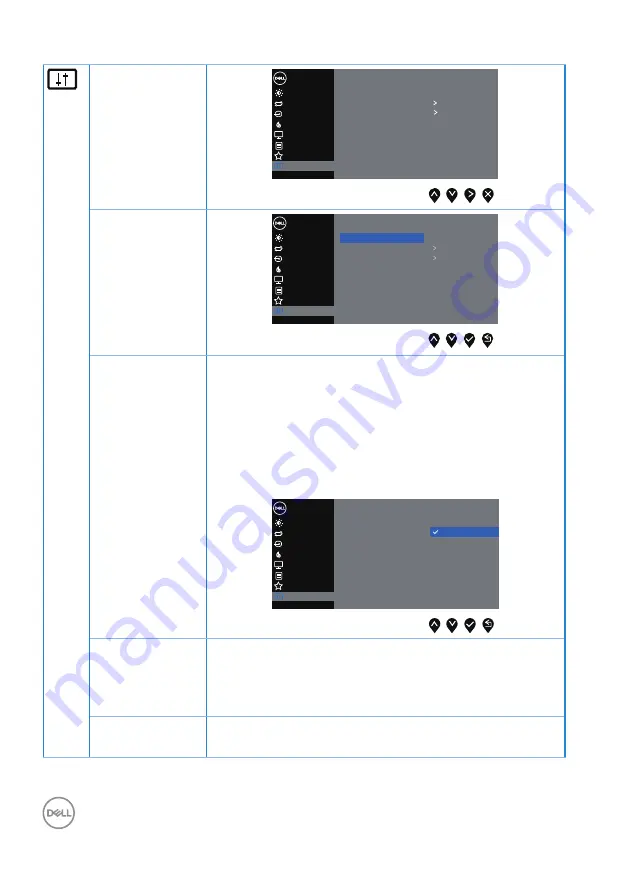
Others
Menu
Display Info
DDC/CI
LCD Conditioning
Off
Reset Others
Factory Reset
Display
Others
Personalize
Brightness / Contrast
Dell 20 Monitor
Color
On
Input Source
Auto Adjust
ENERGY STAR
®
Display Info
DDC/CI
LCD Conditioning
Reset Others
Factory Reset
Dell 20 Monitor
Menu
Display
Others
Personalize
Brightness / Contrast
Color
Input Source
Auto Adjust
Display Info
On
Off
DDC/CI
DDC/CI (display data channel/command interface)
allows your monitor parameters (brightness, color
balance and etc.) to be adjustable via the software on
your computer.
You can disable this feature by selecting off.
Enable this feature by selecting on for best user
experience and optimum performance of your monitor.
Display Info
DDC/CI
LCD Conditioning
Reset Others
Factory Reset
Dell 20 Monitor
Off
On
Menu
Display
Others
Personalize
Brightness / Contrast
Color
Input Source
Auto Adjust
LCD
Conditioning
Helps reduce minor cases of image retention. Depending
on the degree of image retention, the program may
take some time to run. To start LCD conditioning, select
on.
Reset Others
Reset all settings under the others setting menu to the
factory preset values.


