5.
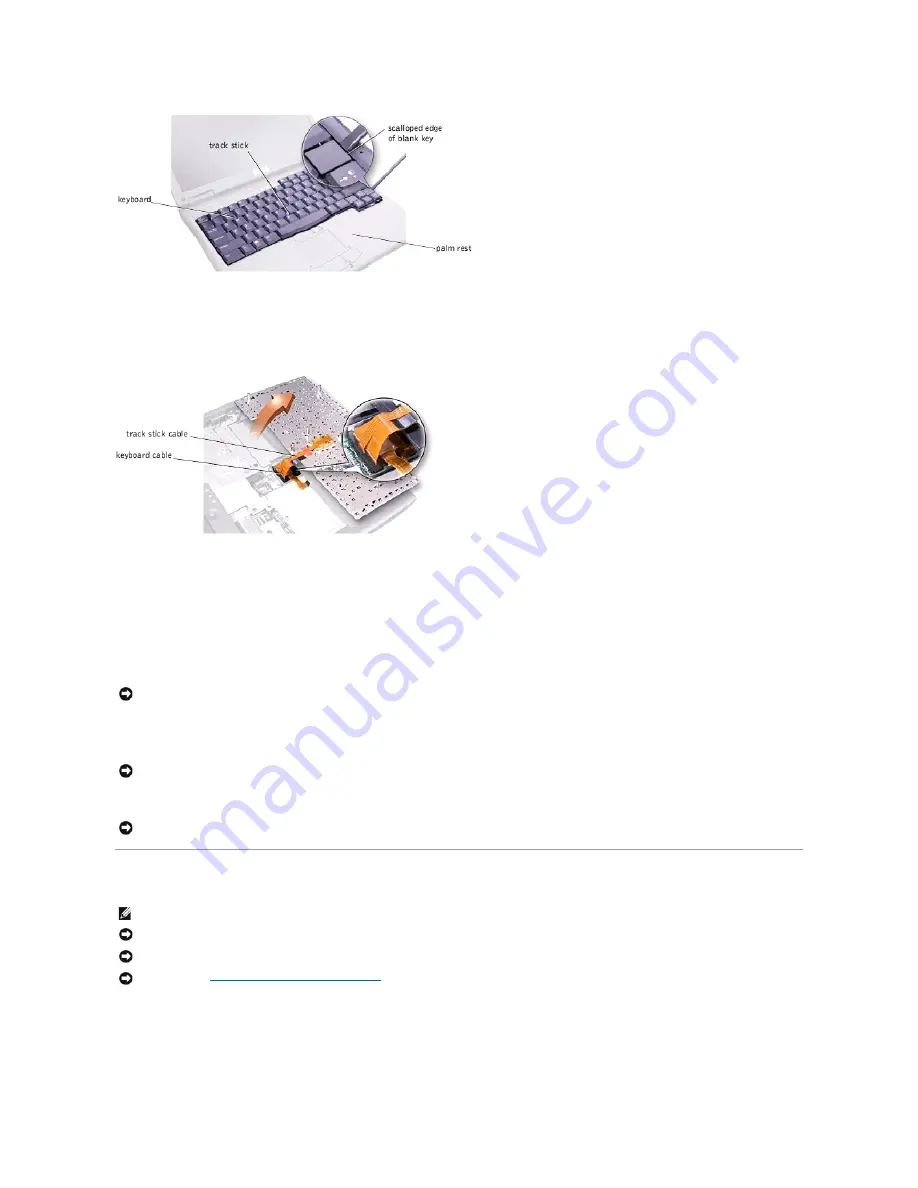
Lift the keyboard straight up until it clears the keyboard boss support in the bottom case assembly.
6.
Rotate the keyboard forward toward the front of the computer.
7.
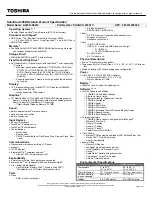
Rest the key face of the keyboard on the palm rest.
8.
Disconnect the keyboard flex cable from the interface connector on the system board assembly by pulling up on the connector.
9.
Remove the keyboard assembly from the bottom case assembly.
Replacing the Keyboard Assembly
1.
Place the keyboard on the palm rest at the front of the computer with the keys facing down and the connector toward the back of the computer.
2.
Connect the keyboard flex cable to the interface connector on the system board assembly.
3.
Carefully turn the keyboard over and fit the keyboard into place.
4.
Check that the keyboard is correctly installed. The keys should be flush with the left and right surfaces of the palm rest.
5.
Reinstall the five M2.5 x 12-mm screws in the holes labeled "circle K."
Removing the Display Assembly
NOTICE:
Position the keyboard cable so that it does not pinch when you replace the keyboard in the bottom case assembly.
NOTICE:
Make sure that the keyboard is aligned correctly to avoid stripping the screws the next time they are removed.
NOTICE:
You must remove the display assembly before you remove the palm rest assembly; the display assembly hinges pass through the back of the
palm rest assembly.
HINT:
Always remove and replace the LCD panel as a complete assembly.
NOTICE:
Disconnect the computer and any attached devices from electrical outlets, and remove any installed batteries.
NOTICE:
To avoid ESD, ground yourself by using a wrist grounding strap or by touching an unpainted metal surface on the computer.
NOTICE:
Read "
Preparing to Work Inside the Computer
" before performing the following procedure.
Содержание Inspiron 4000
Страница 42: ......


