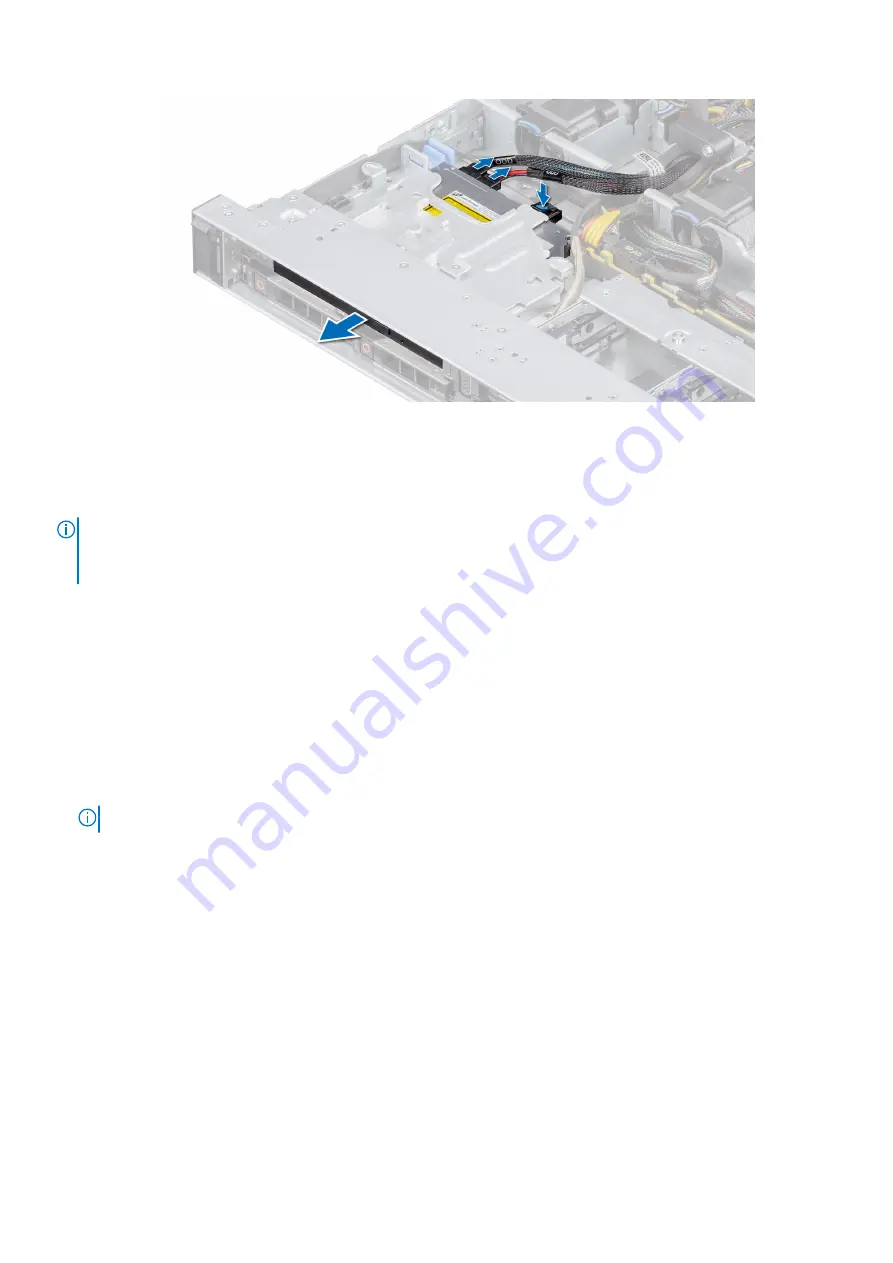
Figure 88. Removing the optical drive
Next steps
or
.
NOTE:
Blanks must be installed on empty optical drive slot to maintain FCC certification of the system. The blank also keep dust
and dirt out of the system and aid in proper cooling and airflow inside the system.
Installing the optical drive
The procedure for installing an optical drive and optical drive blank.
Prerequisites
1. Follow the safety guidelines listed in the
.
2. Follow the procedure listed in the
Before working inside your system
.
4. If installed, remove the optical drive blank by pressing the blue release tab at the back of the blank and pushing the blank out
of the system.
NOTE:
Route the cable properly when you replace it to prevent the cable from being pinched or crimped.
Steps
1. Insert the optical drive until the blue release tab locks in the slot on the system.
2. Align the optical drive with the optical drive slot on the front of the system.
Installing and removing system components
87
Содержание E45S003
Страница 6: ...Receiving automated support with SupportAssist 115 Chapter 8 Documentation resources 116 6 Contents ...
Страница 16: ...Figure 10 Service information 16 PowerEdge R6515 system overview ...
Страница 17: ...Figure 11 Memory information PowerEdge R6515 system overview 17 ...
Страница 18: ...Figure 12 System tasks Figure 13 Icon Legend 18 PowerEdge R6515 system overview ...


