12
Remote Setup using an existing DHCP Network
The TLM-170G can be remotely set up using a computer web browser and the existing DHCP
LAN. In this way a gallery of TLM-170G monitors can be set up from one computer if enough
network connections exist.
1.
Use a normal Ethernet RJ-45 patch cable, straight through, to connect TLM-170G to an
existing LAN wall socket/switch.
2.
Power on the TLM-170G monitor and press the MENU button to display the OSD menu.
3.
Using the Up / Down buttons highlight SETUP NETWORK and press ENTER.
4.
Set the menu option DHCP to ‘’ON’’ and press ENTER.
The same OSD menu screen will now show the IP address given by the network to the TLM-
170G monitor. Make a note of this displayed IP address.
5.
From a computer on the same DHCP LAN network open a web browser such as Internet
Explorer or Google Chrome. Delete the contents of the address bar at the top of the browser
window and enter the IP address of the TLM-170G that you just made a note of earlier and
press ENTER.
6.
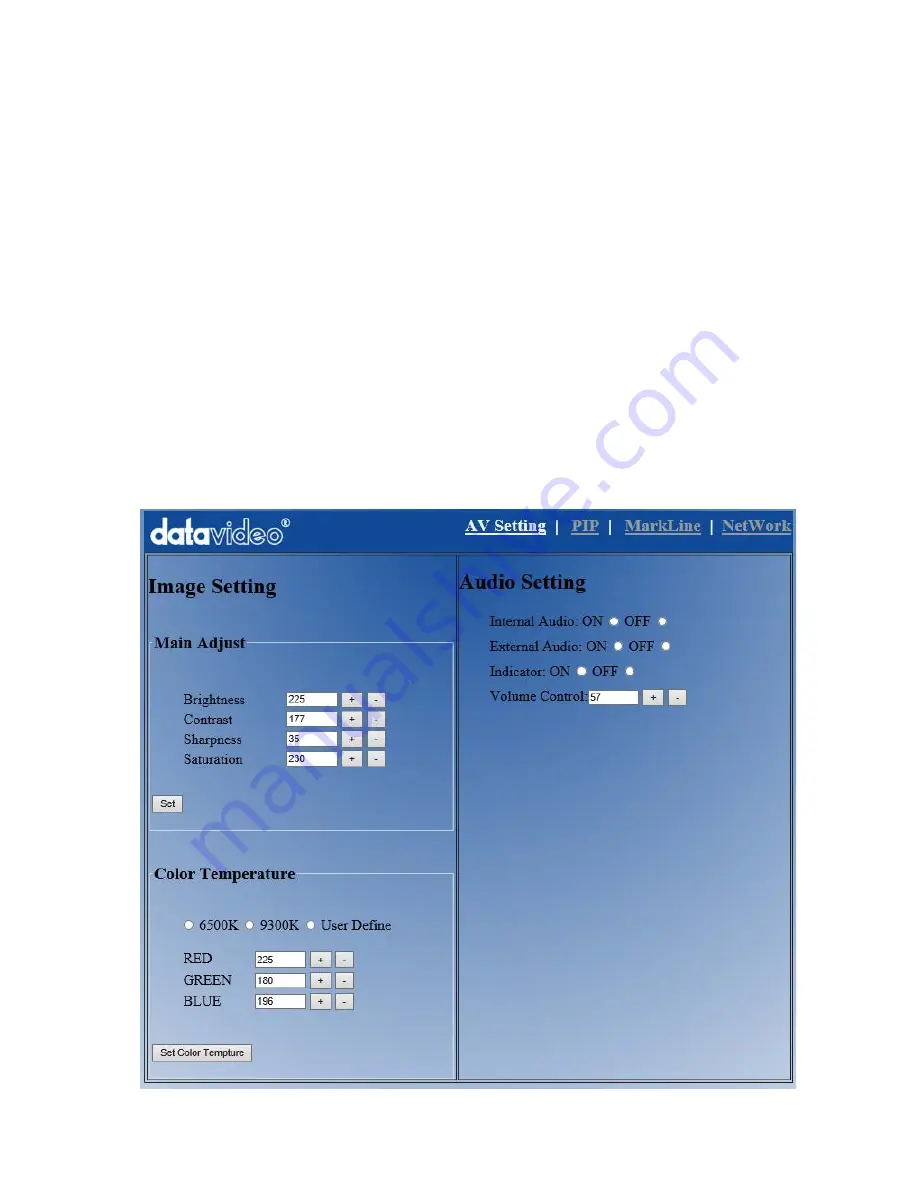
The TLM-170G REMOTE SET UP interface should now be displayed in the web browser.
7.
You can now use the computer’s mouse and keyboard to change the monitor’s settings.
Once the above steps have been completed the next time you want to change settings remotely
you can re-start from step 5.


