9
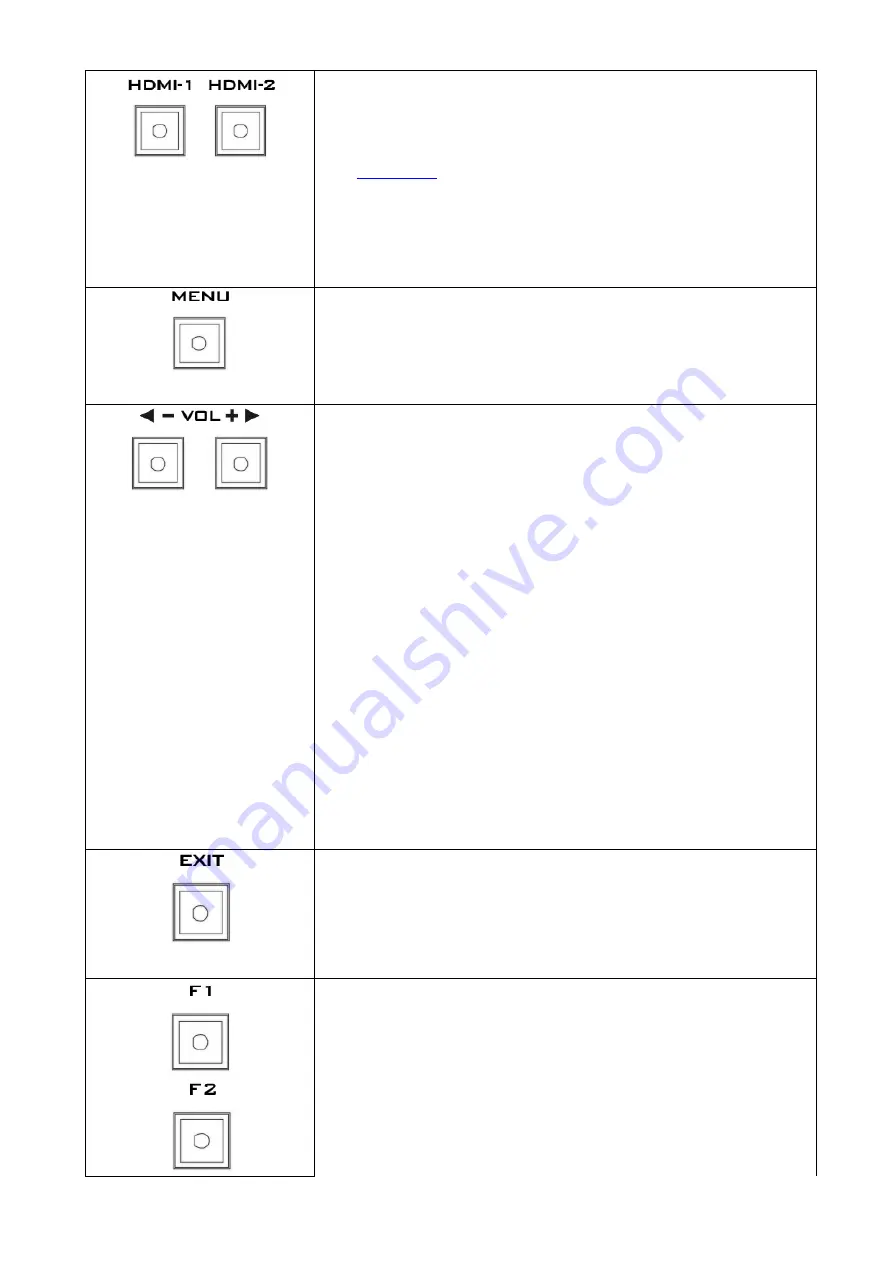
HDMI 1/2 Button
Press once to enable the HDMI video source on the monitor
screen.
Please note that the two video sources cannot be
enabled at the same time.
You can connect the loop thru port
) to a monitor to view the activated input video
source.
As the HDMI video source is activated, the corresponding button
LED will be turned ON.
MENU Button
Press the
MENU
button to open the OSD menu. Once in the OSD
menu, press the
MENU
button to make a selection.
Audio Volume Adjustment Buttons
Once in the OSD menu
, navigate the menu or increase/decrease
parameter values using the audio volume adjustment buttons.
While NOT in the OSD menu
, pressing either one of the audio
volume adjustment buttons will open a
Volume
slide bar at the
bottom of the screen. Then press the
MENU
button to switch to
other setting options as listed below:
Volume
Brightness
Contrast
Saturation
Tint
Sharpness
Exit
To adjust the parameter values, simply press the
Vol-
arrow
button to decrease the value and the
Vol+
arrow button to
increase the value.
EXIT Button
Return/Exit button
F1 – F4 Shortcut Keys
Press the F1-F4 shortcut keys to access the corresponding
function setting menus. The default function setting menus are
shown as follows:
F1: Scan
F2: Waveform
F3: Aspect
F4: Aspect Marker
Содержание TLM-170F
Страница 1: ...17 SCOPEVIEW PRODUCTION MONITOR Instruction Manual TLM 170F TLM 170FM TLM 170FR...
Страница 46: ...46 6 Dimensions mm...
Страница 49: ...49 Notes...
Страница 50: ...50 Notes...
Страница 51: ...51 Notes...


