17
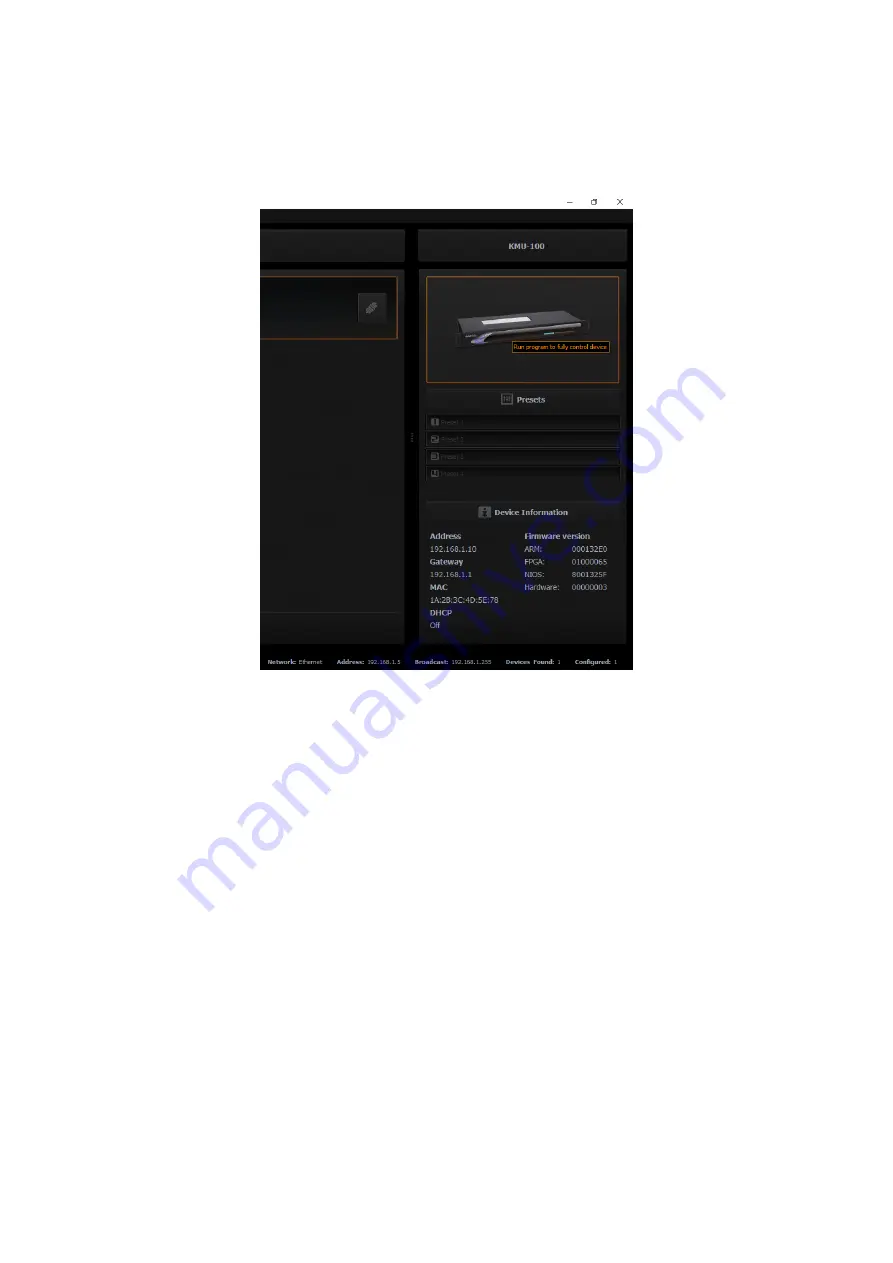
For the selected
KMU-100
device, you can load the presets with user settings from one of
four Preset slots
. You can double click the
KMU-100
device icon in the
control area
(the
rightmost KMU-100 column) to open the
KMU-100 Control Interface
as shown in the
diagram below.
The network settings are shown on the bottom of the rightmost column which is shown as
above-mentioned diagram.
Users can load one of your default settings to the selected KMU-100 device by one of the
four Preset keys.
Generally speaking, users can find all KMU-100 devices within the same network area by the
DV Link software. After the devices are connected, users can load the Preset settings and
then they can prepare to control the KMU-100 by opening the KMU-100 application
software.
Содержание KMU-100
Страница 1: ...PROCESSOR Instruction Manual ...
Страница 54: ...54 11 System Diagram of the RMC 185 and KMU 100 Connection ...
Страница 62: ...62 Power On Off Switch Switches the device ON OFF ...
Страница 81: ...81 21 Dimensions KMU 100 KMU 100 ...
Страница 82: ...82 RMC 185 RMC 185 Unit mm ...
Страница 86: ...86 Note ...
Страница 87: ...87 Note ...


