


10
Powering On
Connect the DN-400 power supply to the DC In socket. Ensure the power cable is connected to a suitable
mains socket.
Switch the power On/Off
switch to the ON position
Press the Power Button until it lights up
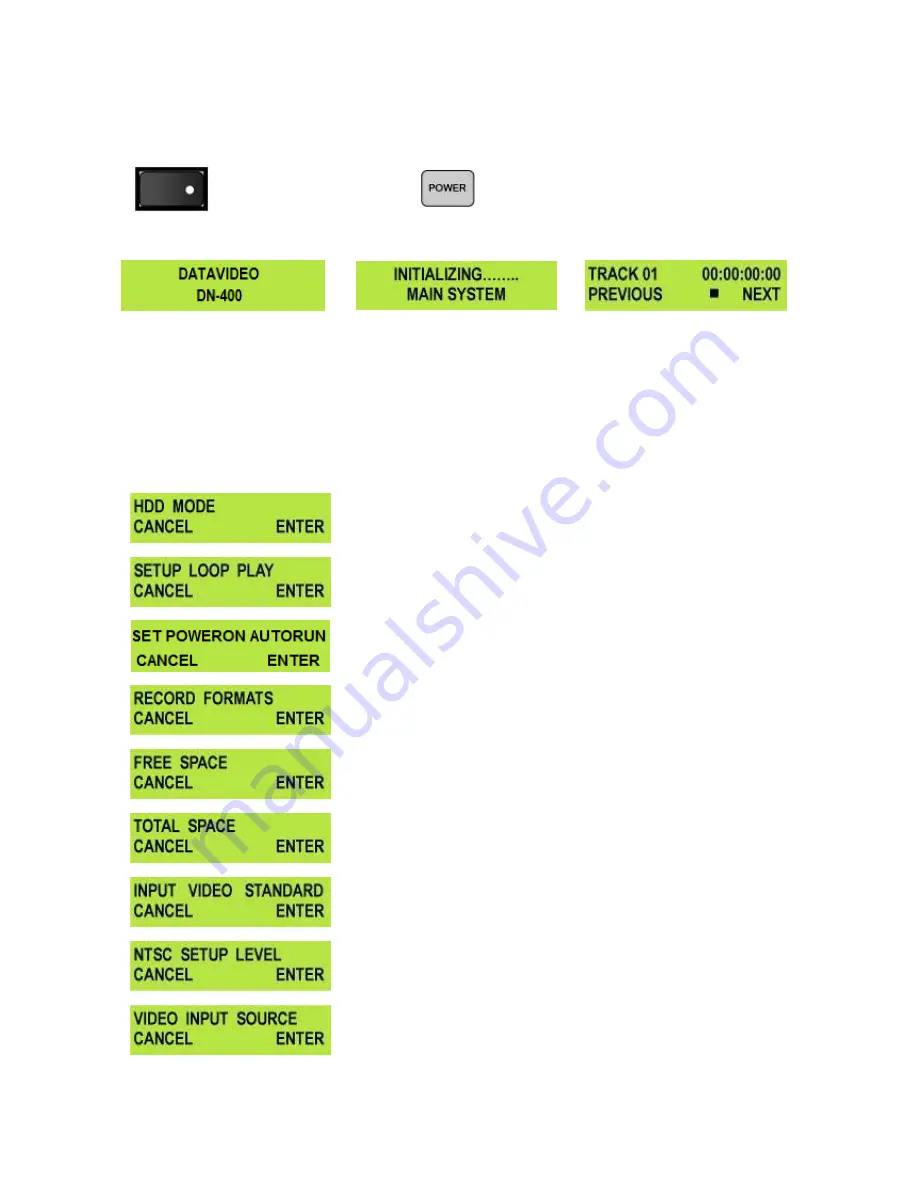
The LCD display panel should show DN-400, then initializing and after a few seconds the track display
should appear. The DN-400 is then ready for use.
Menu Options
The DN-400 is a menu driven unit; there are 24 menus which are used to initially set up the unit. The menu
settings are non-volatile (settings are stored even when the unit is switched off). So many of the settings,
such as date and time, will only need to be set once. We will look at each individual menu in more detail, but
here is a quick overview of them.
N.B. Not all menu options appear when the Video Input Button is illuminated – ensure this is off.
The 24 Menus are:
HDD MODE
– This sets the DN-400 to HDD mode for drag and drop
file transfers to a PC or MAC.
See HDD Mode Menu for more details.
SETUP LOOP PLAY
– Sets the DN-400 to loop play a track, the track
will continuously loop until stopped.
SET POWER ON AUTORUN –
Allows a chosen track to automatically
start playing out at DN-400 power on.
RECORD FORMATS
– Sets the DN-400 record format to .dv for DV
recordings or .m2t for HDV recording.
See Record Formats Menu for
more details.
FREE SPACE
– Displays how much HDD space is available on the
DN-400.
TOTAL SPACE
– Displays the total available HDD storage on the
DN-400.
INPUT VIDEO STANDARD
– Sets the DN-400 video input to
NTSC
to
PAL
.
See Input Video Standard Menu for more details.
NTSC SETUP LEVEL
– Sets the IRE Black level to 0 or 7.5 for NTSC.
7.5 IRE is most commonly used in the U.S.A. and Canada and 0 IRE
in far eastern countries such as Japan.
Not used in PAL mode.
VIDEO INPUT SOURCE
– The DN-400 has three types of Analogue
Input – select between CVBS (Composite), Component (YpbPr/YUV)
or S-Video (Y/C).
See Video Input Source Menu for more details.


