B8961 and B8962 User Manual
98
7.
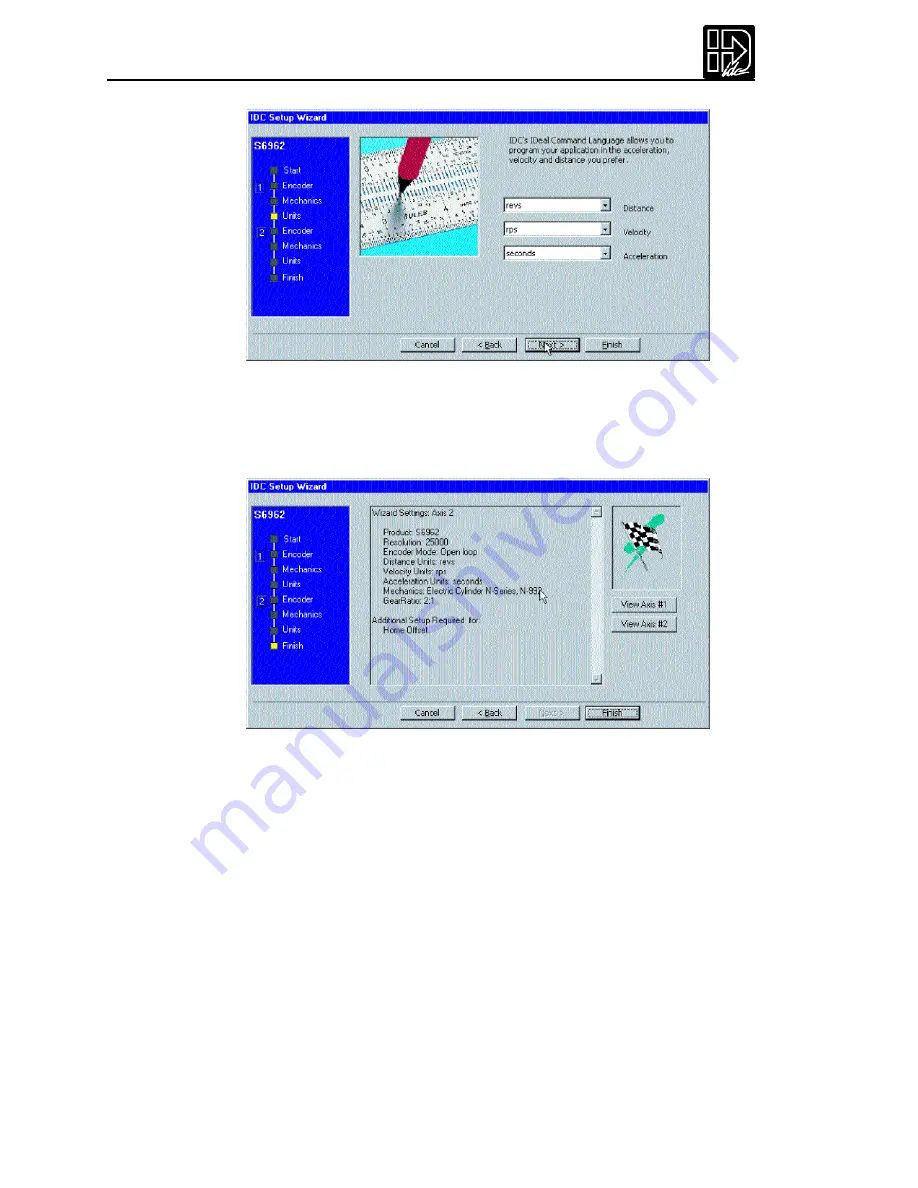
Select your preferences from the pulldown menus and click on
Next
.
8.
When all axes have been configured,the following window will appear.This
display gives you the opportunity to review the settings you have made for
each axis, and to return (using the Back button) to any parameter you may
wish to change at this time.
9.
When you are satisfied with the setup of your system, click on
Finish
. Note
that the Wizard Navigator now indicates that all axes and parameters have
been configured.
After Using the Setup Wizard
Your basic system setup parameters have been configured by the Setup Wizard,and
though the system is functional, your application will proba bly require further con-
figuration and fine-tuning.
The remainder of this chapter pr ovides the same setup information as configured
by the Setup Wizard plus more detailed information on each parameter to allow
more control of your system and greater capacity for applications.
The Setup Wizard remains available at any time by clicking on the
Wizard
button.
The
Axis Setup
,
I/O Setup
, and
Misc
toolbar buttons provide access to the setup
parameters that will be explained throughout the remainder of this chapter.
Setup Tool Bar Buttons
To access the setup windows and menus,simply click on the desired toolbar but-
Содержание B8962
Страница 111: ...109 Chapter 7 Programming with Serial Communication...
Страница 132: ...B8961 and B8962 User Manual 130...
Страница 136: ...B8961 and B8962 User Manual 134 B8961 and B8962 Hardware Connections...
Страница 137: ...135 Chapter 8 Hardware Reference B8961 and B8962 Input and Output Schematics...
Страница 138: ...B8961 and B8962 User Manual 136 Connecting IDC Limit Switches to the B8961 2...
Страница 156: ...B8961 and B8962 User Manual 154...


