Piranha4 8k Color Camera
User’s Manual
41
Teledyne DALSA
03-032-20274-00
not paper. Ideally, the white object should move during the calibration process as the
averaging process of the camera will diminish the effects on any small variation in the white
reference.
3.
The user may wish to start the calibration process by evaluating the characteristics of their
setup with no calibration enabled. This can be readily achieved by disabling FPN, PRNU &
color correction coefficients, setting white balance red, green and blue gains to one, and the
system gain to one.
4.
Begin by adjusting the system gain until the peak intensity of the three colors is at the
desired DN level. You may want to use the white balance gains to adjust the peak of each
color to be a similar DN value, but this is not necessary. Before proceeding any further, it is
desirable to complete an FPN calibration. This is best performed using a lens cap to ensure
no light gets into the camera
.
Once complete, a PRNU calibration can be performed using a
target value you want all the pixels to achieve. This target value can be higher or lower than
the peak values you observed while initially setting up the camera. Once PRNU calibration is
complete, it will take several seconds, all three colors should be at the target value, white
balance gains will have been adjusted to suit the cameras optimum setup for a balanced
white output, and the correction coefficient will be enabled. The system gain will remain as
originally set. The coefficient and gain parameters, timing and control configuration etc can
be stored in any one of eight user sets and automatically retrieved at power up or by user
selection. If a color correction matrix is desired, the user can enter and save a color
correction matrix derived from the process described above.
Note:
For the color correction to
be effective, the camera should have a white balanced output when color correction is off.
5.
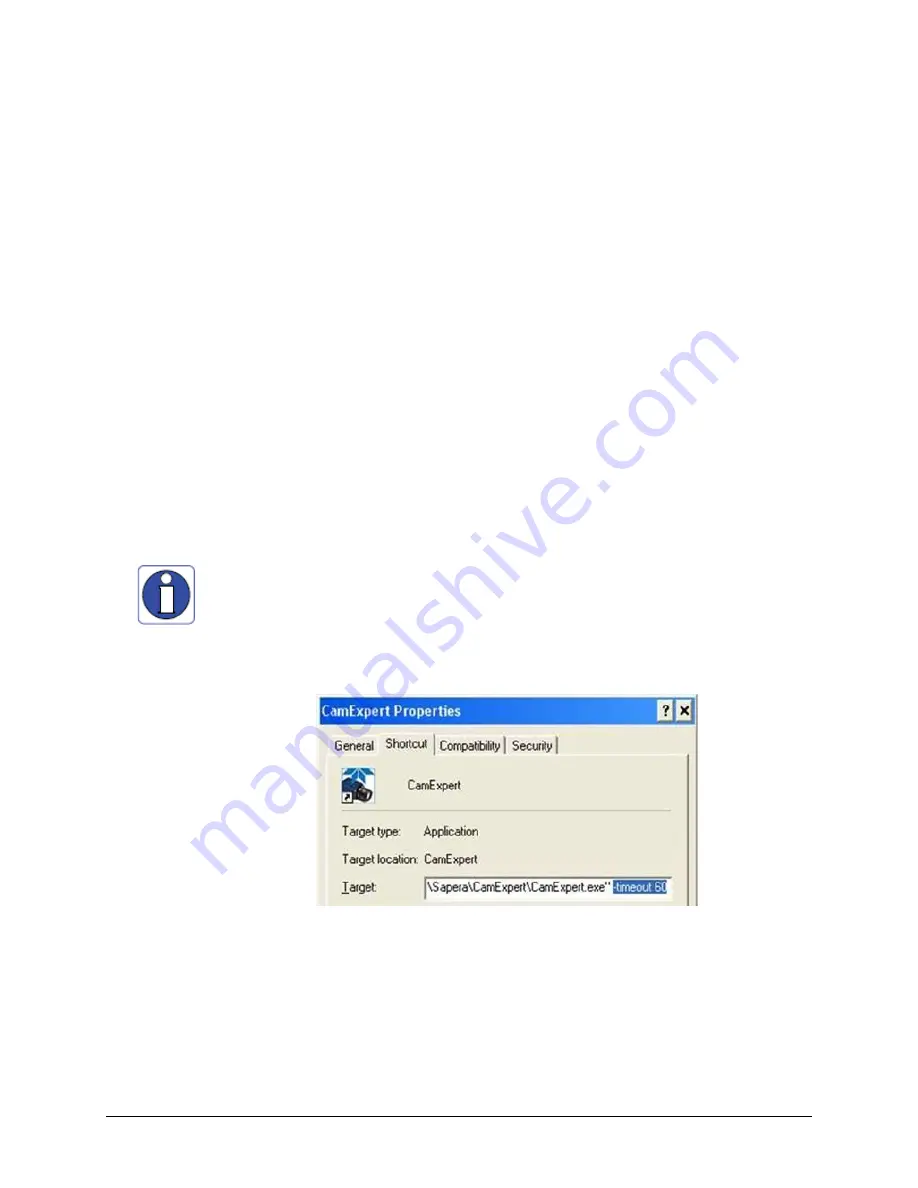
CamExpert has a default timeout of 20 seconds per command, which is too short for
the FFC calibration to run fully. You can change the default timeout by setting a
command line argument in the short-cut:
Right click on the short-cut in the start menu and select properties.
Add –timeout 60 to increase the command timeout to 60 seconds (See
below).
Note
that you must include a character space between the closing
quotation mark in the target and the hyphen before the timeout value.
Repeat for desktop short-cut
Figure 20: Setting the camera’s timeout value
1. Flat Field
This Flat Field set contains a number of features that are used to correct image distortion
due to lens vignetting and uneven illumination. .
Note
:
1.
Flat field coefficients consist of an offset and gain for each pixel.


