Genie Monochrome Series-GigE Vision Camera
Operational Reference
65
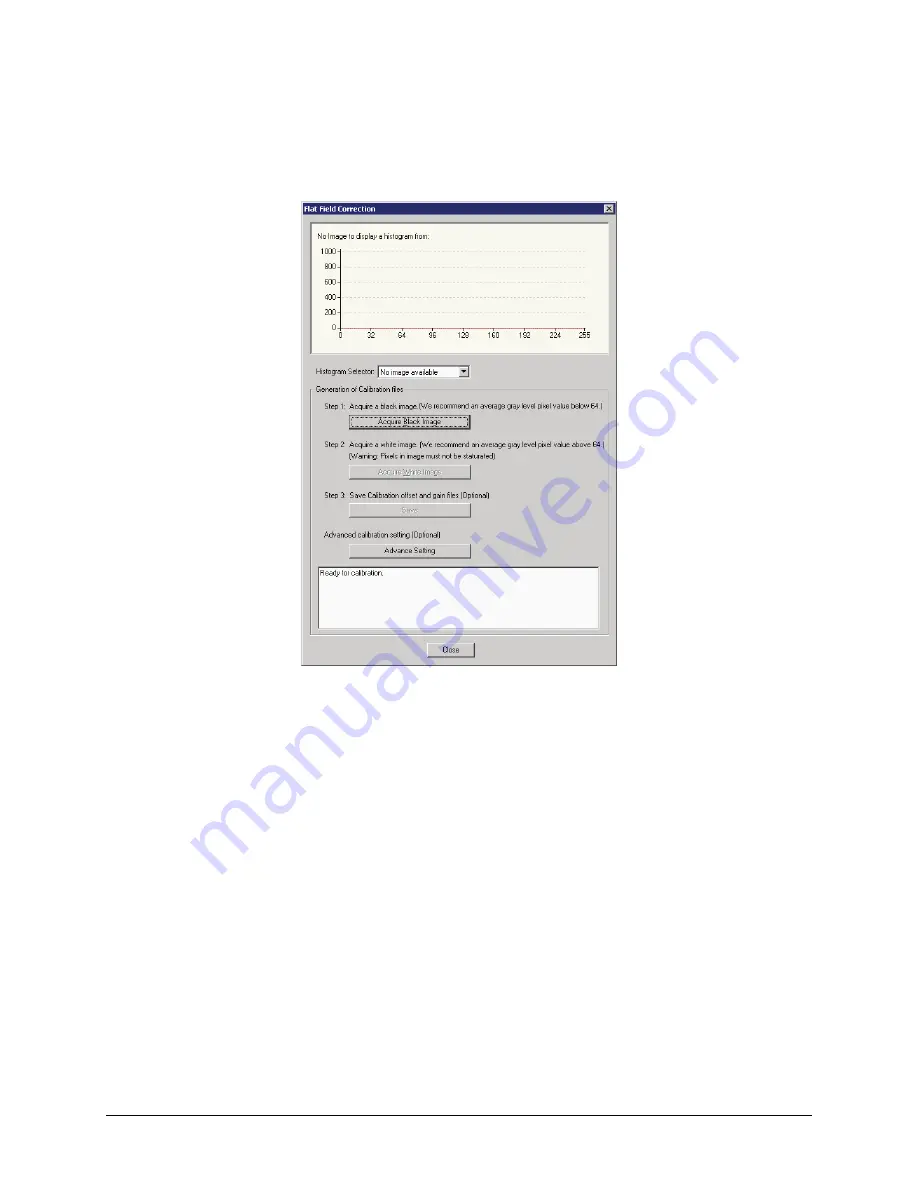
Flat Field Calibration Window
The Flat Field calibration window provides a three step process to acquire two reference images and then save the
flat field correction data for the Genie used. To aid in determining if the reference images are valid, a histogram tool
is provided so that the user can review the images used for the correction data.
CamExpert Flat Field Calibration Menu
Click on the
Advanced Setting
button to change the default number of frames averaged for each calibration
step. The default value is 10 frames.
Setup the camera to capture a uniform black image. Black paper with no illumination and the camera lens’ iris
closed to minimum can provide such a black image. Or cover the lens with a black lens cap.
Click on
Acquire Black Image
. The flat field calibration tool will grab video frames, analyze the pixel gray
level spread, and present the statistics. The desired black reference image should have pixel values less then 20.
If the results are acceptable, accept the image as the black reference.
Setup the camera to acquire a uniform white image (but not saturated white). Even illumination on white paper
can be used, with a gray level of minimum of 128 (8-bit mode). It is preferable to prepare for the white level
calibration step before starting the calibration procedure (see the previous section Set up Dark and Bright
Acquisitions with the Histogram Tool for information).
Click on
Acquire White Image
. The flat field demo will grab video frames, analyze the pixel gray level
spread, and present the statistics. The captured gray level for all pixels should be greater than 128 but not
saturated. If the histogram shows a good grab accept the image as the white reference.
Click on
Save
. The flat field correction data is saved as a TIF image with a file name of your choice
(suggestions are the camera name and its serial number).


