Replacing Parts
29
10 Replacing Parts
Module Replacement
Note:
When removing modules, do not allow them to hang by the cables.
1�
Turn off power to the display.
2�
Locate the latch fastener on the module. It is centered in the third row of LEDs from
the top of the module. Refer to
. Turn the
1
/
8
" hex head wrench a quarter turn
counter-clockwise.
3�
Gently tip the top of the module outward slightly. Then lift the module upward to
disengage the tabs at the bottom of the module from the slots on the display's face
sheet.
4�
Disconnect the power cable.
5�
Carefully disconnect the two signal cables from the module.
6�
Connect the two signal cables to the new module.
7�
Connect the power cable.
8�
Insert the tabs at the bottom of the module in the corresponding slots on the display
. Tip the top of the module back into place and latch it
by turning the hex head wrench a quarter-turn clockwise. Make sure not to pinch any
cables.
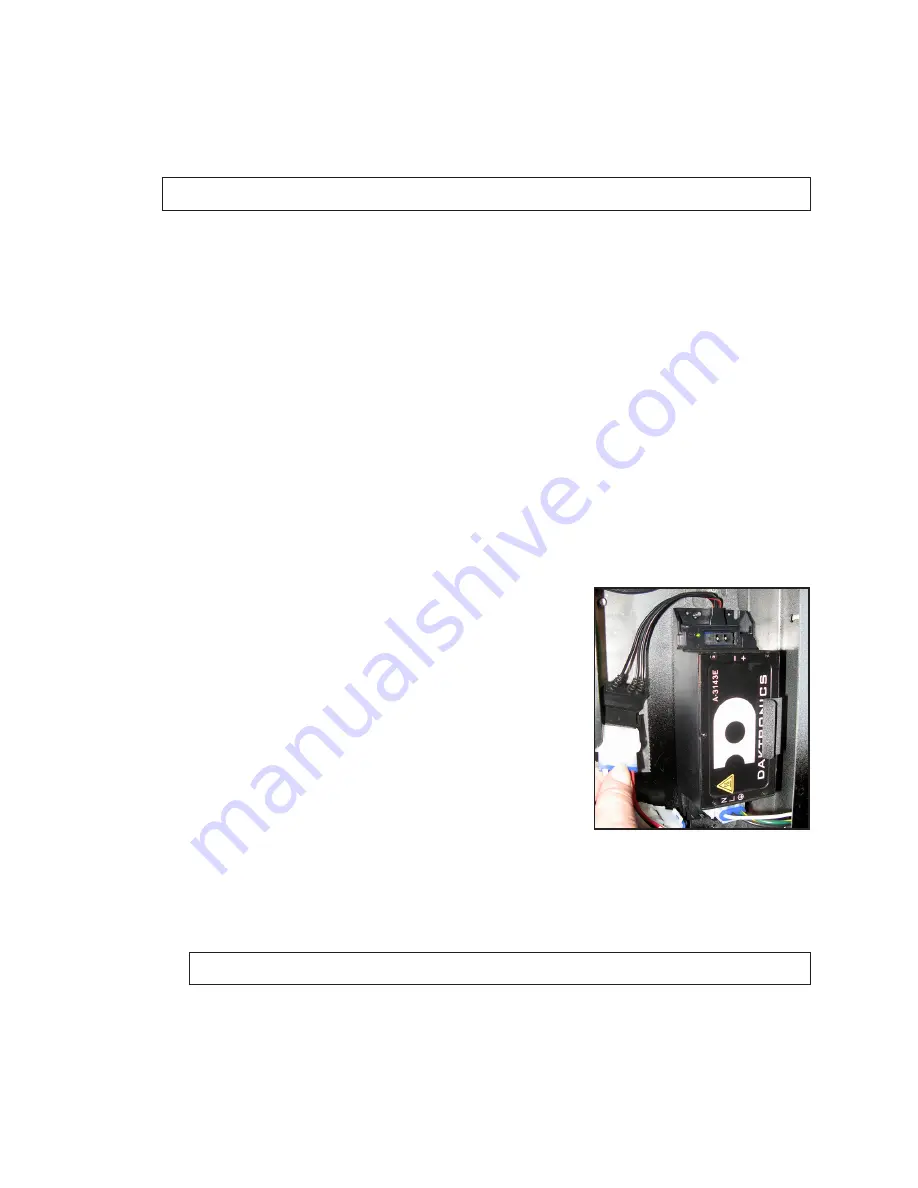
Power Supply Replacement
1�
Disconnect the power supply from both wiring
harnesses connected to it. Refer to
.
2�
Push the tab holding the power supply in place to the
side.
3�
Carefully pull the power supply outward.
4�
Insert new power supply into mounting bracket by
pushing the bracket tab to the side.
5�
After securing the new power supply, reconnect the
wiring harnesses disconnected in step 1.
Controller Replacement
Consult the Electrical Layout drawing to locate the
controller. The controller is located in the left area of the display. Refer to
.
1�
Remove the modules in front of the controller.
Note:
Do not allow the modules to hang by their cables
2�
Disconnect the cables from the controller.
3�
Loosen the four nuts connecting the controller to the back of the display.
4�
Carefully lift the controller out of the display.
5�
Insert the new controller and tighten all four nuts.
Figure 21:
Power Supply
Mounting
Содержание GALAXY ECCB Series
Страница 4: ...This page intentionally left blank...
Страница 6: ...Introduction 2 Retrofit Kit Parts eCCB Display s Interconnect cables...
Страница 25: ...Display Communication 21 3 Tap Done...
Страница 40: ...This page intentionally left blank...


