background image

Dakota Ultrasonics 


This is a bottom view of a typical transducer.  The two semicircles of the wear face 
are visible, as is the barrier separating them.  One of the semicircles is responsible 
for conducting ultrasonic sound into the material being measured, and the other 
semicircle is responsible for conducting the echoed sound back into the transducer.  
When the transducer is placed against the material being measured, it is the area 
directly beneath the center of the wear face that is being measured. 


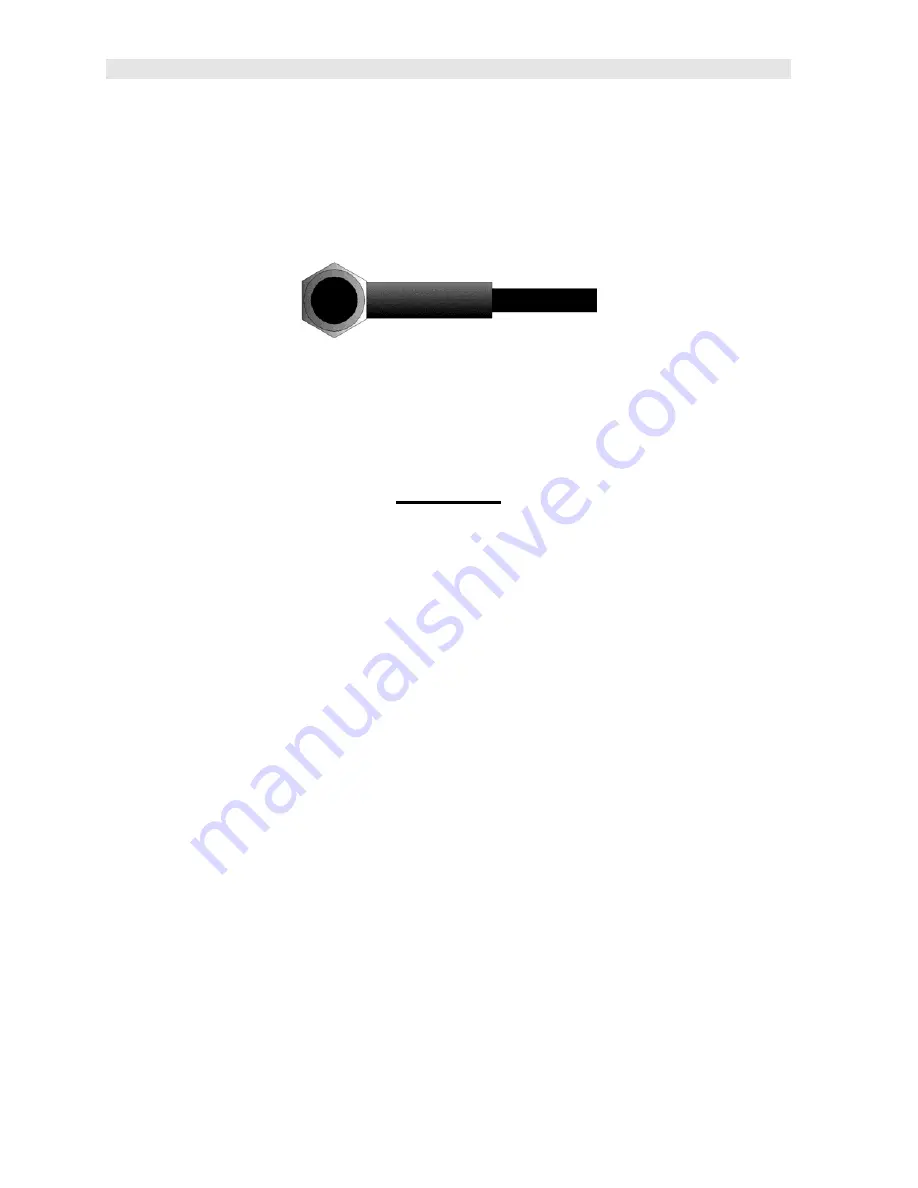
This is a top view of a typical transducer.  Press against the top with the thumb or 
index finger to hold the transducer in place.  Moderate pressure is sufficient, as it is 
only necessary to keep the transducer stationary, and the wear face seated flat 
against the surface of the material being measured. 
 

Measuring 

 
In order for the transducer to do its job, there must be no air gaps between the wear-
face and the surface of the material being measured.  This is accomplished with the 
use of a "coupling" fluid, commonly called "couplant".  This fluid serves to "couple", or 
transfer, the ultrasonic sound waves from the transducer, into the material, and back 
again.  Before attempting to make a measurement, a small amount of couplant 
should be applied to the surface of the material being measured.  Typically, a single 
droplet of couplant is sufficient. 
 
After applying couplant, press the transducer (wear face down) firmly against the 
area to be measured.  The Stability Indicator should have six or seven bars 
darkened, and a number should appear in the display.  If the 

ZX-1

 has been properly 

"zeroed" (see page 13) and set to the correct sound velocity (see page 14), the 
number in the display will indicate the actual thickness of the material directly 
beneath the transducer. 
 
If the Stability Indicator has fewer than five bars darkened, or the numbers on the 
display seem erratic, first check to make sure that there is an adequate film of 
couplant beneath the transducer, and that the transducer is seated flat against the 
material.  If the condition persists, it may be necessary to select a different transducer 
(size or frequency) for the material being measured.  See page 11 for information on 
transducer selection. 
 
While the transducer is in contact with the material that is being measured, the 

ZX-1


will perform four measurements every second, updating its display as it does so.  

Содержание ZX-1

Страница 1: ...Web https www abqindustrial net E mail info abqindustrial net Distributed by ABQ Industrial LP USA Tel 1 281 516 9292 888 275 5772 eFax 1 866 234 0451 Web https www abqindustrial net E mail info abqi...

Страница 2: ...ENT 8 3 1 TIME VERSUS THICKNESS RELATIONSHIP 8 3 2 SUITABILITY OF MATERIALS 8 3 3 RANGE OF MEASUREMENT AND ACCURACY 8 3 4 COUPLANT 8 3 5 TEMPERATURE 9 3 6 MEASUREMENT MODES 9 CHAPTER FOUR SELECTING TH...

Страница 3: ...ed in this manual Customer support may be reached at any of the following Dakota Ultrasonics Corporation 1500 Green Hills Road 107 Scotts Valley CA 95066 Tel 831 431 9722 Fax 831 431 9723 www dakotaul...

Страница 4: ...he ENTER key similar to a computer keyboard This key will be used to select or set a menu option Note Unit will automatically power off when idle for 5 minutes All current settings are automatically s...

Страница 5: ...T Key The LIGHT key accesses the backlight setting of the LCD display The backlight has three setting options ON OFF AUTO The auto option will only illuminate the display when the ZX 1 is measuring or...

Страница 6: ...ill be displayed and blinking to let a user know when they are in an edit mode to change a value or setting B Large 7 segment The thickness measurement velocity or alpha message will be displayed in t...

Страница 7: ...t will be displayed in alpha characters indicating the material type Otherwise it will be set to CUST indicating custom material type K Features The ZX 1 can be locked once calibrated to avoid acciden...

Страница 8: ...trasonic sound waves from the transducer into the material and back again Before attempting to make a measurement a small amount of couplant should be applied to the surface of the material being meas...

Страница 9: ...polarity associated with connecting the transducer to the ZX 1 it can be plugged into the gauge in either direction Probe Zero Disk Battery Cover Refer to Diagram The Battery cover is the large round...

Страница 10: ...ss measurement is practical in a wide variety of materials including metals plastics and glass Materials that are difficult include some cast materials concrete wood fiberglass and some rubber 3 3 Ran...

Страница 11: ...minimize these errors 3 6 Measurement Modes This section will cover the different measurements modes of the ZX 1 the transducers required and the reasons for using specific modes Pulse Echo P E Mode P...

Страница 12: ...m one element to another the time versus thickness relationship is non linear Therefore a correction table in the instruments software is used to compensate for this error Dual Element Transducer show...

Страница 13: ...ss are required while still requiring the ability to detect flaws and pits A special coating style transducer is required for use in this mode There are a variety of coating transducers in various fre...

Страница 14: ...inherent surface noise issues or mirroring effect Higher frequency transducers 7 10MHz offer improved resolution to avoid erroneous measurements Restricted access Measuring materials with extreme cur...

Страница 15: ...the material on the chart in the appendix of this manual Refer to the section below on Material Calibration for instructions on manually adjusting the velocity using a reference point s standard s To...

Страница 16: ...ch is about 0 248 inches per microsecond If the gauge is not set to the correct sound velocity all of the measurements the gauge makes will be erroneous by some amount If the material velocity is know...

Страница 17: ...t saving any changes 3 Press the key to set the velocity value and return to the measurement screen The new velocity value will be shown at the top of the display CHECK YOUR CALIBRATION Place the tran...

Страница 18: ...s a custom glass segmented display that is equipped with a backlight for use in low light conditions The options are on off auto where the auto setting only lights the display when the gauge is couple...

Страница 19: ...lock feature was built into the ZX 1 for the purpose of locking the operators out of editing any of the gauge settings for purposes of consistency between operators When the lock feature is enabled th...

Страница 20: ...the original gauge settings This should only be used if the gauge is not functioning properly or perhaps multiple features have been enabled and a clean start is needed The procedure to reset the gau...

Страница 21: ...0 1280 3251 Inconel 0 2290 5817 Iron 0 2320 5893 Cast Iron 0 1800 approx 4572 Lead 0 0850 2159 Magnesium 0 2300 5842 Mercury 0 0570 1448 Molybdenum 0 2460 6248 Monel 0 2110 5359 Nickel 0 2220 5639 Nyl...

Страница 22: ...Dakota Ultrasonics 20 Tin 0 1310 3327 Titanium 0 2400 6096 Tungsten 0 2040 5182 Uranium 0 1330 3378 Water 0 0580 1473 Zinc 0 1660 4216 Zirconium 0 1830 4648...

Страница 23: ...st be observed At temperatures above this point the change in sound velocity of the material being measured starts to have a noticeable effect upon ultrasonic measurement At such elevated temperatures...

Страница 24: ...mize error is another option An additional important consideration when measuring laminates is that many included air gaps or pockets which will cause an early reflection of the ultrasound beam This e...

Страница 25: ...tates or provinces do not allow limitations on the duration of an implied warranty so the above limitation or exclusion may not apply to you However any implied warranty of merchantability or fitness...

Отзывы: