14CX
18
REV#072023
Squaring Table to Blade
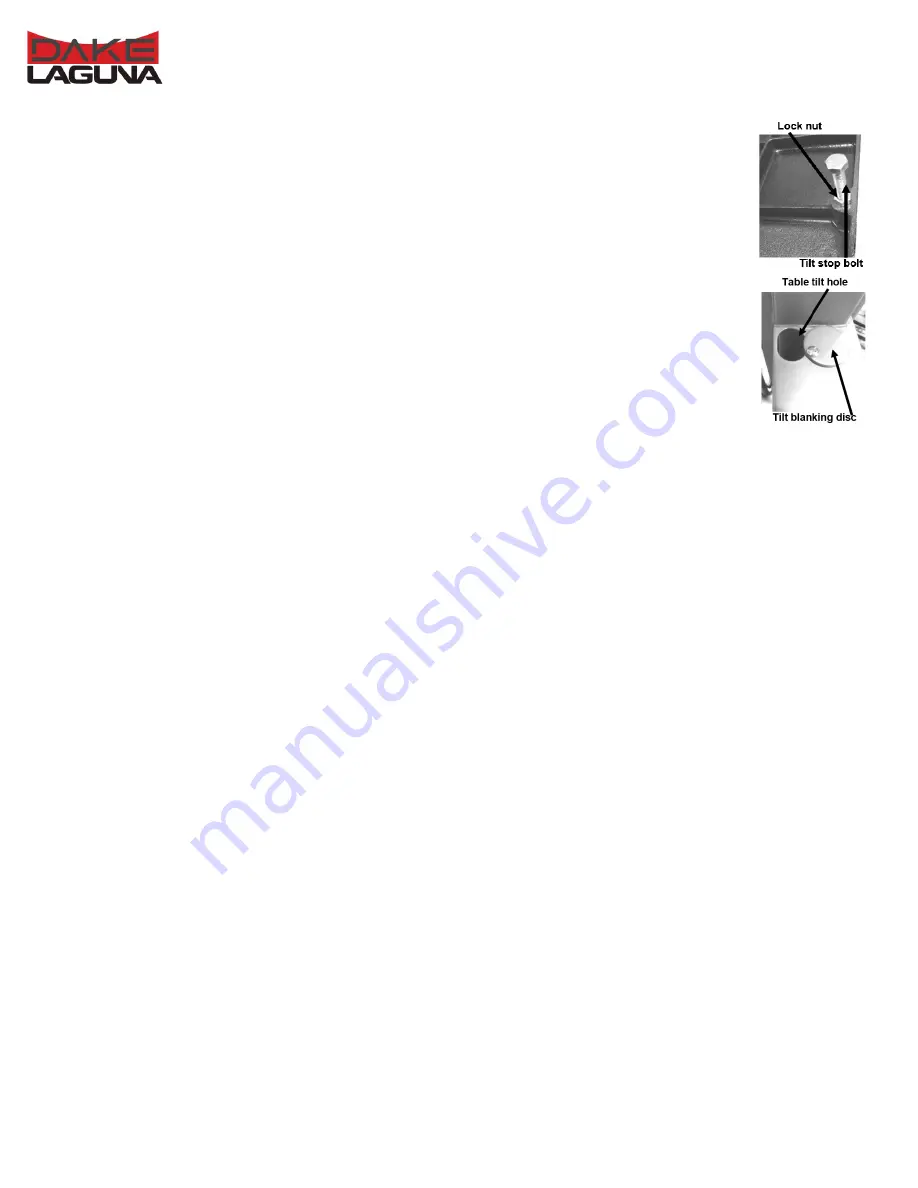
1. Check that the stop bolt is in contact with the tilt-blanking disc.
2. Place a square on the tabletop and bring it up to the side of the blade.
3. Check if the blade is square to the table.
4. If adjustment is required loosen the lock nut on the tilt-stop bolt and adjust in the
required direction.
NOTE:
Only adjust the tilt-stop bolt in small increments.
5. Tighten the lock nut and re-check the blade squareness to the table.
6. If additional adjustment is required repeat the above steps.
Adjusting Table Tilt:
1. Loosen lock nut and stop bolt until it does not contact the table underneath the
worktable.
2. On both side of the worktable, there are 2 locking levers. Loosen them both then the table is free
to move to the desired angle of cut.
3. Pivot the worktable referencing to the protractor angle to set the angle of cut.
4. Tighten the level handles, stop bolt, and locking nut to secure the wanted angle. CW is 45
degrees, CCW is 7 degrees degree of freedom.
Fence Assembly Adjustment:
This will change the accuracy length cut of the workpiece. Check the clearance between the table
and the fence. The fence should not rub against the table surface but be slightly above it. This gap
should be the same at the front of the table as it is at the rear.
1. Loosen the fence locking wheel located on the fence assembly.
2. The fence is now free to move vertically along the worktable.
3. Once in the desired spot, lock the fence in place by tightening the locking screw.
Содержание LAGUNA 14CX
Страница 26: ...14CX 26 REV 072023 WIRING DIAGRAMS...
Страница 27: ...14CX 27 REV 072023...


