background image

3  System Operation 

Note: 


Fingerprint record is in Appendix 1.   


Input of text is in Appendix 2.   

3.1 

Attendance 

Warning: 

During attendance, please DO NOT change system config, system time or power off the 

device, since these will cause abnormal attendance.   


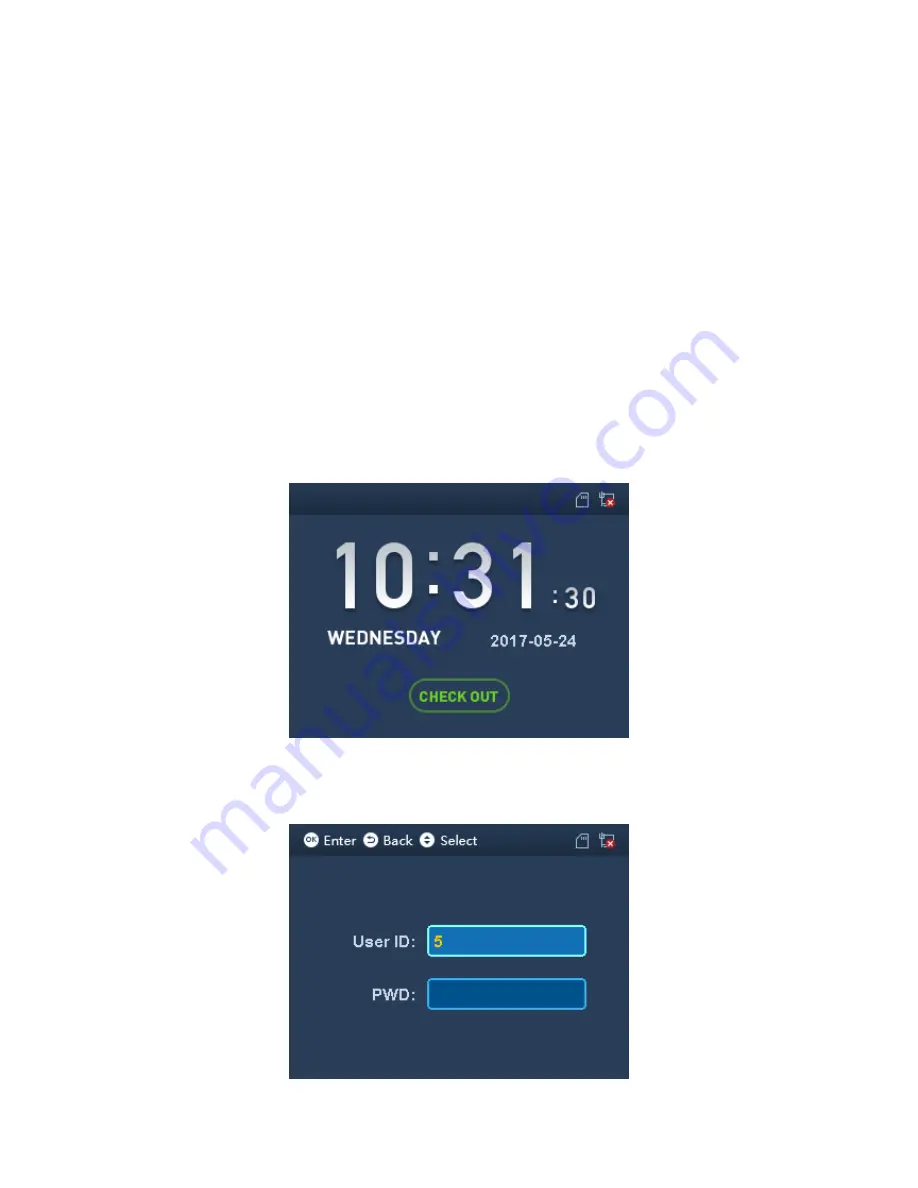
Plug the device to power, device boots up and shows time info, see Figure 3-1. 

Note: 

If you did not operate over 45s in one page, it will return to standby page.   


Figure 3-1 


Click number key, see Figure 3-2. Enter user ID and password can pass attendance.   


Содержание ASA2212A

Страница 1: ...1 Time Attendance User s Manual V1 0 0...

Страница 2: ...tem Operation 6 3 1 Attendance 6 3 2 Main Menu 7 3 3 User 8 3 3 1 New User 8 3 3 2 Search and Edit User 10 3 3 3 New Department 12 3 3 4 Edit and Delete Department 12 3 4 Shift 14 3 4 1 Set Shift 14 3...

Страница 3: ...2 Volume 32 3 7 3 Restore 32 3 7 4 Relay Mode 33 3 7 5 Restart Device 34 3 8 Communication 34 3 9 USB 35 3 9 1 Export User Info 35 3 9 2 Firmware Update 36 3 10 System Info 36 4 Daily Operation 37 5...

Страница 4: ...semble the device without professional instruction Please transport use and store the product under appropriate temperature and humidity Warning Please use button cell properly to avoid fire explosion...

Страница 5: ...If there is any uncertainty or controversy please refer to the final explanation of us Please visit our website for more information...

Страница 6: ...ol and etc Time attendance functions Touch button LCD display TCP IP protocol Fixed and flexible attendance mode Card fingerprint or password 3000 fingerprints and 1000 users 150 000 card records Simp...

Страница 7: ...Used to fix bracket for concealed mount 5 M3 6 inner hex sunk head screw 1 Used to fix device from bottom to installation bracket 6 T10 inner hex wrench 1 7 Screws 1 pack ST3 18 self tapping screw 4 E...

Страница 8: ...Figure 2 1 Icon Note 0 9 Number key for number and letter input Return or exit Up Down Enter or confirm Switch between function or input Delete Chart 2 2 Figure 2 2...

Страница 9: ...Figure 2 3 Port Note 12VIN DC 12V power GND GND PUSH Unlock NC BELL Lock NC or BELL disconnect triggered COM BELL Lock COM or BELL NO BELL Lock NO or BELL close triggered Chart 2 3...

Страница 10: ...2 3 Appearance Dimensions Figure 2 4...

Страница 11: ...to the hole Step 2 Install bracket If there is concealed mount fix bracket on concealed mount with screw A If there is no direct mount or cannot be well fixed fix bracket on wall with screw B You must...

Страница 12: ...change system config system time or power off the device since these will cause abnormal attendance Plug the device to power device boots up and shows time info see Figure 3 1 Note If you did not oper...

Страница 13: ...Connect to platform and sync status to platform used on platform After you pass personal attendance click to show personal attendance record see Figure 3 3 and Figure 3 4 Figure 3 3 Figure 3 4 Note A...

Страница 14: ...you insert SD card you can see at the upper right corner When you connect the device to network you can see at the upper right corner If disconnected you can see 3 3 User 3 3 1 New User You can create...

Страница 15: ...ey or backspace Paramete r Note User ID Enter user no max 11 digits of number Name Enter username max 32 letters Click to switch input method FP Record fingerprint One user can record up to 3 fingerpr...

Страница 16: ...ect to input shift Refer to Ch 3 4 1 User Photo Click to take photo saved on SD card as user photo User Level Click to switch level User only attendance right Admin can login system to config Chart 3...

Страница 17: ...s admin Edit and Delete Single User Click or to select user click see Figure 3 9 Figure 3 9 Select Edit click to edit user Select Delete click to delete user Delete and Search All Users Click to switc...

Страница 18: ...umber key to enter info and click again to save Parameter Note Department ID System uses number by default Department Name Customize department name up to 32 characters Click to switch input method Sh...

Страница 19: ...t and Delete Single Department Click or to select department click see Figure 3 13 Figure 3 13 Select Edit click to edit department Select Delete click to delete department Delete and Search unused de...

Страница 20: ...all departments Select to search department by no 3 4 Shift 3 4 1 Set Shift You can add shift and set attendance time and type up to 20 shifts 3 4 1 1 Add Shift Step 1 Select Shift Shift Setup Shift...

Страница 21: ...fixed and flexible Fixed set valid attendance period Invalid when out of this period Flexible no limit on work time follow two rules 1 hours at work per day 2 start time of word each weekday Cycle Ty...

Страница 22: ...in within the period to be normal attendance Overtime Set overtime period as time period between sign in out meet setup to be overtime work Note For valid overtime sign in a user must sign in within...

Страница 23: ...Set required work hour per weekday Late Set sign in time So sign in after this time will be record as late Unit is hour Chart 3 5 Step 3 Click to save Click Return to add shift interface Cycle Type Se...

Страница 24: ...ct rest or work Step 3 Click to save Monthly Step 1 Select monthly click See Figure 3 21 Figure 3 21 Step 2 Select date click and select rest or work Step 3 Click to save 3 4 1 2 Edit and Delete Shift...

Страница 25: ...click See Figure 3 22 Figure 3 22 Select Edit click to edit shift Select Delete click to delete shift Delete and Edit All Shifts Click switch to delete and search buttons above see Figure 3 23 Figure...

Страница 26: ...endance Step 1 Select Shift Shift Setup Holiday click See Figure 3 24 Figure 3 24 Step 2 Click switch to function key above click and click See Figure 3 25 Figure 3 25 Step 3 Enter start date and end...

Страница 27: ...k See Figure 3 26 Figure 3 26 Select Edit click to edit holiday Select Delete click to delete holiday Delete and Edit All Holidays Click switch to delete and search buttons above see Figure 3 23 Figur...

Страница 28: ...ft Department Shift click See Figure 3 28 Figure 3 28 Step 2 Click or to select department ID Step 3 Click number key to input shift no click to save 3 4 3 Check You can set recheck time as when you c...

Страница 29: ...vice before you export attendance record Do not eject USB disk or interrupt the operation during exporting othereise the operation will fail You can search and export attendance and card record System...

Страница 30: ...Note White means holiday or set holiday Date before device exists is also white Blue means normal attendance Red means abnormal attendance including late leave and absent Click again export attendanc...

Страница 31: ...in USB 3 5 3 Export 1 Month Exception You can export all abnormal attendance records of current month or previous month to USB Step 3 Select Data Export 1 Month Exception click See Figure 3 32 Figure...

Страница 32: ...click Or directly click 6 See Figure 3 34 Figure 3 34 3 6 1 Add User in Batch Enter start no you can batch add user by swiping card Step 1 Select Features Add User in Batch click See Figure 3 35 Figu...

Страница 33: ...te and time according to actual condition Set state is mainly applied to platform Step 1 Select Features State Switch click See Figure 3 37 Figure 3 37 Step 2 Click or click to switch status Click num...

Страница 34: ...time is reached external bell will ring See Ch 3 7 4 3 6 3 1 New Bell The system supports up to 8 bells Step 1 Select Features Bell setup New Bell click See Figure 3 38 Figure 3 38 Step 2 Click or to...

Страница 35: ...eatures Bell setup Search Delete Bell click See Figure 3 39 Figure 3 39 Edit and Delete Single Bell Select bell click See Figure 3 40 Figure 3 40 Select Edit click to edit bell info Select Delete clic...

Страница 36: ...all bells Select to search bell by ID 3 7 System Config You can set system time volume restore relay mode and restart device Enter main menu click or to delete SysConfig click Or directly click number...

Страница 37: ...me Date Formatting Setting click See Figure 3 43 Figure 3 43 Step 2 Click or to select parameter click to switch immediately effective Date YY MM DD MM DD YY DD MM YY Time default is 24 hour cannot be...

Страница 38: ...Figure 3 45 Figure 3 45 Step 2 Click or to adjust volume 3 7 3 Restore Warning Restore device will cause data to be lost be cautious You can restore device to default and you can decide whether to ke...

Страница 39: ...lick to confirm Figure 3 46 3 7 4 Relay Mode Relay mode includes bell lock and none modes Bell external bell device which ring according to set time Unlock when door is locked during attendance you ca...

Страница 40: ...s to platform you shall set device IP address to add device on platform Before setup please make sure Ethernet cable is cnnected and sign is shown on screen Step 1 Enter main menu click or to select C...

Страница 41: ...ress mask and gateway IP address and gateway must be in the same segment Chart 3 8 Step 4 Click to save 3 9 USB Warning Export user info and before updating make sure USB is inserted During exporting...

Страница 42: ...stem Info You can view user capacity fingerprint capacity and record capacity plus current usage status Enter main menu click or to select system info click Or directly click number key 8 see Figure 3...

Страница 43: ...ndance type and select fixed attendance a Set period to 8 30 17 30 b Set cycle type Either week or month c Set department shift as department bound shift Step 2 Select User Department Shift enter shif...

Страница 44: ...user of the card is added to attendance list Step 2 Bell cannot work A Confirm wiring is normal meantime make sure relay mode has selected bell Step 3 I cannot update device via USB A Check if USB is...

Страница 45: ...you record finger place finger flat on collector make center of finger face center of collector Recommended Finger Index finger middle finger and ring finger are recommended for fingerprint collectio...

Страница 46: ...Figure A 0 3...

Страница 47: ...input see Figure A2 0 1 Figure A2 0 1 Step 2 Enter number click to confirm see Figure A2 0 2 Figure A2 0 2 English Step 1 Click to switch to English see Figure A2 0 3 Figure A2 0 3 Step 2 Enter lette...

Страница 48: ...ifference may be found in user interface All the designs and software here are subject to change without prior written notice All trademarks and registered trademarks are the properties of their respe...

Отзывы: