35
Screen Adjustment
Note.
• SCREEN of picture menu is appeared in the VGA
mode connected PC.
• During the Auto Adjust, you don't have to change
the screen resolution.
• Auto Adjust might be incorrectly worked in the moving
picture like movie, so you must execute Auto Adjust in
still image.
• Auto Adjust might be worked incorrectly according to
graphic card in the PC.
• When Auto Adjust is not correctly working, you can
adjust with H/V position, and phase.
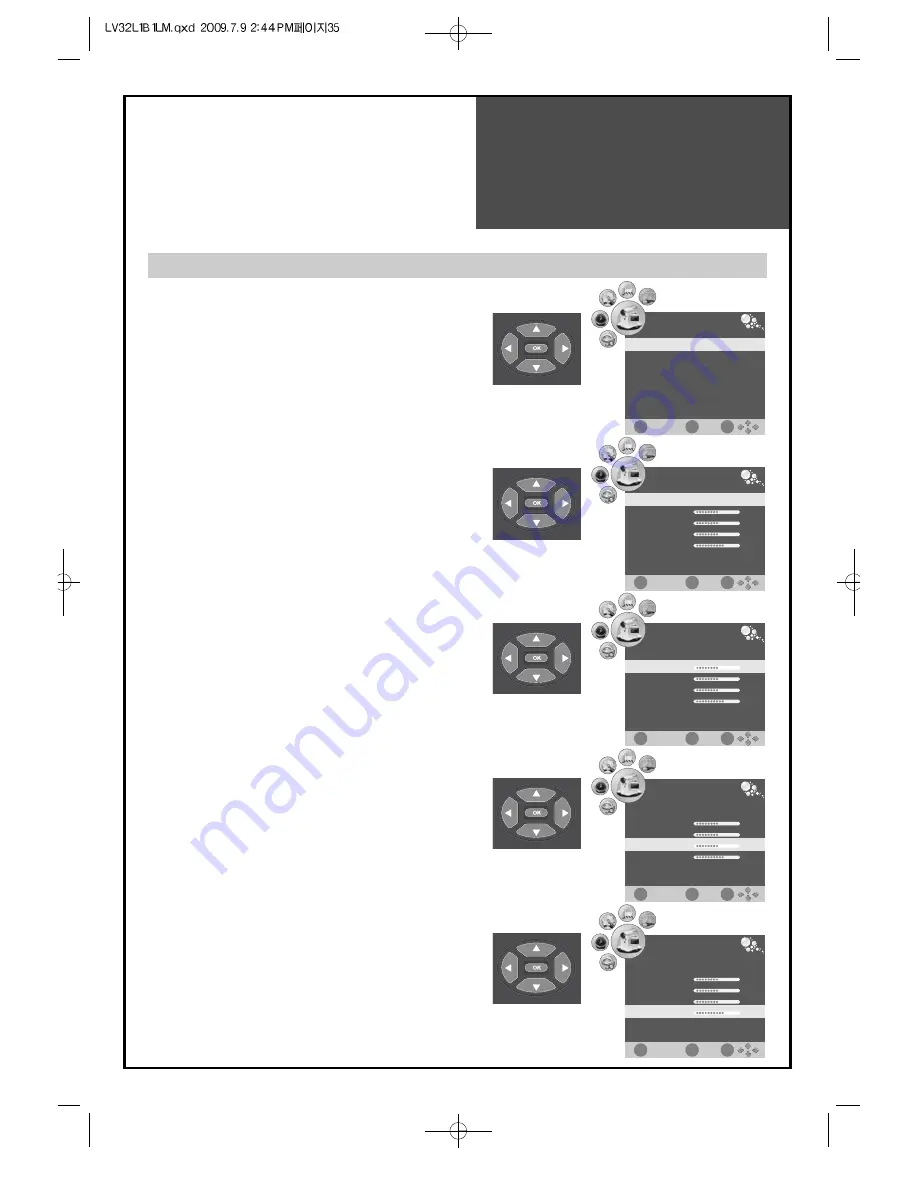
Adjustment of the screen in the PC mode
1. Auto Adjustment
• Move to Auto in the Screen menu.
• Press the ”
◀
/
▶
” buttons to detect optimal resolution
automatically.
Do each function you want as followings.
• Press the ”MENU” button to select the PICTURE menu.
• Move the selection bar to SCREEN with ”
▼
/
▲
” buttons.
• Press the ”OK” button.
2. Adjustment of the H/V-Position
• Move to H-Position in the Screen menu.
• Press the ”
◀
/
▶
” buttons to adjust the horizontal
position of displayed image.
3. Adjustment of the Size
• Move to Size in the Screen menu.
• Press the ”
◀
/
▶
” buttons to adjust the Size to fit the
size of the screen.
4. Adjustment of the Phase
• Move to Phase in the Screen menu.
• Press the ”
◀
/
▶
” buttons to adjust the phase to get a
clear picture.
PICTURE
EXIT
OK
MENU
Screen
▶
▲
PICTURE
EXIT
OK
MENU
Auto Adjust
Horizontal Pos.
Vertical Pos.
Size
Phase
50
50
0
62
PICTURE
EXIT
OK
MENU
Auto Adjust
Horizontal Pos.
Vertical Pos.
Size
Phase
50
50
0
62
PICTURE
EXIT
OK
MENU
Auto Adjust
Horizontal Pos.
Vertical Pos.
Size
Phase
50
50
0
62
PICTURE
EXIT
OK
MENU
Auto Adjust
Horizontal Pos.
Vertical Pos.
Size
Phase
50
50
0
62
Содержание LV32L1B1LM
Страница 1: ...48586S00E101 R0...


