


18
D-Link DNS-313 User Manual
Section 3 - Configuration
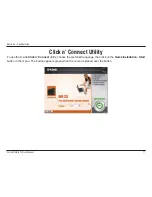
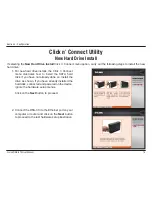
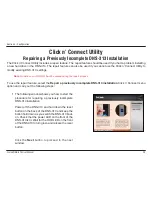
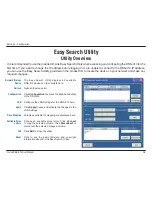
Click n’ Connect Utility
Modify Existing DNS-313 Settings
If selecting the
Modify existing DNS-313
settings
Click n’ Connect menu option, carry out the following steps:
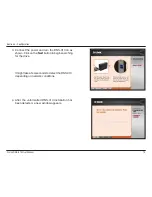
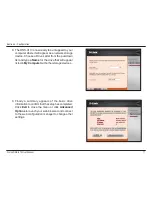
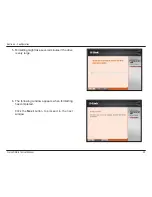
1. The Click n’ Connect utility displays all of the D-Link
DNS NAS devices that have been discovered on
your network.
Select the DNS-313 that you want to modify
from the list and click the
Next
button to proceed
to the next screen.
Note:
If you have more than one DNS-313
on your network, make a note of the device’s
MAC address that is located on a sticker on
the base of the device and click the DNS-313
with the corresponding MAC address
.
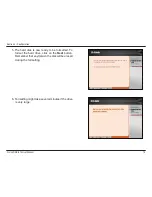
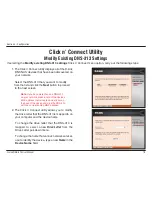
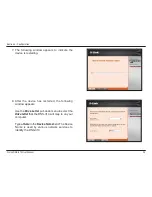
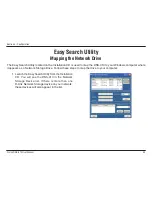
2. The Click n’ Connect utility allows you to modify
the drive letter that the DNS-313 is mapped to on
your computer and the device name.
To change the drive letter that the DNS-313 is
mapped to, select a new
Drive Letter
from the
Drive Letter pull-down menu.
To change the name that various network services
use to identify the device, type a new
Name
in the
Device Name
field.