DAP-300P
Quick Installation Guide
Configuring WAN Connection
This configuration step is available for the
Router
and
WISP Repeater
modes.
!
You should configure your WAN connection in accordance with data
provided by your Internet service provider (ISP). Make sure that you
have obtained all necessary information prior to configuring your
connection. Otherwise contact your ISP.
1.
On the
Internet connection type
page, from the
Connection type
list, select the connection type used by your ISP and fill in the fields
displayed on the page
.
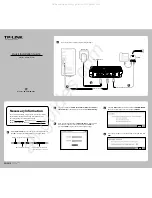
Static IPv4:
Fill in the following fields:
IP address
,
Subnet mask
,
Gateway IP address
, and
DNS IP address
.
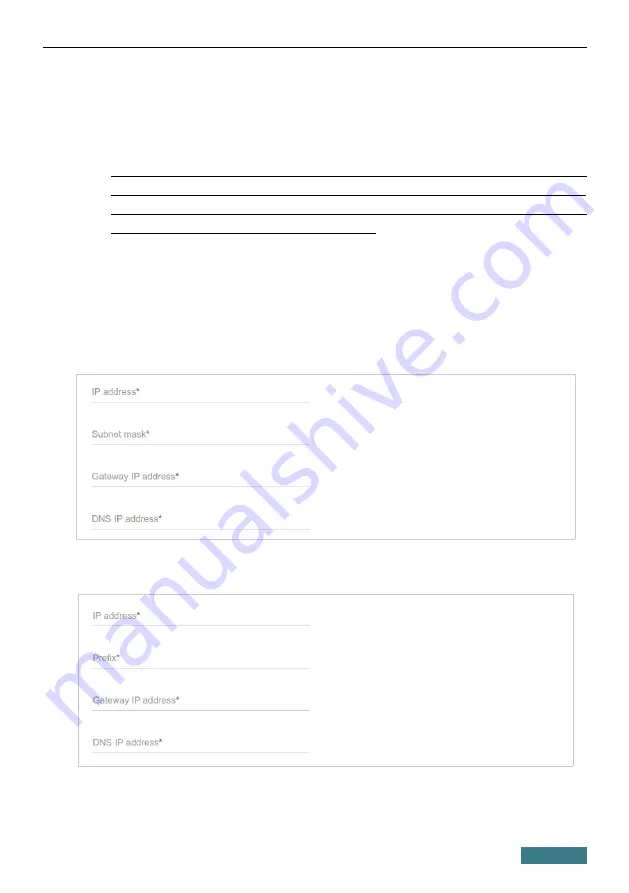
Static IPv6:
Fill in the following fields:
IP address
,
Prefix
,
Gateway IP
address
, and
DNS IP address
.
30