D-Link AirPro DWL-AB650 Скачать руководство пользователя страница 2


Installing the software for your new DWL-AB650 Cardbus Adapter 
involves two steps.  The first is to install the driver for the Cardbus Adapter, 
and the second is to install the Configuration Utility. 


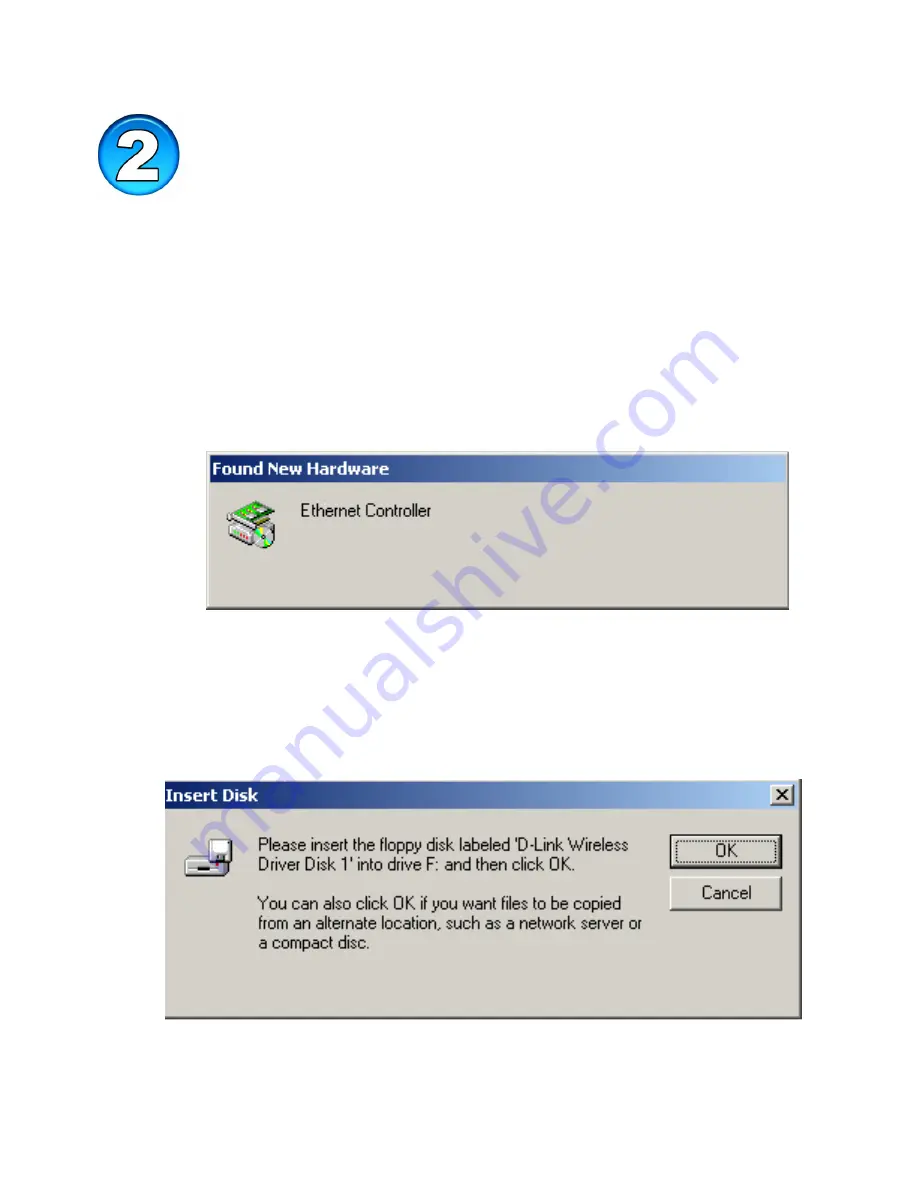
When the Cardbus Adapter is inserted in a Cardbus slot, Windows will 
recognize the card and the following screen will appear: 


Insert the Driver CD into your CD-ROM drive, if you have not done so 
already.  If the Driver CD is not in the CD-ROM drive, a prompt such as 
the one below will appear.  Click 

OK.


The installation will continue.  The following screen appears to let you 
know that the driver installation is continuing. 

Installing the Driver 

Содержание AirPro DWL-AB650

Страница 1: ...ide CD with Manual and Drivers If any of the contents are missing please contact your reseller System Requirements A laptop computer with an available 32 bit Cardbus slot At least a 300 MHz processor and 32 MB of memory Cardbus Controller properly installed and working An 802 11a or an 802 11b Access Point for Infrastructure Mode or another computer with an 802 11a or an 802 11b wireless adapter i...

Страница 2: ...apter is inserted in a Cardbus slot Windows will recognize the card and the following screen will appear Insert the Driver CD into your CD ROM drive if you have not done so already If the Driver CD is not in the CD ROM drive a prompt such as the one below will appear Click OK The installation will continue The following screen appears to let you know that the driver installation is continuing Inst...

Страница 3: ...s complete the screen shown above will disappear Look for the file named Setup exe on the installation CD Rom Double click on it to start the installation for the configuration utility Installing the Configuration Utility Click Next ...

Страница 4: ... To install to the folder C Program Files D Link AirPro Utility Click Next Otherwise click on Browse to choose an alternate location Click Next Click Next Or Click Browse Click Next ...

Страница 5: ... Status screen will appear and display the progress of the installation A screen alerting you that all backup files have been removed will appear This is the next to the last screen to appear in the installation ...

Страница 6: ...cessfully installed the InstallShield Wizard will prompt you to restart your computer Select Yes I want to restart my computer now and click Finish After your computer has restarted the following screen will appear Click Next Click Next ...

Страница 7: ...are in use by the AP There are three distinct modes of operation for WEP on the connection between an AP and your DWL AB650 Cardbus Adapter in terms of WEP encryption The first is unencrypted That is WEP is disabled on both the AP and your Cardbus Adapter The second is the Network Authentication Shared Mode When this box is checked the AP and your Cardbus Adapter will verify that the exact same WE...

Страница 8: ...section titled Connecting to the Wireless Network below A connection attempt between your new DWL AB650 and the Access Point AP you selected will be made While the connection attempt is being made a red bar will oscillate vertically across the face of the D Link AirPro Configuration Utility icon in the task tray If a valid connection between your DWL AB650 and the AP is made the D Link AirPro Conf...

Страница 9: ...ion link has been established between the selected AP and your Cardbus Adapter Note that in the above example WEP is disabled on both the selected AP and on the Cardbus Adapter there is no encryption of the data transferred between the AP and the Cardbus Adapter WEP settings can be entered here or later using the configuration utility For an explanation of WEP settings see the section Connecting t...

Страница 10: ...e that the Country settings of your DWL AB650 must be the same as the country settings of an AP or another 802 11a or 802 11b Cardbus Adapter in order for communication to take place From the Windows Start button select Programs and then D Link AirPro and finally Select Country The following screen will open Select your DWL AB650 from the Network Card pull down menu if you have multiple NICs insta...

Страница 11: ...u have the DWL AB650 properly installed you will see the icon shown below that will appear in your task bar on the bottom of the screen Note that when the configuation utility is scanning for an AP to connect to a red bar will oscillate vertically across the icon Click on the icon in the task bar You will see the first screen of the D Link AirPro management utility as shown below Click OK Connecti...

Страница 12: ...and is shown If you want to connect to a different Access Point or you want to add a second Access Point to the Preferred WLANs list select the name of the Access Point in the Available WLANs field and click the Add button The following Wireless Network Properties screen should appear Enter WEP encryption keys to enable communication between the Access Point and the wireless cardbus adapter ...

Страница 13: ...t and then clicking on the Properties button will open the Wireless Network Properties dialog box as shown below If the Access Point is configured to use the Wireless Encryption Protocol the Enable Data encryption check box will be checked and the WEP enctryption key fields will be open for you to enter the appropriate WEP keys as shown below ...

Страница 14: ...second is the Network Authentication Shared Mode When this box is checked the AP and your Cardbus Adapter will only verify that the exact same WEP keys are in use by sending each other encrypted messages After this authentication all data transfer between the AP and your Cardbus Adapter will be unencrypted The third is Enable Data encryption In this mode all data exchanged between the AP and your ...

Страница 15: ...AirPro utility will show that your Cardbus Adapter is connected to the AP but no data transfer will occur Please ensure that the correct WEP operating mode is selected Setting the IP Address If the Access Point you are connecting to is configured to use the Dynamic Host Configuration Protocol DHCP your Cardbus Adapter will automatically be assigned an IP address subnet mask default gateway address...

Страница 16: ...te the AirPro Management Utility allows you to maintain two different sets of IP settings for your new DWL AB650 Cardbus Adapter the IP settings entered using the AirPro Management Utility illustrated above and referred to as profile IP Settings and IP settings using Windows Networking and Dial up Connections folder located in the Windows Control Panel You can switch between these two sets of IP s...

Страница 17: ...irPro Management Utility you must click on the Option tab and the click the Enable profile IP Settings click box If this click box is left blank the AirPro Management Utility will use the IP settings entered using Windows Networking and Dial up Connections folder Note if you use the Enable profile IP Settings option the AirPro Management Utility will save the Windows IP settings for the Cardbus Ad...

Страница 18: ...lick the Enable profile IP Settings click box the AirPro Management Utility will display the following dialog box to confirm that the Windows IP settings will be used Your profile IP settings will be saved Click OK ...

Страница 19: ...he United States during the warranty period on this product U S customers can contact D Link Technical Support through our web site or by phone D Link Technical Support over Telephone 877 453 5465 24 hours a day seven days a week D Link Technical Support over the Internet http support dlink com Building Networks for People Technical Support ...

Отзывы: