Appendix
CY8CKIT-044 PSoC® 4 M-Series Pioneer Kit Guide, Doc. No. 001-96598 Rev. *C
26
6. Plug in the USB cable back to power the PSoC 4 M-Series Pioneer Kit.
7. Observe the average power consumed by the PSoC 4200M device on the ammeter. The measured average power
must be less than 260µA at 3.3V.
Note
: Detailed explanation on the power measurement header terminals is provided in the
Hardware Functional Description
section.
4.4 CapSense Proximity
4.4.1 Project Description
This project demonstrates the proximity sensing capability of the PSoC 4200M device. The CapSense scans for an
approaching hand every 100ms and enters a low-power mode if proximity is not detected. This allows the PSoC 4200M to
operate at lower average power levels. The scanning interval is increased and the CapSense scan is performed every
30ms if proximity is detected.
The PSoC 4200M gradually increases the brightness of the green LED as the hand approaches the proximity sensor. If
proximity is not detected for a period more than 3s, the PSoC 4200M increases the CapSense scanning interval to 100ms.
Note:
The time periods of 30ms and 100ms are dependent on the LFCLK accuracy. These time periods can be inaccurate
up to 60% when ILO is used as the clock source for LFCLK. Use the ILO Trim Component as demonstrated in the
Deep-
Sleep Blinky
project to achieve higher accuracy with ILO.
4.4.2 Hardware Connections
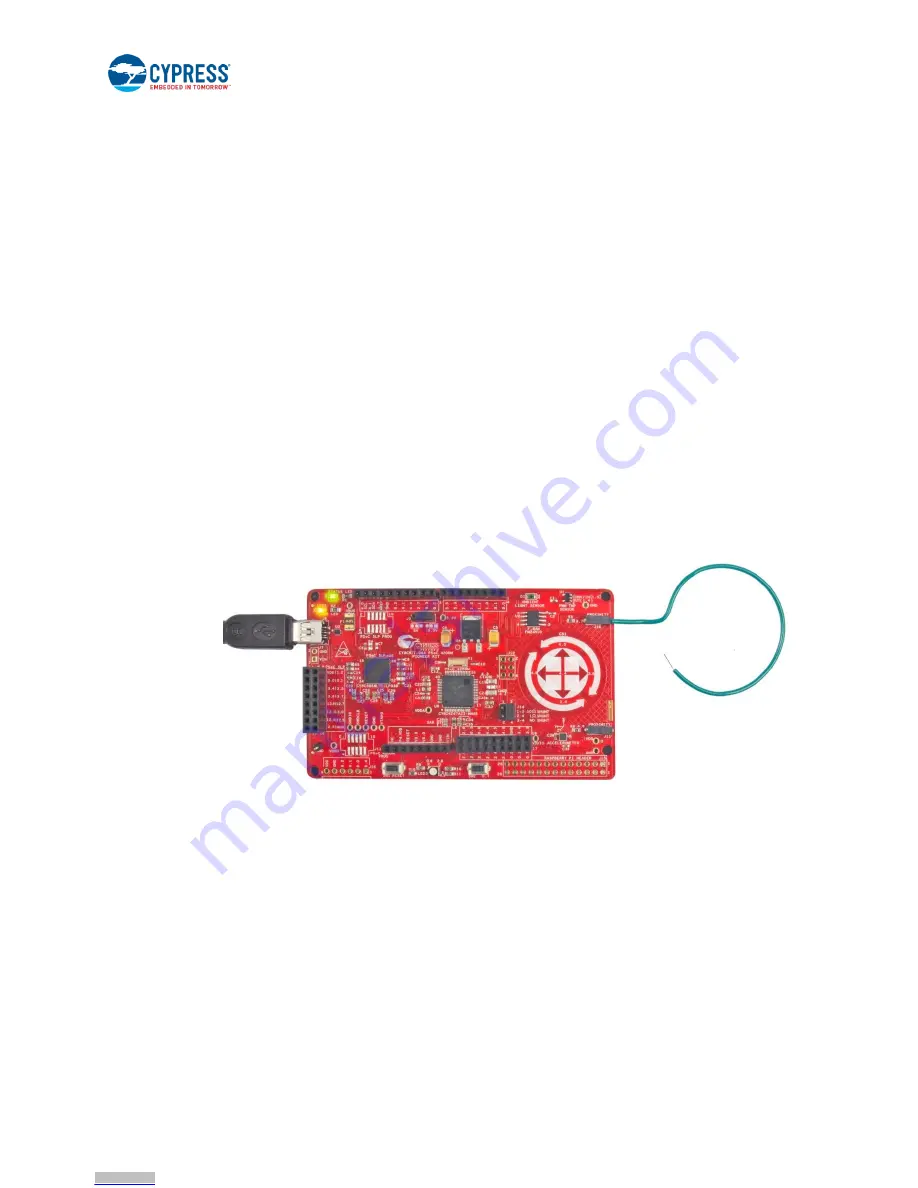
Connect the five-inch wire (provided with this kit) to proximity header J10 on the PSoC 4 M-Series Pioneer Kit, as shown in
Figure 4-5
.
Figure 4-5. Proximity Sensor Connection on PSoC 4 M-Series Pioneer Kit
4.4.3 Verify Output
To verify the CapSense Proximity example project, follow these steps:
1. Power the PSoC 4 M-Series Pioneer Kit through USB connector J6.
2. Program the PSoC 4 M-Series Pioneer Kit with the
CY8CKIT_044_CapSense_Proximity
example project.
3. Plug in the proximity sensor wire to the proximity sensor header as shown in
Figure 4-6
, and press the reset switch
(SW1) of the kit. You should bend the wire to form a loop, as shown in
Figure 4-5
to get better proximity range.
Downloaded from
Downloaded from
Downloaded from
Downloaded from
Downloaded from
Downloaded from
Downloaded from
Downloaded from
Downloaded from
Downloaded from
Downloaded from
Downloaded from
Downloaded from
Downloaded from
Downloaded from
Downloaded from
Downloaded from
Downloaded from
Downloaded from
Downloaded from
Downloaded from
Downloaded from
Downloaded from
Downloaded from
Downloaded from
Downloaded from


