CY8CKIT-031 PSoC® CapSense® Expansion Board Kit Guide, Doc. # 001-66474 Rev. *H
18
Code Examples
To use the overlay, remove the adhesive sticker and stick it onto the board in such a way that all the
CapSense buttons and sliders are covered. Ensure that no air gaps or bubbles get trapped in
between the board and overlay.
4.2.2
Hardware Connections
For the PSoC Development Kit (CY8CKIT-001)
■
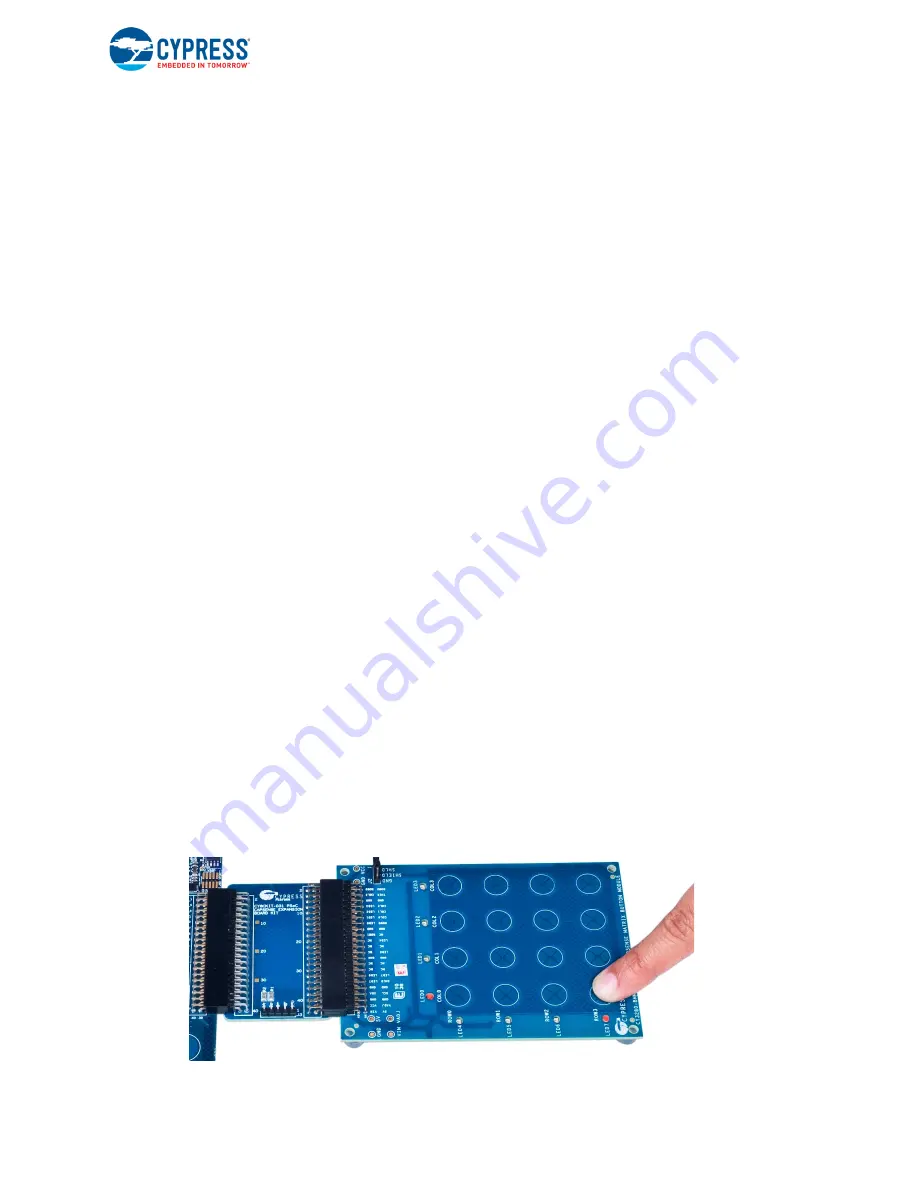
Connect the CapSense Matrix Button Module to connector J2 of the PSoC CapSense Expansion
Board.
■
Connect J1 of the PSoC CapSense Expansion Board to port A of the development kit.
■
Connect J2 on the CapSense Matrix Button Module to short SHIELD and SHLD.
■
Connect the USB cable from J9 on the development kit to the PC USB port.
■
Connect P1[6] to LED1. This LED is named Enumerate_LED and indicates that USB enumera-
tion is complete.
For the PSoC 3 or PSoC 5LP Development Kit
■
Connect the CapSense Matrix Button Module to connector J2 of the PSoC CapSense Expansion
Board.
■
Connect J1 of the PSoC CapSense Expansion Board to port D of the development kit.
■
Connect J2 on the CapSense Matrix Button Module to short SHIELD and SHLD.
■
Connect jumpers J10 and J11 to position 2 and 3 to use the board at 5 V.
■
Connect the USB cable from J2 on the development kit to the PC USB port.
■
Pin P6[3] is used for the Enumerate_LED, which is connected to LED4 on the board; therefore,
an explicit connection is not required.
■
Remove LCD from port P8. The LCD module adds parasitic capacitance and noise to CapSense
because it shares the same pins of port D that are used for CapSense.
■
If MiniProg3 is used, then disconnect it from J3 after programming. The programming port J3
shares the port D pins and adds noise on CapSense if MiniProg3 is present.
Note
Shielding Electrode on page 34
for more details.
4.2.3
Verify Output
Build and program the code example and reset the device. After device is reset, wait for
Enumerate_LED to turn on, indicating that the system is ready. Touch a button and see the
corresponding row and column LEDs turn on. Open the calculator application in the PC, touch any
button, the corresponding key is pressed on calculator (see
). Perform different operations
on the calculator using CapSense touch buttons.
Figure 4-2. CapSense Matrix Button Module Project


