


11
■ Edit:
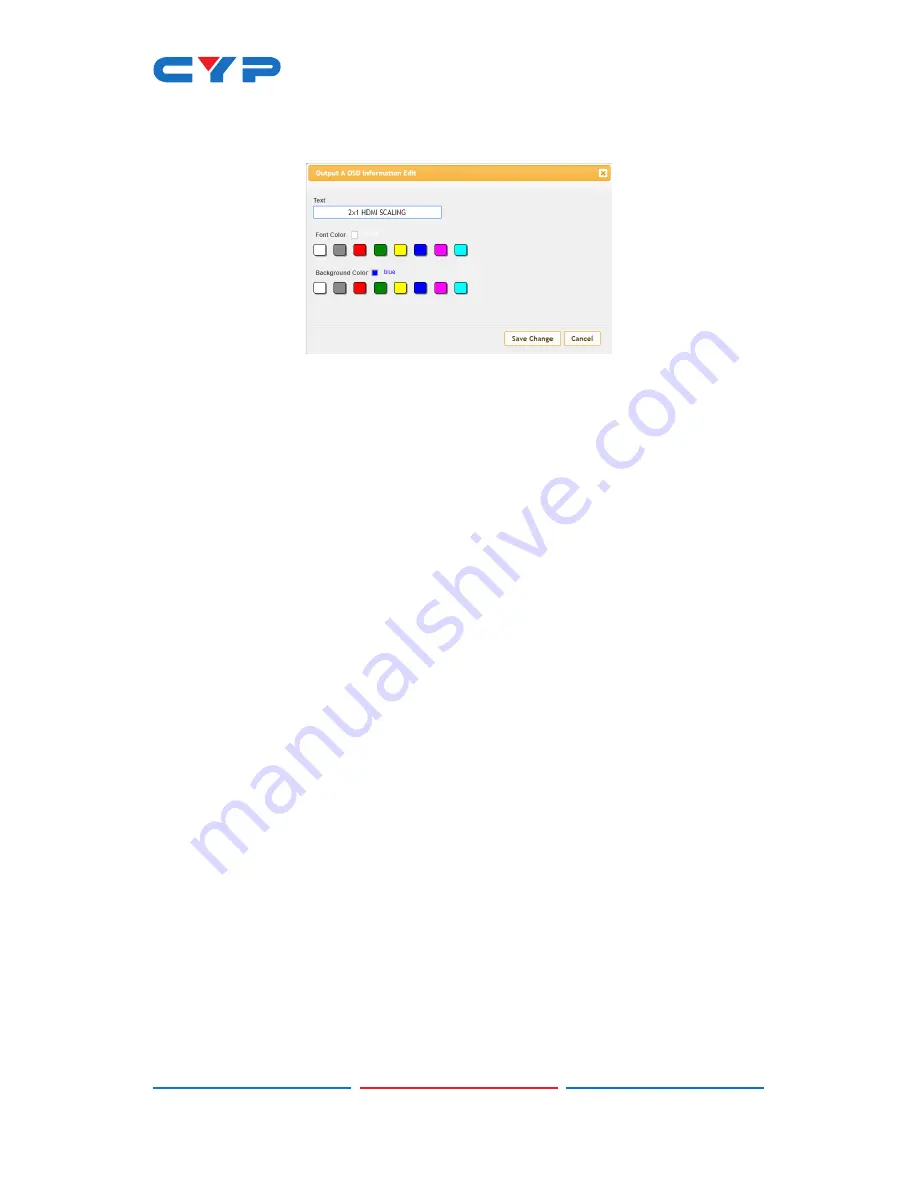
Clicking this button opens the OSD Information Edit
window to change the formatting of the OSD.
Text:
Define a text string to display on the OSD.
Font Color:
Set the color of the OSD font.
Background Color:
Set the background color of the OSD’s text
block.
2) LOGO Settings:
This section provides control over the content and
position of the user uploaded logo image.
■ Logo Display:
Clicking this button will display the customized
text message on the OSD.
■ H-Pos:
Sets the horizontal position of the user logo, set in
percentage.
■ V-Pos:
Sets the vertical position of the user logo, set in
percentage.
■ Upload New LOGO:
To upload a graphic logo, please click the
“Choose File” button to open the file selection window and
then select the graphic logo file (8-bit *.bmp format, 1920×1080
max resolution) located on your local PC. After selecting the
file, click the “Upload New LOGO” button to upload the logo
to the unit.
•
Chromakey Setup Tab
This tab allows for the activation and configuration of Chromakey
mode. Enabling the Chromakey mode will automatically switch to
displaying Input 1 underneath Input 2 with the selected key values
applied to Input 2’s source video. The unit comes with 8 pre-defined
standard key definitions (White, Yellow, Cyan, Green, Magenta, Red,
Blue, Black) and a User configurable definition set.
Содержание CLUX-2HPIP
Страница 1: ...CLUX 2HPIP 2 1 HDMI Multiviewer Operation Manual Operation Manual...
Страница 2: ......
Страница 41: ......
Страница 42: ......
Страница 43: ......
Страница 44: ...CYPRESS TECHNOLOGY CO LTD www cypress com tw...


