-
12
-
programmed.
3.
Press PROGRAM (47) when you have reached the desired song. The track will be stored in
PROGRAM.
4.
Repeat steps to program additional tracks.
5.
When programming is complete, press
PLAY/PAUSE (9,28) to play the programmed
track list.
To review programmed tracks, presses PROGRAM (47) repeatedly. Press STOP to clear
programmed tracks.
Note on CD-R/RW discs
l
Because of non-standardized format definition / production of CD-R/RW, playback quality &
performance are not guaranteed.
l
It is not responsible for the playability of CD-R/RW in any case due to recording conditions
such as PC performance, writing software, media ability and etc.
l
Do not attach a seal or label to either side (the record able side or the labeled side) of a
CD-R/RW disc. It may cause malfunction.
Do not load a un-recorded CD-R/RW disc. It will take over 30 seconds to read the disc. The disc
may be damaged if you try to open the disc compartment while reading the disc.
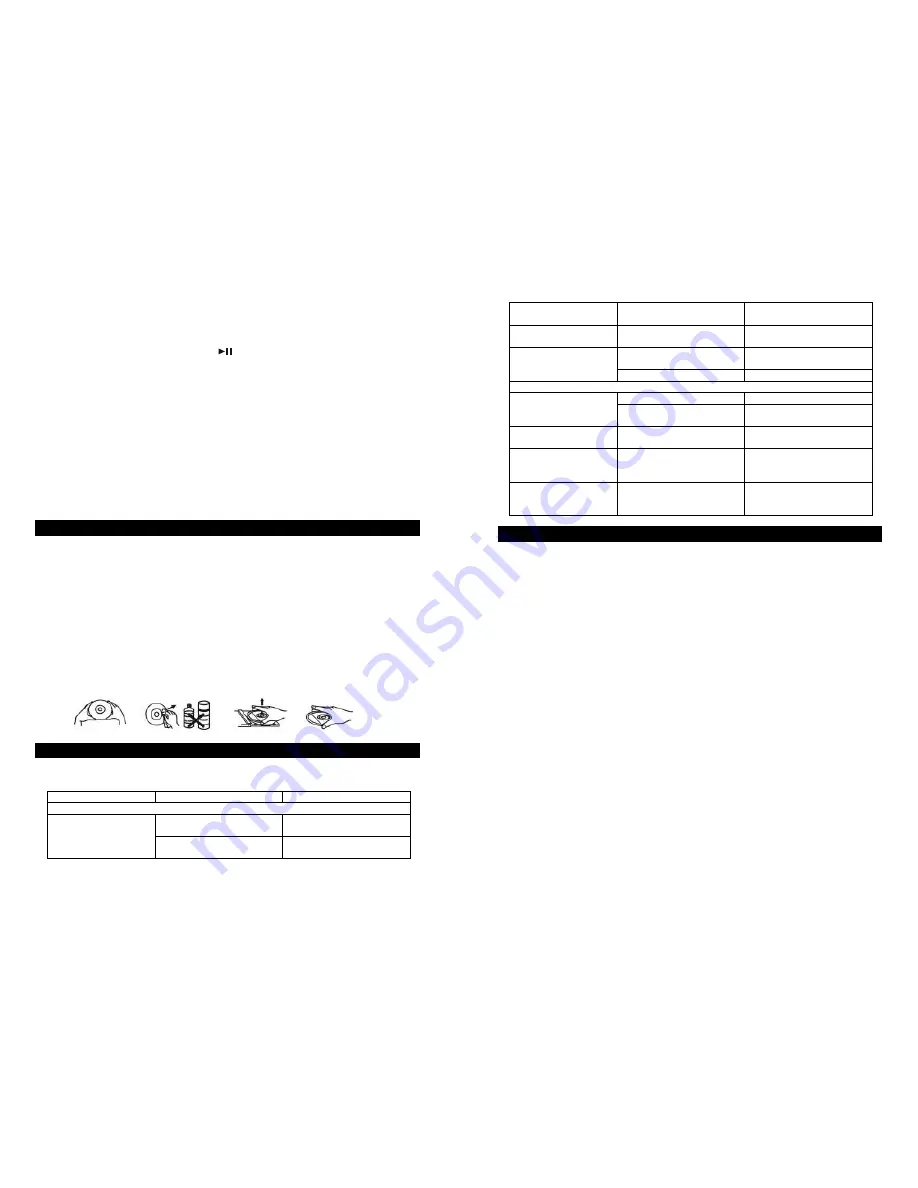
CARE AND MAINTENANCE
l
Treat the disc carefully. Handle the disc only by its edges. Never allow your fingers to contact
with the shiny, unprinted side of the disc.
l
Do not attach adhesive tape, stickers etc., to the disc label.
l
Clean the disc periodically with soft, lint-free, dry cloth. Never use detergents or adhesive
cleaners to clean the disc. If necessary, use to CD cleaning kit.
l
If disc skips or gets stuck on a section of the disc, it is probably dirty or damaged (scratched).
l
When cleaning the disc, wipe in straight lines from the center of the disc to the edge of the
disc. Never wipe in circular motions.
l
To remove a disc from its storage case, press down on the center of the case and lift the disc
outs, holding it carefully by the edges.
l
Fingerprints and dust should be carefully wiped off the disc’s recorded surface with a soft
cloth. Unlike conventional records. Compact disc have no groove to collect dust and
microscopic debris, so gently wiping with a piece of soft cloth should remove most particles.
TROUBLESHOOTING GUIDE
Should this unit exhibit a problem, check the following before seeking service.
Symptom
Possible Cause
Solution
Radio
Station not tuned properly for
AM or FM
Retune the AM or FM broadcast
station.
Noise or sound distorted
on AM or FM broadcasts.
FM: Wire antenna is not
extended.
Extend FM Wire antenna.
-
13
-
AM: The bar antenna is not
positioned correctly.
Reposition the unit until best
reception is obtained.
FM STEREO does not
appear on display.
You have tuned to a mono
station or station too weak.
Select another FM station.
Unit not at Tuner function AM or
FM band.
Press Tuner Function button to
AM or FM.
AM or FM, no sound.
Volume at minimum.
Increase Volume.
Compact Disc Player
Unit not in CD function mode.
Press CD Function button.
CD Player will not play.
CD is not installed or installed
incorrectly.
Insert CD with label side up.
CD skips while playing.
Disc is dirty or scratched.
Wipe disc with cloth or use
another disc.
Function inoperative and
jammed
Built-in microcomputer hand up. Use a sharp tip to press into the
reset hole to reset the built-in
microcomputer.
Display no indication or
abnormal indication
Built-in microcomputer hand up. Use a sharp tip to press into the
reset hole to reset the built-in
microcomputer.
SPECIFICATIONS
Power source -------------------------------- AC110V-127V ~60 Hz
DC 3V “AA” size/UM-3 x 2 pcs (not included) for remote
Handset
Power consumption ------------------------- 28 Watts
Dimension ------------------------------- Unit 340 (W) x 151 (D) x 320 (H) mm (including support plate)
340 (W) x 102 (D) x 320 (H) mm (without support plate)
Speaker 200 (W) x 143 (D) x 320 (H) mm (including support plate)
200 (W) x 94 (D) x 320 (H) mm (without support plate)
Tuning range/sensitivity -------------------- AM 530 ~ 1710KHz/2000
µ
V/m
FM 87.5 – 108MHz/18uV
Playback system ------------------------------ Vertical type CD mechanism
Frequency response ------------------------- 100 – 18,000 Hz
Power output ----------------------------------- 3.5 Watts @ Maximum per channel
Speaker impedance -------------------------- 3.2 ohms
Headphone impedance --------------------- 8 – 32 ohms
AUX input sensitivity ------------------------- 300 mV
ACCESSORIES
Instruction Manual
1 set
Remote Control handset
1 pc
Support plate
6 pc
Sleeve For Support plate
6 pc
Wall mounting template
1 pc
Screw
4 pcs
Plastic anchor
4 pcs
172-401Y10081-CU


