2 — INSTALLATION & WIRING:
Connections
High current connections
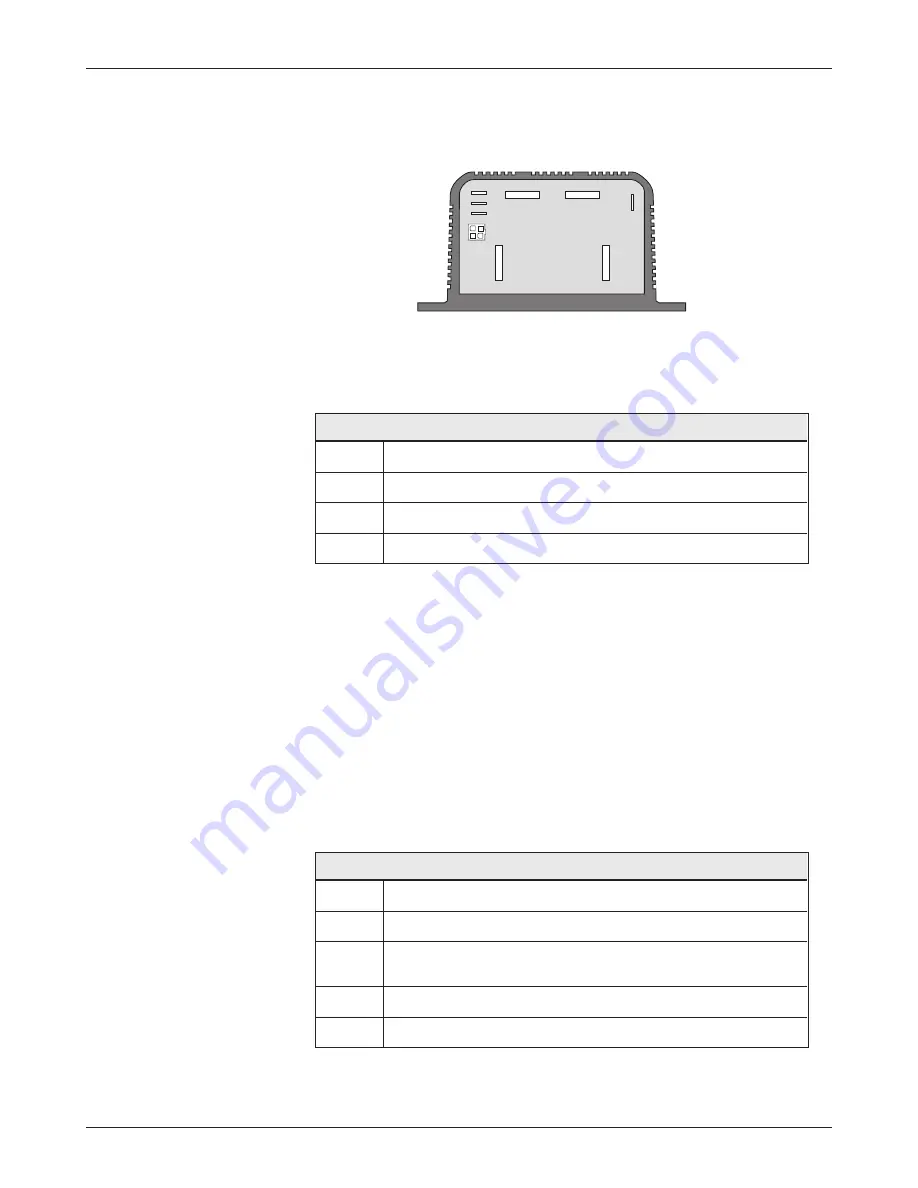
These controllers have four high-current busbars:
B+
,
B-
,
A2
, and
M-
. The
busbars are tin-plated solid copper.
Table 1 High Current Connections
B+
and motor armature. (plug diode -)
B- B-.
A2
Motor armature and field (plug diode +).
M-
Motor field (controller output).
Cables used for the battery and motor connections must be heavy enough to
carry the high current required. A minimum size of 25 mm
2
(#4 AWG) is
recommended.
Connections to the controller busbars should be made with lugs suitable
for the cable used, fastened by M8 bolts and nuts. When tightening the bolts,
two opposing wrenches should be used. Failure to use the double-wrench
technique could cause undue strain to be placed on the internal connections,
and could also result in cracked seals around the busbars.
Low current connections
These controllers have five low-current connections: four 6.35 mm push-on
terminals (
J1
,
J2
,
J3
, and
J5
), and one 4-pin connector (
J4
).
Table 2 Low Current Connections
J1 Keyswitch.
J2
Wire 1 of 2-wire throttle; Pot High of 3-wire or ITS throttle.
J3
Wire 2 of 2-wire throttle; Pot Wiper of 3-wire throttle;
Pot Low of ITS thottle; or electronic throttle input.
J4
4-pin connector:
see Table 3
.
J5
Reverse signal output / main contactor coil driver.
CONNECTIONS
The controller’s connectors are all conveniently located on one end:
For the control wiring, 0.75 mm
2
(#18 AWG) vinyl insulated stranded wire
is recommended.
A2
M–
B–
B+
J1
J2
J3
J4
J5
Curtis 1204M/1205M/1209M/1221M Manual
5


