


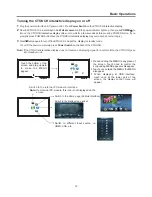
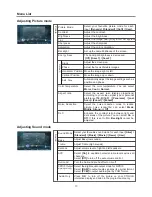

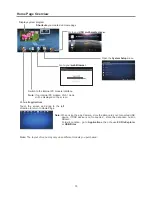

Menu List
14
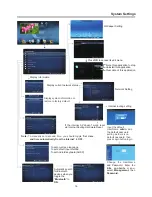
Menu Time
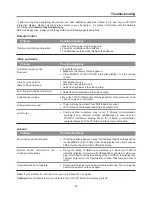
OSD Language
Select on-screen menu language.
S
e
tti
n
g
Restore To Default
Select OSD menu display time.
Reset all settings to factory defaults.
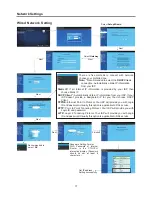
Adjusting Setting menu
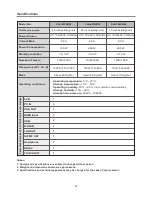
Sleep Time
Off Time
On Time
T
im
e
Date
Current
Time
Set the duration of time until the CTOUCH interactive
display automatically goes into Standby mode.
[Off] / [10 Minutes] / [20 Minutes] / [30 Minutes] / [60
Minutes] / [90 Minutes] / [120 Minutes] / [180 Minutes] /
[240 Minutes]
.
Set On timer to turn on the CTOUCH interactive display
automatically to source at a certain time.
Set Off timer to switch the CTOUCH interactive display to
standby at a specified time.
Set current date manually.
Set current time manually.
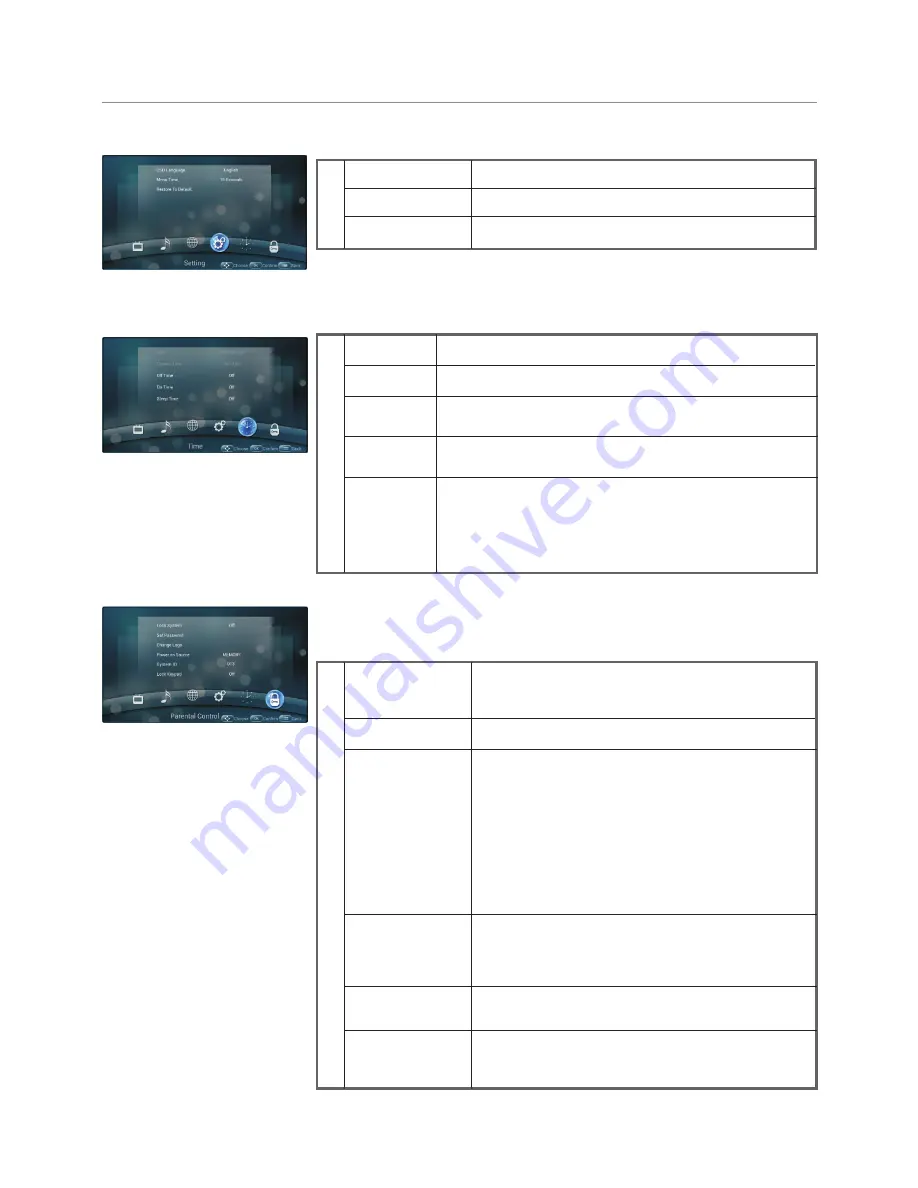
Lock Keypad
Change Logo
Power on Source
P
a
re
n
ta
l C
o
n
tr
o
l
Lock System
Set Password
Navigate to the
Parental Control
menu and input
the correct password to access. Select
Change
Logo
item, press
OK
to access and change Logo.
Notes:
1. Save the logo which you are about to change in
the USB stick. The logo file sizes should be
<512K, and rename it as boot0.jpg.
2. Insert the USB stick into the USB port on the
Android board.
Password settings.
Set to
ON
,
is locked. Reset
settings to factory defaults just input the correct
password.
Restore To Default
,
Select Parental Control menu, press OK to access the menu. Now a password
is required to input. (The default password is 0000. The unit provides a super
password “2580”.)
The CTOUCH interactive display buttons is locked.
OFF:
Select to enable the panel buttons.
ON:
Select to disable the panel buttons.
Power on Source Setting, in
MEMORY
mode, when
the CTOUCH interactive display powered on, it will
automatically switch to the source when it powered
off last time. otherwise, it is in setting mode.
Time Setup
Parental Control
System ID
Setting the device ID. (The ID must be in the range
of 0-255, but 138, 168 are unused ID.)


