11
Disarming the System
Enter
user
’
s code
and press <
ENTER
>, or press <
STAY
> if enabled by installer.
The following system message is displayed.
How to Arm Partitions
The protected area can be grouped into two separate partitions (e.g. A , B and C ).. The
system can be grouped for User
‘
s convenience to separate, in a business environment,
the offices from the warehouse area, or in a private residence, the different rooms of the
home, e.g., living room, bedroom, etc.
To arm partition A or B or C see Para
“
Arming the System
”
.
If enabled by the installer, to arm the partition A,
press <A> for 2 seconds.
To arm partition B,
press <B > for 2 seconds
The same procedure is also applicable to partition B.
During exit delay you can leave premises. At the end of the procedure the ARMED
indicator lights up to indicate that the system is armed and system message is displayed.
(The indicators may go out after a few seconds, depending on the installer's setting).
To disarm partition, see "Disarming the System".
Note
: to arming partition with code see page 9
“
How to arm the system before exit
”
How to Bypass Zones
Bypass any zone that cannot be closed. You can bypass selected zones prior to arming.
It is also used to temporarily exclude a faulty zone from service, which requires repair.
To bypass a selected zone, press <
BYPASS
>, Bypass indicator lights up to indicate that
the system is in bypass mode.
Enter the
zone number (e.g. 01, 05, 12 in PW16 or 1, 2, 6 in PW4/8)
one or more
zones.
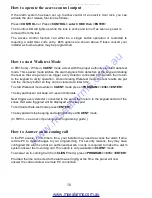
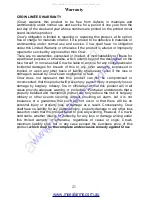
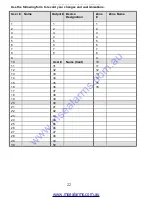
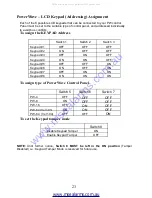
Areas Disarmed
A -
Areas Exiting
- B -
Bypass Zones
01 03 06
Areas Armed
- B -
www.msealarms.com.au
All manuals and user guides at all-guides.com
all-guides.com


