Cricut Cake Personal Electronic Cutter Скачать руководство пользователя страница 15

Advanced Operations

Your Cricut Cake machine has a variety of advanced operations designed to en-
hance your creativity. We recommend you become familiar with basic operations 
before moving onto the advanced operations described in this section.

Creative Feature Keys

TIP:

 Due to the sizes and shapes of characters, a feature may not work with all 

characters. Please refer to the handbook included with each cartridge for Creative 
Feature details.

Shadow

 Feature: 

The 

Shadow

 feature is the most common Creative Feature offered on Cricut

®

 font 

and shape cartridges. When selected, this feature creates a proportionately larger 
shadow image of every character that is selected. When the

 Shadow

 feature is active, 

the

 Shadow

 key will be backlit in green.

TIP:

 Using just the 

Shadow

 feature by itself creates a chunky version of the original font.

TIP:

 When sizing a shadow to fit a character, use the same dial size that was selected 

on the base image or original character. Example: If you’ve cut a 2" (5.08 cm) letter 

A


and you now want a shadow of it, keep the Size Dial set at 2".

Advanced Keys and Buttons


ENGLISH   

15


14 

ENGLISH

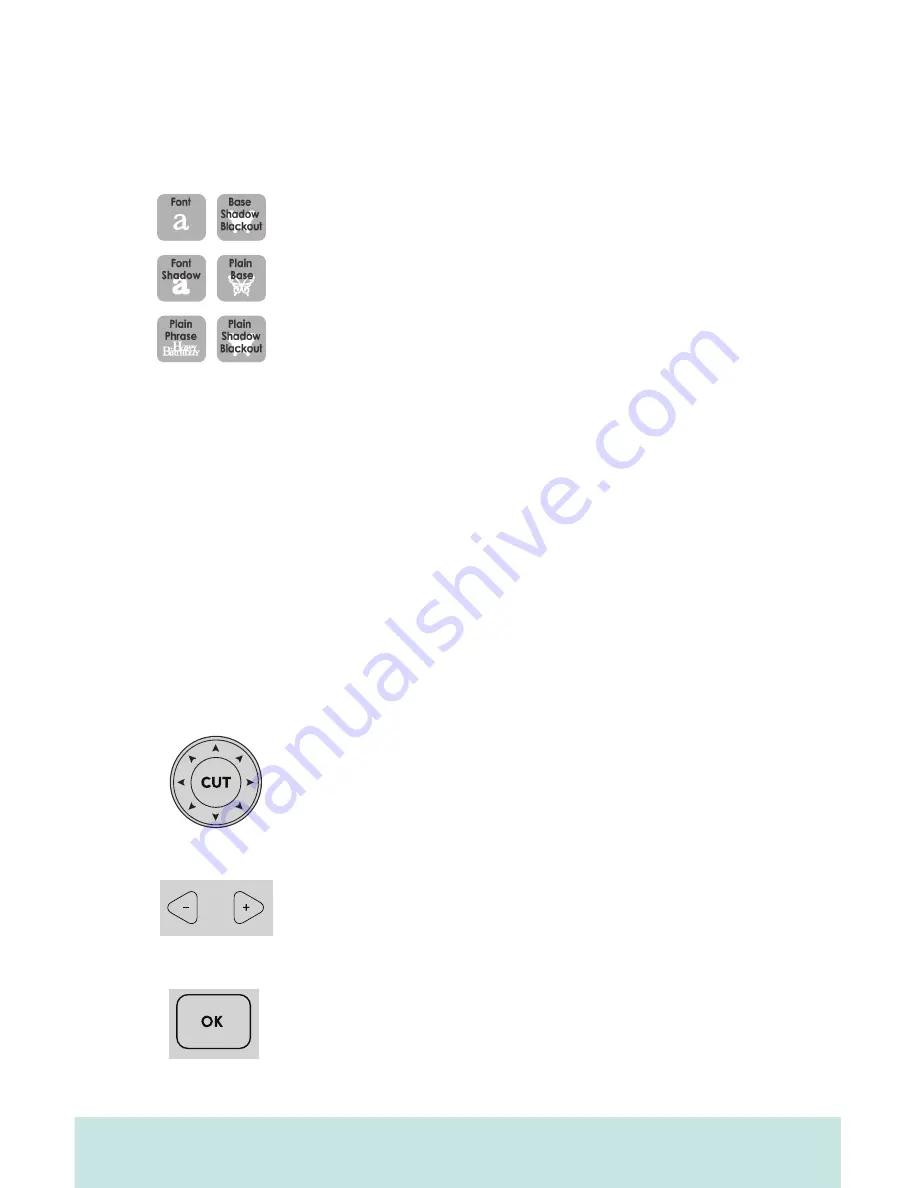
Creative Features are found within the six gray keys in the upper 
left corner of the keypad. Creative Features vary from cartridge 
to cartridge and provide a multitude of creative options. Refer 
to a Cricut cartridge’s handbook for a full review of the Creative 
Features that are available on that particular cartridge. 

When a feature key is selected, it will be backlit in green. A 
feature can be selected before or after a character(s) has been 
selected, but before the 

CUT

 button is pressed (unless using the 

Mix ’n Match

 mode). Once pressed, a feature key will remain lit 

until it is turned off in one of the following ways: the feature key is 
pressed a second time or the

 Reset All 

key is pressed. The

 Mix ’n 

Match

 mode offers multiple Creative Features to be applied to 

different characters in the same cut (learn more on page 16).

The Blade Navigation Buttons are the eight directional buttons 
marked with arrows and arranged around the 

CUT

 button. They 

allow you to move the cutting blade so you can easily position 
it exactly where you want to start a cut. When repositioning, the 
display tells you the cutting blade’s location on the cutting mat.

The Left and Right Arrow Buttons (the plus and minus arrows) 
below the display allow you to move between different 
selections on the display.

The 

OK

 button next to the Left and Right Arrow Buttons confirms 

selections made on the display. It also will display any calcula-
tions pertaining to the 

Auto Fill

Quantity

Fit to Page,

 or 

Fit to 

Length

 modes.

Содержание Cake Personal Electronic Cutter

Страница 1: ......

Страница 2: ...is specifically designed for decorating professional looking cakes cupcakes cookies and confections in no time at all Just choose a shape a size and press cut Decorating like a professional has never...

Страница 3: ...ridges Creative Features built into every Cricut cartridge allow you to add special effects to characters There are literally thousands of custom combinations you can use to make each project uniquely...

Страница 4: ...13 Cutting Characters 14 Size Dial 14 Cutting Your Selections 14 Removing Your Characters from the Cutting Mat 14 Advanced Operations 15 Creative Feature Keys 15 Shadow Feature 15 Advanced Keys and B...

Страница 5: ...CAKE that contain images or fonts Documentation means any documents provided with CRICUT CAKE when purchased including but not limited to the User Manual 2 LICENSE TO USE Subject to the terms and cond...

Страница 6: ...rpose without the express written consent of PROVO CRAFT Any such authorized use of the PROVO CRAFT marks inures to PROVO CRAFT s benefit 9 U S GOVERNMENT RESTRICTED RIGHTS If software is being acquir...

Страница 7: ...ly 4 Cake Basics cartridge cartridge binder keypad overlay and handbook 5 12 x 12 30 48 cm x 30 48 cm foodsafe cutting mat ENGLISH 7 6 Quick Start Guide 7 Power adapter 8 Cleaning guide 9 Cartridge pl...

Страница 8: ...or cleaning DO NOT place your fingers or other objects in the Cricut Cake machine while connected to electri cal power powered on or during cutting operations Rapid movements of the cutting carriage...

Страница 9: ...of the carriage Locate the silver screw and turn it counter clockwise until it loosens enough that you can swing the screw to the right Be careful not to loosen the screw too much or it will fall out...

Страница 10: ...t directly exposed to the effects of the weather away from direct exposure to sunlight or extreme temperatures such as in parked cars storage sheds sunrooms etc WARNING Your Cricut Cake machine should...

Страница 11: ...Material on Cutting Mat Insert a Cricut cartridge with cartridge skirt into the cartridge slot located in the front of your Cricut Cake machine Turn it on by pressing the On button near the CUT butto...

Страница 12: ...mat and mate rial If the mat does not load press the Unload Mat key and try again Load Cutting Mat into Machine If you want to stop the Cricut Cake machine from cutting before it is finished simply p...

Страница 13: ...2 30 48 cm x 30 48 cm or 12 x 24 30 48 cm x 60 96 cm depending on the mat size selected Place the material on the cutting mat aligning it in the lower left corner of the mat as indicated even if cutti...

Страница 14: ...tting mat be sure to select a size that will fit on the material you are using a warning message will display on the display if your size is too large The Cricut Cake machine includes four units of me...

Страница 15: ...reative Features vary from cartridge to cartridge and provide a multitude of creative options Refer to a Cricut cartridge s handbook for a full review of the Creative Features that are available on th...

Страница 16: ...button again to return to Landscape mode You will need to load the paper and cutting mat again The Mix n Match mode allows multiple Creative Features or the Flip function to be applied to only certain...

Страница 17: ...cate the quantity of cuts desired Then make your cutting selection and press CUT The display will show a running total of how many cuts from the selected quantity have been cut If the quantity selecte...

Страница 18: ...button is backlit in green Then make your character s selection set the Size Dial and press CUT The Multi Cut function allows you to cut the cut lines of a selected character s two three or four times...

Страница 19: ...nits menu allows you to choose one of four units of measurement Inches 1 4ths Inches 1 10ths cm or mm 3 The Multi Cut menu allows you to choose the numbers of cuts 2 3 or 4 to be used for the Multi Cu...

Страница 20: ...sized according to the selected dial size rather than cutting proportionate to the Key Height Character or the base shape TIP Only one dial size can be selected for each cut and that dial size will b...

Страница 21: ...indicate the pressure level ranging from one bar Min to five bars Max As a general rule increase the pressure if your selections are not being cut completely through the material Basic Care Blade Lif...

Страница 22: ...Brush out any excess crumbs Unplug machine before further cleaning Wipe down your machine with a soft lightly damp cloth Do not use a dripping cloth Water can damage electrical parts Remove cartridge...

Страница 23: ...e material with the bottom left corner of the mat even in the Portrait mode Once the mat is loaded use the Blade Navigation Buttons to move the cutting blade down to the upper right corner of the new...

Страница 24: ...eed replacement Refer to the Replacing the Cutting Blade section on page 21 Problem The material lifts off the mat as the Cricut Cake machine is cutting Possible Solution 1 Make sure you press the mat...

Отзывы: