Isys
®
12” Wall Mount Touch Screen
Crestron
TPMC-12L
NOTE:
To allow the touch screen to upload projects, standby is disabled until
approximately five minutes after the project is loaded.
To exit the setup menu and return to the program, touch
Exit
, located at the bottom
of the setup menu. To save any changes and reboot the touch screen, touch
Save &
Reboot
, located at the bottom of the setup menu. Use the
Shut Down
button to turn
off the touch screen.
Setup Menu Details
The setup menu allows configuration of the touch screen’s settings for security,
Cresnet ID, touch screen calibration, display, runtime project, video, audio,
annotation, embedded applications, diagnostics and hard button programming. The
setup menu also has a button that will toggle the on-screen keyboard on and off.
NOTE:
When in
Annotation
mode, the setup menu will still be available but all
setup windows will be disabled (i.e. you will not be able to bring up any setup
window via a digital join). For more information about
Annotation
mode, refer to
“About Annotation Mode” in the Crestron VisionTools
®
(VT Pro-e
®
) Help file.
Security
The
Security
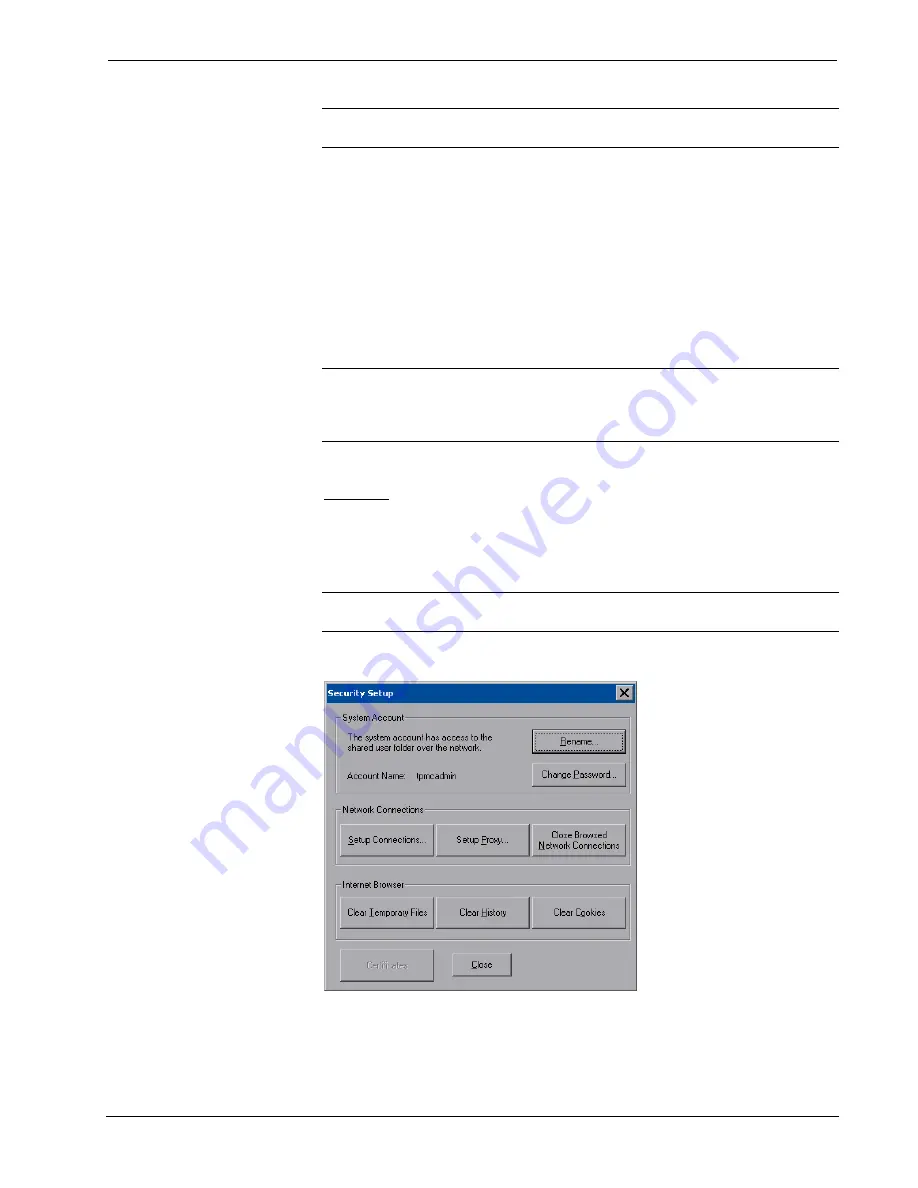
button opens the “Security Setup” window, which allows the user to
change the username and password of the system account, setup and close network
connections, setup a proxy server, close network connections and clear Internet
browser temporary files, history and cookies.
NOTE:
To use the on-screen keyboard for security settings, touch
Keyboard
on the
startup menu before touching
Security
.
“Security Setup” Window
Touch
Setup Connections…
to open the “Network Connections” window. This
window is used to map to a network drive. A mapped network drive permits easy
access to embedded application files (Word, Excel, PowerPoint, MediaMarker, etc.)
18
•
Isys
®
12” Wall Mount Touch Screen: TPMC-12L
Operations Guide – DOC. 6686C
Содержание Isys TPMC-12L
Страница 1: ...Crestron TPMC 12L Isys 12 WallMountTouchScreen Operations Guide...
Страница 4: ......


