Isys
®
12” Wall Mount Touch Screen
Crestron
TPMC-12L
The TPMC-12L is configured from the setup menu.
NOTE:
If no project has been loaded or if an invalid project has been loaded, the
touch screen defaults to the setup menu screen.
If a project is running, the setup menu can be accessed using one of two methods:
USB keyboard or Crestron Toolbox.
Via USB Keyboard
1. Attach a USB keyboard (refer to “Hardware Hookup” which starts on page
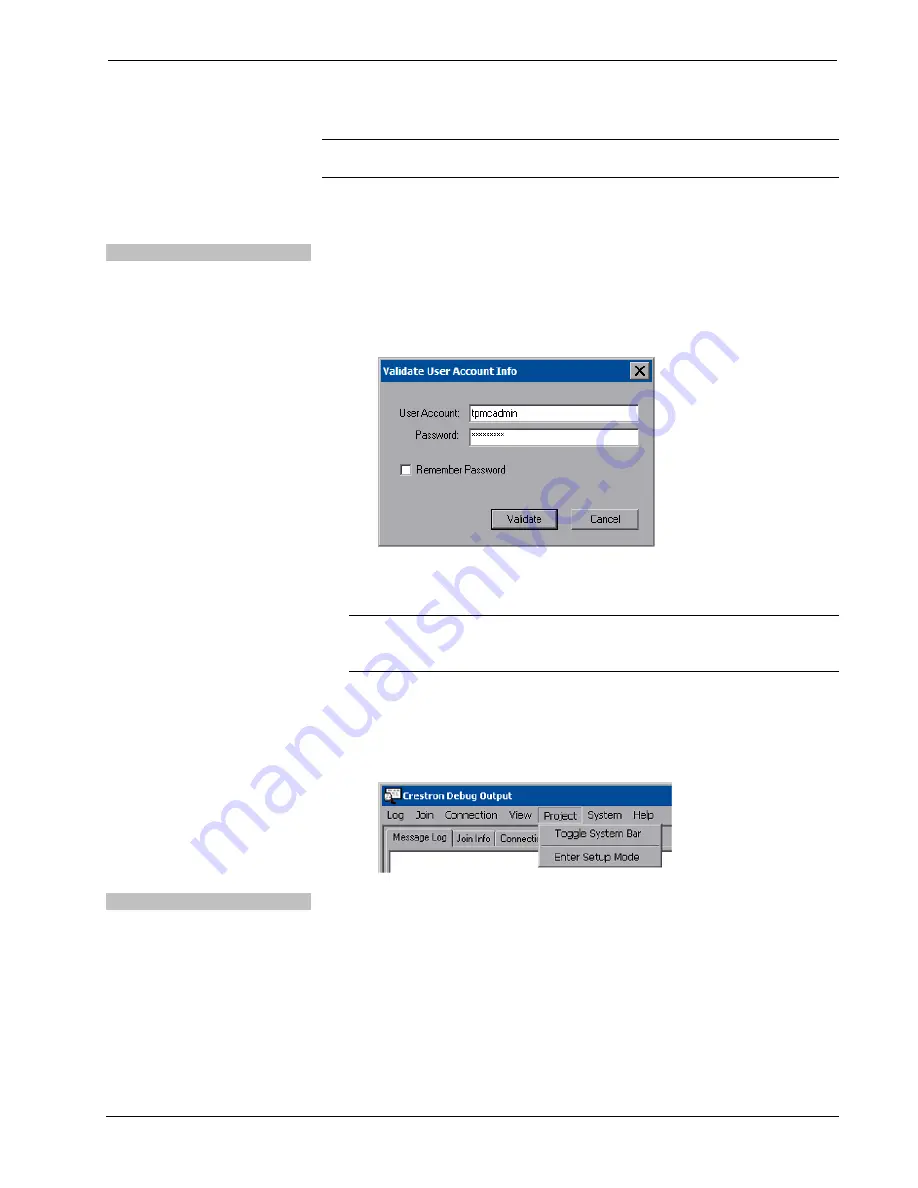
2. Open the “Validate User Account Info” window (shown on the following
page) by pressing
Ctrl+Alt+Shift
on the keyboard.
“Validate User Account Info” Window
3. Enter the user account
tpmcadmin
, and the password
tpmcadmin
and touch
Validate
.
NOTE:
The password is case sensitive. After logging in, the password can be
changed from the “Security” window. Refer to “Security” which starts on page
18 for more information.
4. When the “Crestron Debug Output” window
appears (shown in the
following diagram), select
Project | Enter Setup Mode
to enter the setup
menu (refer to “Setup Menu Details” on page 18).
“Crestron Debug Output” Window
Via Crestron Toolbox
1. Establish communication with the touch screen (refer to “Establishing
Communication” on page 55 for details).
2. From the Network Device Tree, right-click on the device, then select
Functions | Setup Mode…
.
16
•
Isys
®
12” Wall Mount Touch Screen: TPMC-12L
Operations Guide – DOC. 6686C
Содержание Isys TPMC-12L
Страница 1: ...Crestron TPMC 12L Isys 12 WallMountTouchScreen Operations Guide...
Страница 4: ......


