www.cls-led.com
CLS manuals
CLS Zense
- 9 -
- 10 -
3 x
A
B
Colour
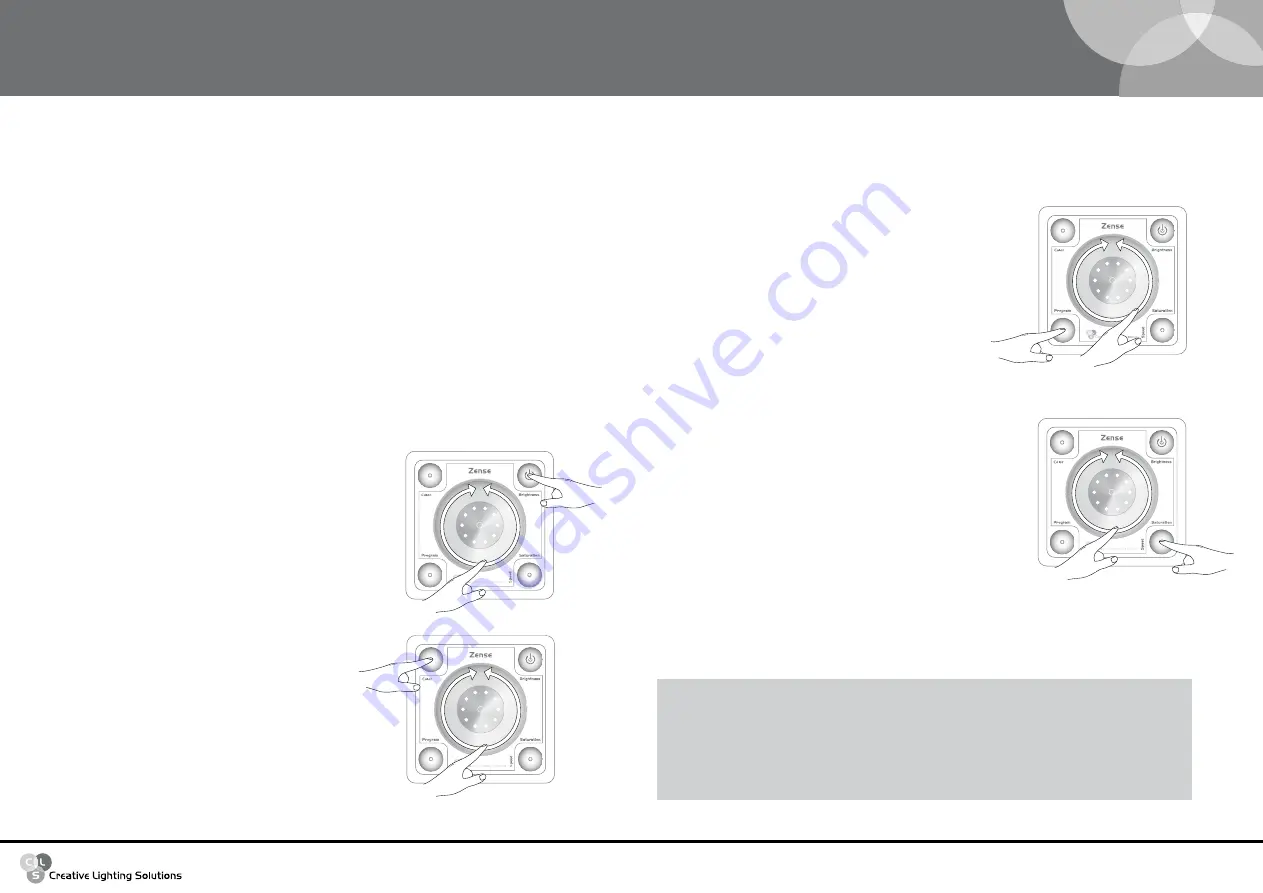
Touching the colour button will set the Zense to colour
control. Indication LED I2 is on. The slider can now be used
to scroll through the colour palette. The image of the colour
palette under the slider is equal to the selected colour.
The LEDs L1-L10 give an indication of the selected colour.
OPERATING
Switch ON
The Zense is switched on by touching any button or the slider. The Zense will return where it was turned off.
This way it is not necessary to select your favourite settings every time the Zense is switched on.
Switch OFF
Holding the brightness button for ± 3 seconds will switch off the Zense. The controlled LED products are
switched off. For DMX the all channels are set to zero and the direct drive output is switched off.
Step 4
Save the configuration, place and hold your finger on the
Saturation button (A) until the LEDs stop flashing. The CLS
Zense always returns to Colour control.
Cancel the changes, place and hold your finger on the
Program button (B) until the LEDs stop flashing. The CLS Zense
always returns to Colour control.
The Zense is now configured and ready to be used!
3 x
A
B
Brightness
Touching the brightness button will set the Zense to bright-
ness control. Indication LED I1 is on. LED I2 or I4 is still on,
indicating that the Zense is in colour or program mode.
The slider can be used to adjust the brightness.
The LEDs L1-L10 indicate the brightness that is selected on a
scale from 5-100%.
3 x
A
B
Program 1:
Red
Green
(Fade)
Program 2:
Green
Blue
(Fade)
Program 3:
Blue
Red
(Fade)
Program 4:
Yellow
Cyan
(Fade)
Program 5:
Cyan
Magenta
(Fade)
Program 6:
Magenta
Yellow
(Fade)
Program 7:
Orange
Yellow
(Fade)
Program 8:
Pink
Magenta
(Fade)
Program 9:
Rainbow (red-green-blue)
(Fade)
Program 10: Rainbow (red-blue-green)
(Fade)
The LEDs L1-L10 indicate which program is selected.
L1 stands for program 1, L2 for program 2 and so on.
Program control
Touching the program button will set the Zense to program control. Indication LED I4 is on. The slider can now
be used to select a program. The Zense is pre-programmed with 10 different colour programmes.
3 x
A
B
Saturation
Colour mode:
touching the saturation button will set the Zense
to
saturation control when the Zense is in colour
mode.
LED I3 is on. LED I2 is also on, indicating that
the
Zense is in colour mode. Holding the saturation
button for ±3 seconds will set the saturation to 0%.
Program mode: holding the saturation button for ± 3 seconds will
set the Zense to saturation control when the Zense
is in colour mode. LED I3 is flashing. LED I2 is also
on, indicating that the Zense is in colour mode.
Zense configuration
Fourth channel 0-100% Fifth channel 0-100% Saturation all channels
1 channel
-
-
-
3 channels
-
-
0 – 100%
4 channels
0-50%
-
50-100%
5 channels
0-60%
20 – 80%
80 – 100%
The slider can now be used to adjust the saturation. The LEDs L1-L10 indicate the saturation that is
selected on a scale from 0-100%.
The saturation is also used to control the fourth and fifth channel, if configured. The colour control will
as described in the table below.


