


OPERATOR’S MANUAL
23
SECTION 1
Options Available
View the statistics for the list. See View Statistics page 21.
See a plot of the readings. See Plot Readings page 21.
Print the list.
Erase the list. The screen will prompt
‘Erase all readings?’
To return to the readings without erasing CANCEL.
ADDING NEW JOBS TO LIST
Select add a new job.
Key in required Job name and ENTER.
Screen will prompt
‘Key in job description’
, ENTER.
Key in the job description and ENTER.
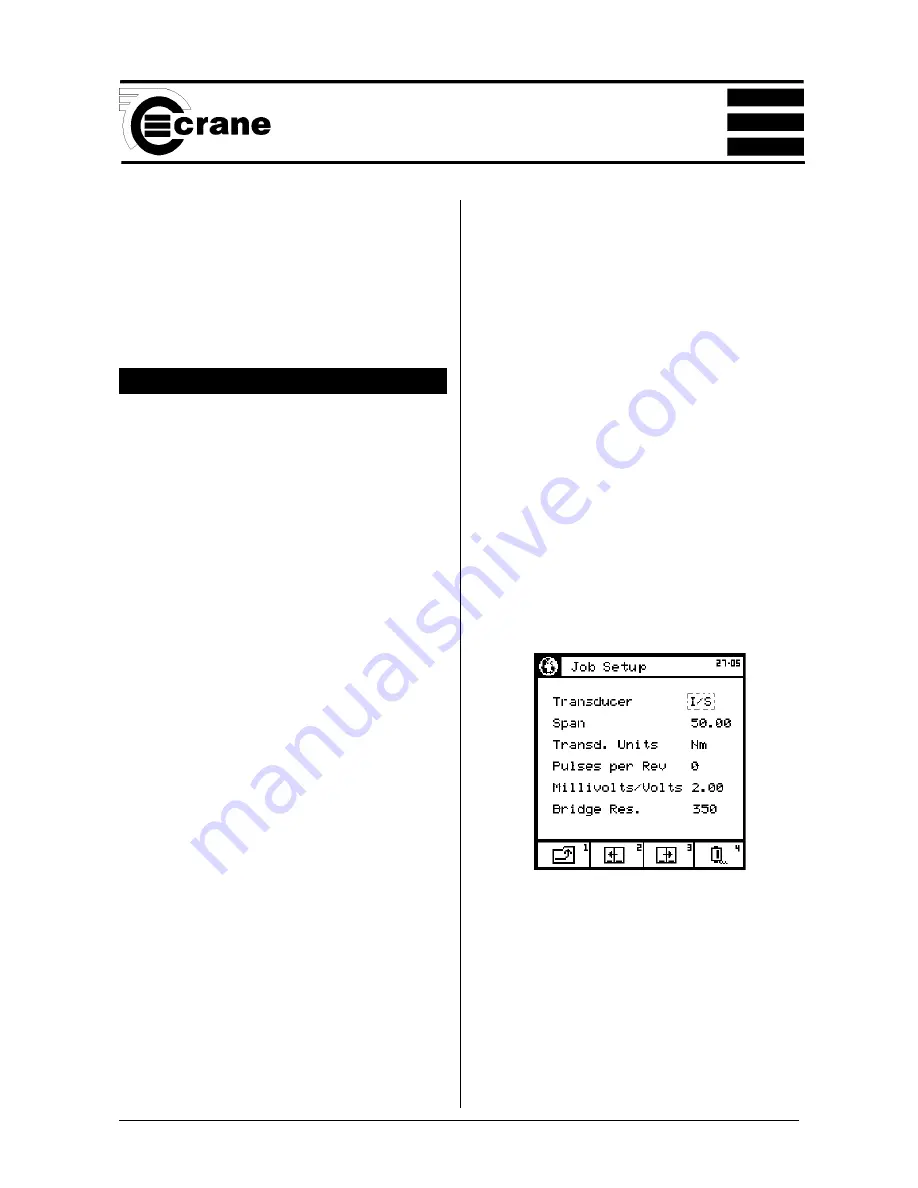
To edit the transducer settings enter the Transducer Template
screen. Select a transducer from the list (options are Auto
ID or 9 user editable options (to change these, see page
25).
The following parameters can be set in the Jobs Mode:
Job Name
Job description
Number of samples
Number of subgroups
Measure Mode
Job Comment
Comment length
Reference length
Edit transducer details
Span
Units of Measurement
Pulse per Rev
Direction
Cycle End Time
Frequency Response
Torque Threshold
Torque USL
Target
Torque LSL
Second Parameter
Second Parameter Threshold (if applicable).
Second Parameter USL
Second Parameter Target
Second Parameter LSL
The Job setup parameters are stored over several pages.
To access these move to the next page or move to the
previous page.
Altering these parameters is similar to the setup in the Quick
Store Mode.
To edit the number of samples to be taken, select Samples
and key in the required figure (between the minimum and
maximum shown on screen).
To edit the number of subgroups to be taken, select Samples
and key in the required figure (between the minimum and
maximum shown on screen).
To change the Units of Measurement,
select the required
Units from the list.
To change the Direction of rotation
, select the required
Direction (Right, Left or Auto) .
To change the Cycle End Time
, select the required figure
from the list.
To change the Frequency Response
, select the required
figure from the list.
To change the Torque Threshold
, key in the required figure
(between the max. and min. displayed on screen).
To change the Torque USL (Upper Specification Limit),
key in the required figure (between the max. and min.
displayed on screen).
NOTE:
The Torque USL and LSL can be displayed as either
a figure in the chosen Units of Measurement or as a
percentage of the USL. To change, select the desired option
(radio button).
To change the Target Torque
, key in the required figure
(between the max. and min. displayed on screen).


