11
Configuring Your Ethernet Network Card / Installing Your USB Device
Corinex ADSL2+ Wireless Gateway G
6. Click
OK
again to close.
7. Make sure that the ADSL2+ Wireless Gateway G is powered on. Restart your
system.
8. Follow the above steps 1-7 for all computers connected to the gateway through
the Ethernet interface.
Proceed
to
Chapter 5
.
4.2
Installing the USB Device Driver
NOTE:
Please do not connect the Corinex ADSL2+ Wireless Gateway G to
your computer before step #2.
1. Insert the
Corinex ADSL2+ Wireless Gateway G
CD into the CD-ROM drive of
your computer. If the installation wizard doesn’t start automatically, please
navigate to the main folder of the installation CD (with Windows Explorer or
any other file browser program) and run the program named
autorun.exe
.
Click
Install USB Drivers
. The wizard for the USB driver installation will start.
Please wait until the installation of the drivers is finished and then click
Close
to
finish the installation wizard.
2. Plug the
Corinex ADSL2+ Wireless Gateway G
into a USB port on your computer.
These are often located on the front on desktop computers, and on the back on
laptops.
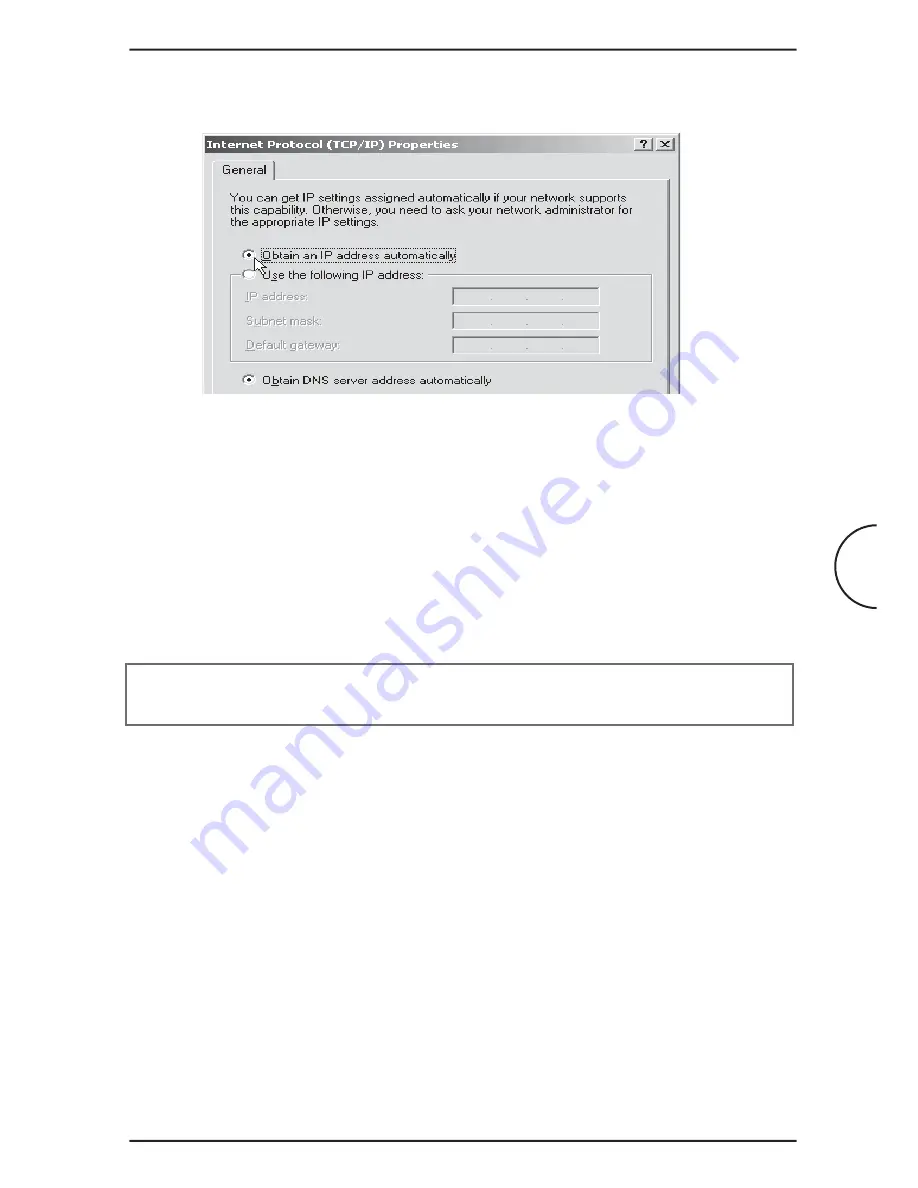
5. Select the option
Obtain an IP address automatically
and click
OK
.


