Page 6
INITIAL SETUP
After powering the unit for the first time, the computer will boot
up and the Select Device screen will appear in the display. If
for any reason the screen does not appear, on the top of the
touchscreen, tap the upper left corner, then upper right, then
upper left again. Password Screen will display.
To complete the setup, follow these steps:
1.
Enter the Managers Password
218
to gain access to the Product Selection screen.
2.
Select the Product you are setting up.
3.
Once a model is selected, the screen returns to the idle mode. Treadmills will be prompted to run a
calibration at this time. (See Maintenance Mode section)
4.
Re-enter the Service Menu and then enter Maintenance Mode.
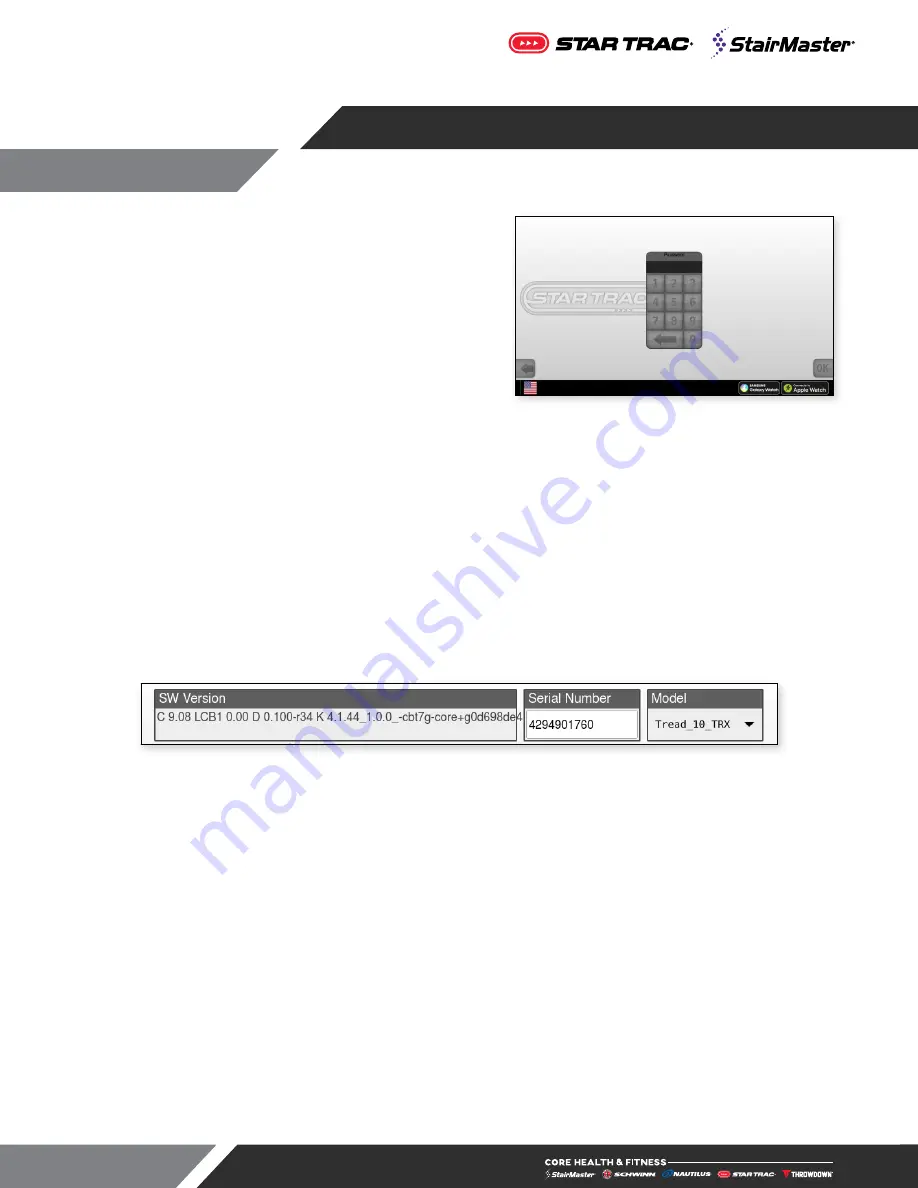
Fig. 3
Serial Number
5.
Verify that the serial number matches the last 5 digits of the Display Serial number. If the numbers do
not match, tap the serial to open the on-screen keypad and retype the number (the serial number is
printed outside the package of your Embedded Display).
6.
Verify that the displayed model in the MODEL tab matches the previously selected product.
7.
Modify any customizable parameters from the default values to meet your needs.
8.
Press SAVE AND EXIT. The unit will take you to the Service Menu (screen will vary depending on
model).
9.
Update console software to latest version if the SW Version seen in Fig. 3 shows
K
X.X.XX_
1.0.0
or
lower (see
support.corehandf.com/Software
for version numbers and update instructions).
10.
Connect the console to the local network (hard-wired preferred).
11.
Perform a Channel Scan (see “Channel Scan Procedure” in the Maintenance Mode section).
Fig. 4
Password Screen


