22
23
Ref. ID 301, Rev. A
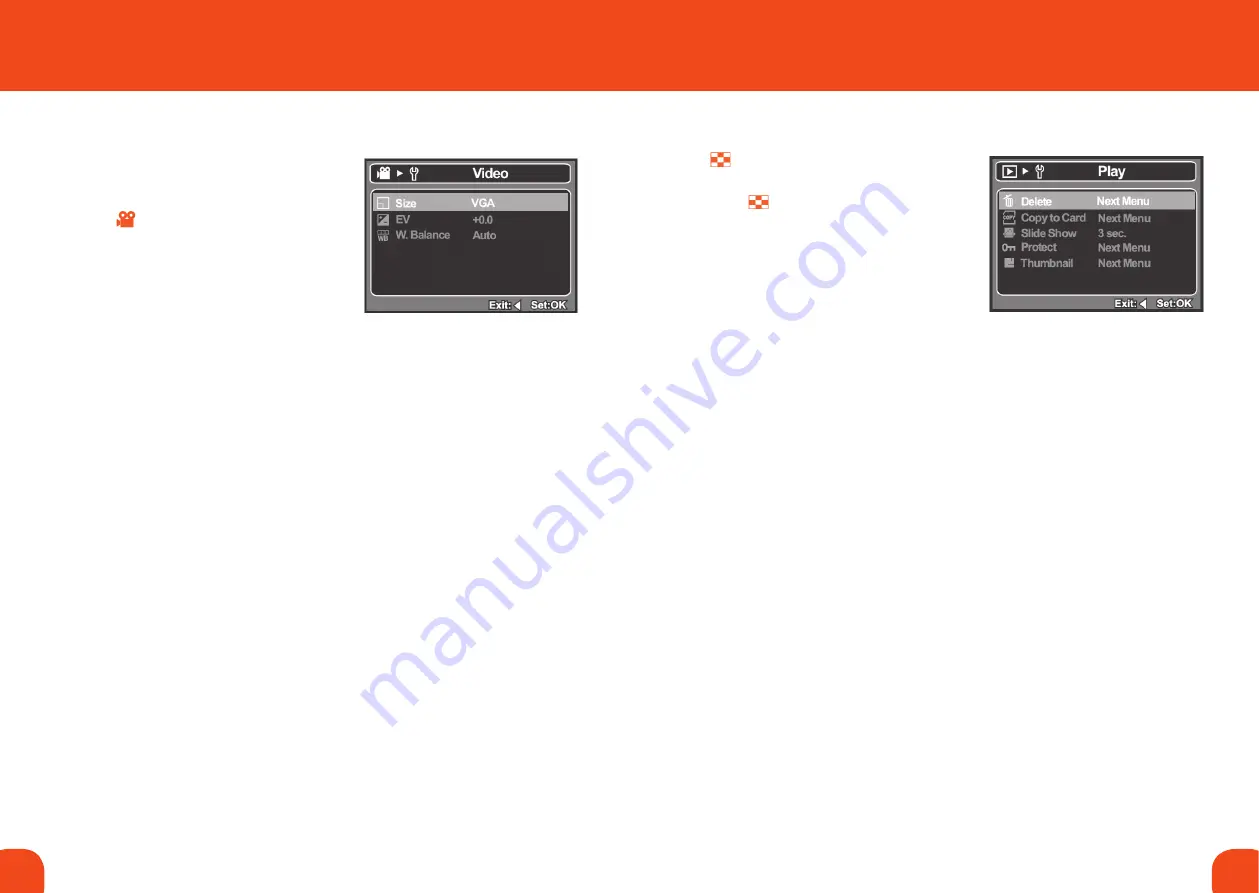
VIdeo menu
This menu is for the basic settings to be used
when recording video clips.
1. Press the
mode button to set the camera
mode to
2. Press the
menu button.
3. Select the desired option item with the
p
/
q
buttons, and press the
ok button
to enter its respective menu.
4. Select the desired setting with the
p
/
q
buttons, and press the
ok button.
5. To exit from the menu, press the
t
button.
SIze
This sets the resolution of the video clip that will be captured.
VGA
640 x 480
QVGA 320 x 240
eVw
Refer to “Adjusting the Exposure (EV Compensation)” on page 10.
wHIte BaLance
Refer to “White Balance” on page 20.
PLayBack menu
In the mode, choose which settings are
to be used for playback.
1. Press the button.
2. Press the
menu button.
3. Select the desired option item with the
p
/
q
buttons, and press the
ok button to
enter its respective menu.
4. Select the desired setting with the
p
/
q
buttons, and press the
ok button.
5. To exit from the menu, press the
t
button.
deLete
Refer to “Erasing Images” on page 16.
coPy to card
Allows you to copy your files from the camera’s internal memory to the
upgraded memory area. Of course, you can only do this if you have a
specified a memory upgrade and some files in internal memory.
*Cancel / Execute
SLIde SHow
Refer to “Slideshow Display” on page 14.
Protect
Refer to “Protecting Images” on page 15.
tHumBnaIL
Refer to “Thumbnail Display” on page 14.
Содержание Centurion XP Series
Страница 15: ......


