45
5. STATUS
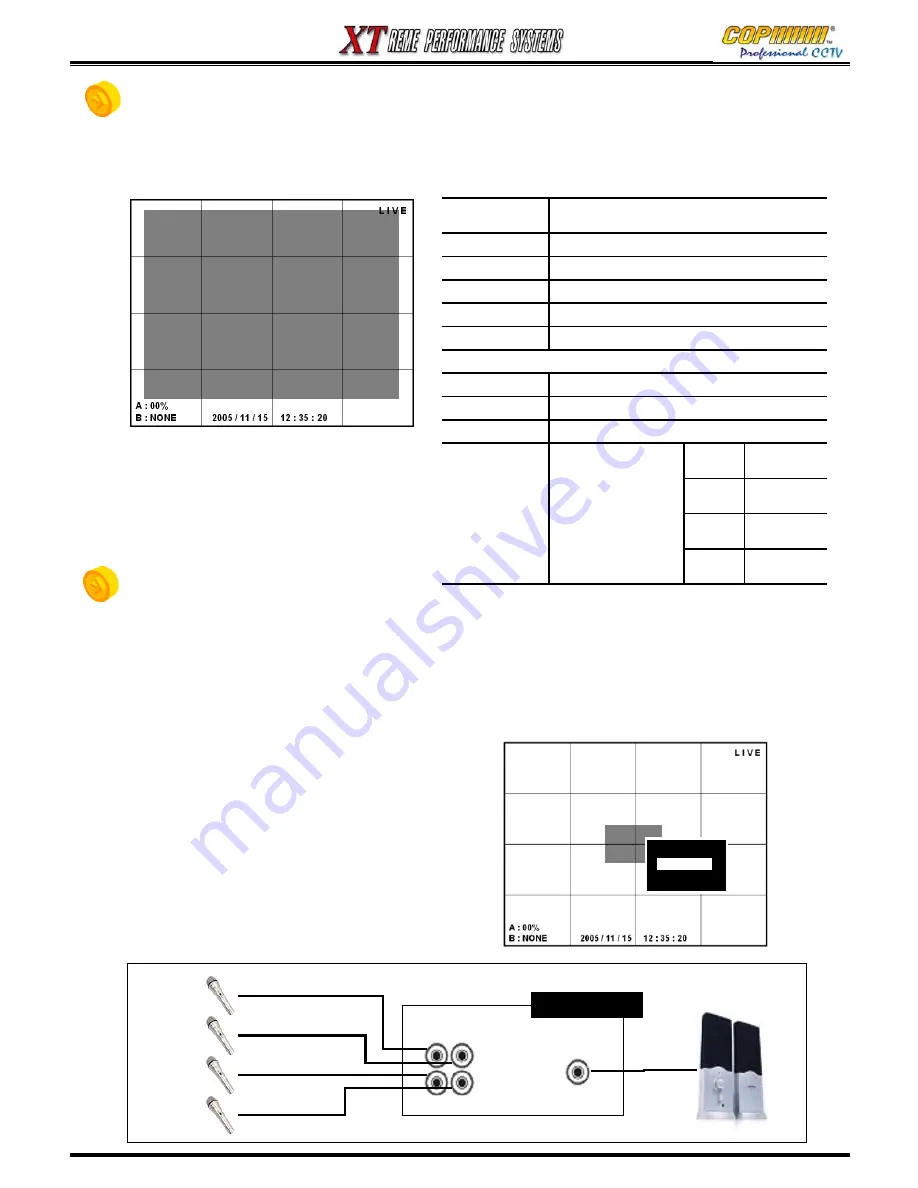
1) Press the [FUNCTION] button to access the User Sub-Menu.
(From the IR Remote, press the [STATUS] button.)
2) Using the (
▲
)(
▼
) buttons highlight [STATUS] and press the [ENTER] button to view the Status Window
3) Press the [FUNCTION] or [MENU]
button to exit the Status Display.
6. AUDIO
1) Press the [FUNCTION] button to access the User Sub-Menu. (From IR Remote, press [AUDIO] button.)
2) Press the [ENTER] button to view the Audio Selection Window.
3) Press the [ENTER] button and highlight either [AUDIO ON] or [MUTE] by using (
▲
)(
▼
) buttons.
Press the [ENTER] button to apply the selection. (The Audio Channel allocation is described in the
Setup Menu on Page 41).
4) Press the [MENU] button to exit the Sub-Menu.
5) The relevant Audio is heard when the allocated
video channel is viewed in full screen.
[STATUS]
S/W VERSION : VO.9.0-BY-16 (07/11/05 20:40)
HDD-A : 75G ( 10.57%)
HDD-B : <NOT MOUNTED>
NETWORK : STATIC 192.168.1.200
MAC : 0.e.b5.0.5.ea
DDNS : DDNS OFF
[REC] SIZE : 720X480
CH RT QUAL CH RT QUAL CH RT QUAL CH RT QUAL
1 8 STD 5 8 STD 9 8 STD 13 8 STD
2 8 STD 6 8 STD 10 8 STD 14 8 STD
3 8 STD 7 8 STD 11 8 STD 15 8 STD
4 8 STD 8 8 STD 12 8 STD 16 8 STD
S/W VERSION
DVR firmware version
(and the date of program update)
HDD-A
MASTER HDD size and usage.
HDD-B
SLAVE HDD size and usage.
NETWORK
Fixed or dynamic IP address
MAC
DVR MAC ADDRESS
DDNS
DDNS service status for dynamic IP user.
[REC]
SIZE
Recording image resolution
CH
Camera number
RT
Recording frame rate for each camera.
BEST
Best
quality
HIGH
High
quality
Standard
quality
Economic
al quality
ECN
STD
QUAL
Recording image
quality.
AUDIO IN
A B
C D
AUDIO OUT
DVR SYSTEM
AUDIO 1
AUDIO 2
AUDIO 3
AUDIO 4
SPEAKER
*AUDIO input/output connection.
[AUDIO]
MUTE
AUDIO
- AUDIO ON
- MUTE
- AUDIO ON
5. STATUS / 6. AUDIO
Содержание XT Series
Страница 1: ...4 Channel DVR manual Rev 2 2 September 2006 XT Series ...
Страница 20: ...20 3 SETUP ...
Страница 70: ...70 ...


