8
• Turning the Information Display/LCD Screen Off
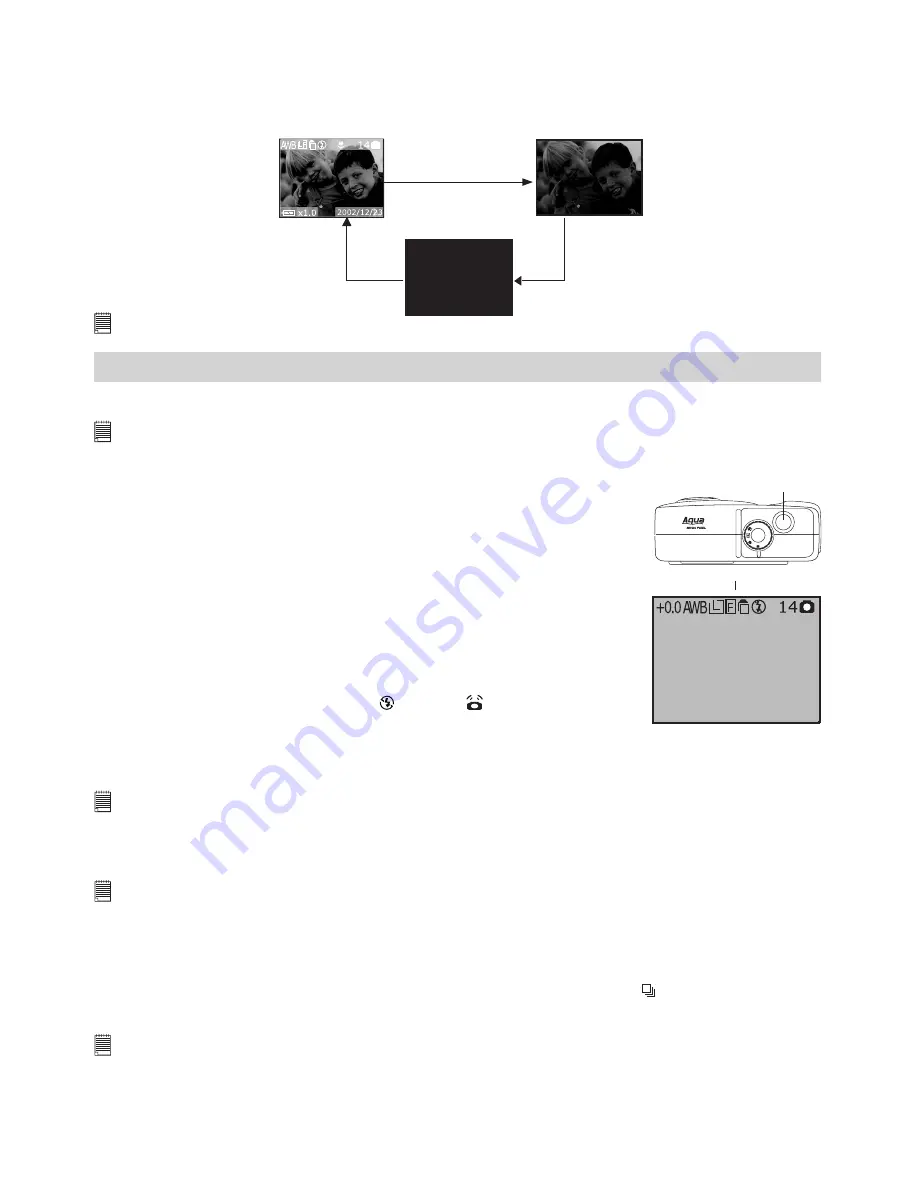
To turn the Information display icons off, just press the Display button once, press it again will turn off
the LCD screen. Press the Display button one more time will turn on the information display and the LCD
screen.
Press the
Display button
Press the
Display button
Press the
Display button
LCD screen on,
Information
display on
LCD screen on,
Information
display off
LCD screen off,
information
display off
NOTE:
You can not turn off the LCD screen if the camera is in Macro mode.
3 Taking and Managing the Pictures
Before you take pictures, please read this note first:
NOTE:
Never remove batteries, disconnect the AC adaptor from the camera, or unplug the adaptor while a picture is being
saved. Doing so will prevent the current picture being saved and may corrupt other pictures already stored on the
camera’s internal memory or on a memory card.
• Taking Pictures in Auto or Manual mode
Capture subjects this close to the lens:
• Normal focus: 11.8 inches to ∞ (30 cm to ∞)
• Macro focus: 5.9 inches to 11.8 inches (15 cm to 30 cm)
A
M
3.2
Displayed icons
Shutter button
1. Set the Mode selector to Auto or Manual mode.
2. Turn on the camera.
3. Frame your subject using the LCD screen.
4. Press the Shutter button half way down to set auto white balance and
exposure.
• The icons on the LCD turn green, indicating the camera has set auto white
balance and exposure properly.
• The icons on the LCD turn red, indicating the camera has not set to right
auto white balance and exposure.
• When the flash mode is set to Off “ ”, the icon
might appear on LCD
screen to remind you to hold the camera steady or use a tripod.
5. Press the Shutter button completely down to take a picture, holding the camera
steadily.
The Operation LED blinks in green while the camera is processing the picture just taken. You can take the
next picture when the Operation LED stops blinking.
IMPORTANT!
We strongly recommend the user to take a picture only after the icons on the LCD turns green.
• Taking a Picture with the LCD Screen off
You can also take a picture with the LCD screen off. The procedure is the same as above but frame your
subject using the Viewfinder instead.
NOTE:
White balance and exposure indicator icons are not available when the LCD is turned off.
• Taking Continuous Pictures
Continuous pictures mode lets you take up to 3 pictures in quick succession.
1. Turn on the camera.
2. Set the Mode selector to Auto or Manual.
3. Press the Continuous Mode button to activate Continuous mode. The icon will appear on the LCD
screen.
4. Press the Shutter button to take continuous pictures.
NOTE:
• The number of continuous pictures you can take will depend on the available memory and the resolution settings.
• The flash does not fire in the Continuous mode.


