NSRTW_mk3
User’s Manual
27
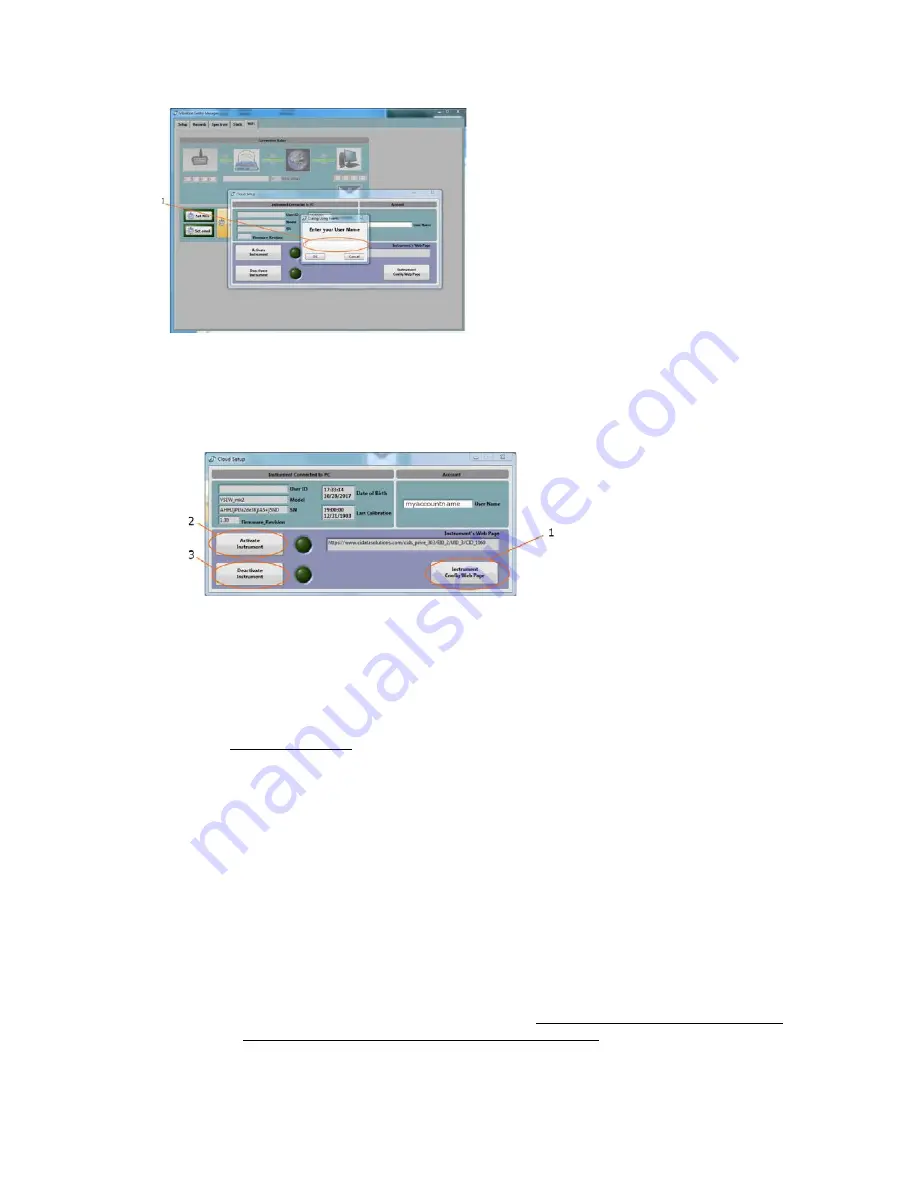
2. At this point the instrument connected to the PC may already be associated to that account.
Otherwise the subscription must allow for one additional instrument. If that is the case, the
instrument is automatically associated to the account, and there is no error message. The
panel below is presented to the user.
3. Press the
Instrument-Config-Web-Page
button (1). That action opens the default web browser
on the PC, and navigates to the configuration page for that particular instrument. If that
instrument was already associated to the account, that page presents the current configuration
of that instrument. For a new instrument, it presents a default configuration that still needs to
be adjusted (see below). That configuration page contains ALL the settings of the instrument,
including its measurement settings, its
WiFi
settings, and its email alarm settings. You must
adjust all required settings, and press the
Submit
button at the bottom of the web page.
a.
Instrument-Info:
Add/change the user-ID for that instrument, if one is
required.
b. Instrument-Configuration:
Adjust all the measurement parameters for the
particular instrument. The setup for a
VSEW_mk2
is presented. Measurement setup
options will be different for another type of instrument. For a
VSEW_mk2
it is
important to set the
WiFi
action to
Recording
or
Auto-Recording
. The former begins
recording immediately when the instrument initially connects to the cloud. While the
latter prepares the instrument for a triggered recording, and the recording will only
start when the signal passes the specified threshold.
c. WiFi-Configuration:
Adjust the connection parameters for the
WiFi
access point or router to which the instrument must connect. That includes
SSID
(the
name of the router or Access Point), the type of encryption, and the password if any.
That also includes the connection interval. The
WiFi-Report-Active
box must be
checked for the instrument to connect at regular intervals.


