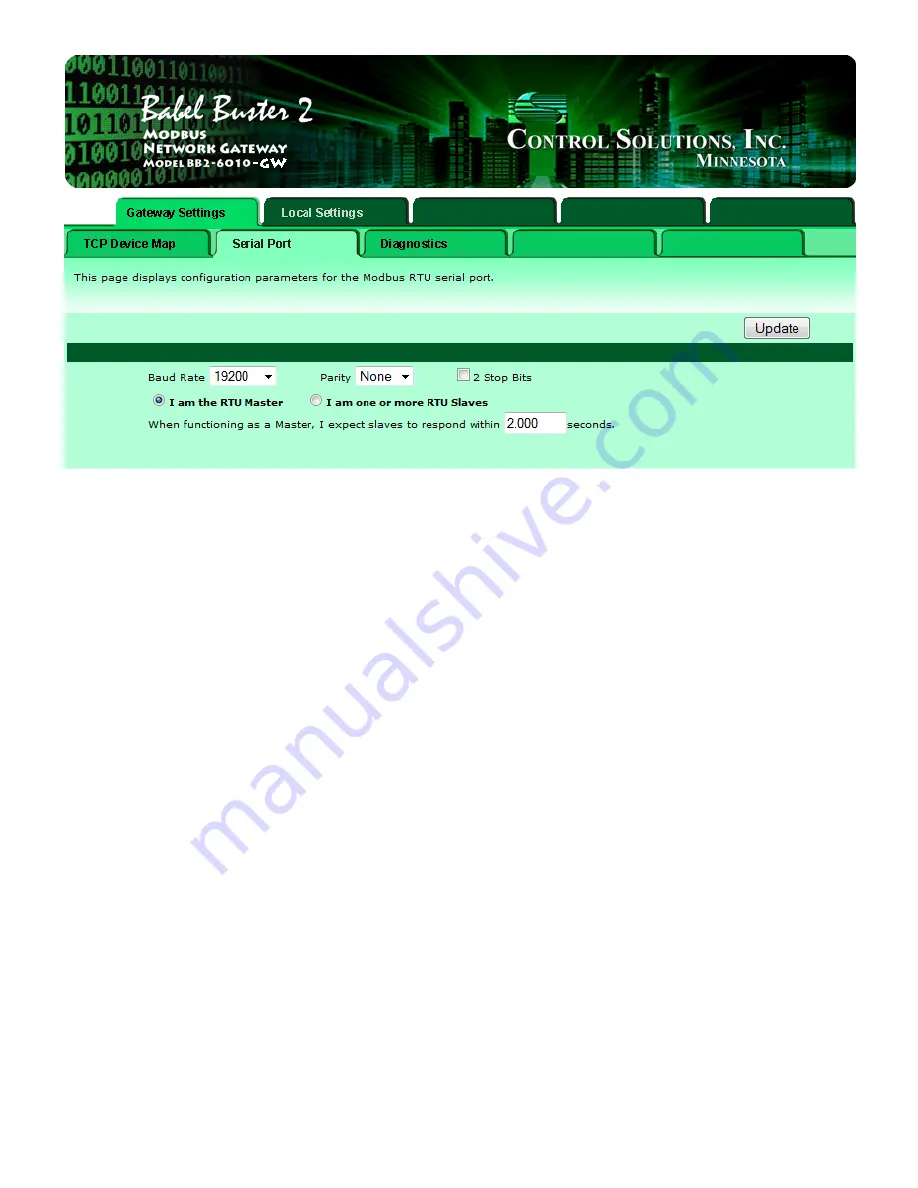
Select baud rate and parity from the drop down list. Click either Master or Slave buttons to select type of
operation. Enter timing parameters or address as applicable. Click update to register your changes.
IMPORTANT: Set timeout to something long enough for the device(s). If too short, the gateway will not
wait long enough for a response from the Modbus slave device, and the result will be a lot of "no
response" errors from the device even though the device is perfectly functional.
Once you have made all of the appropriate settings on this page, you must go to the Config File page and
click Save to retain these settings past the next power cycle. Refer to the previous section to see where to
find the Config File page.
Configuring the non-mapping gateway with Modbus TCP as master is very simple. You set up the ports and
that is all. You do not need to do anything on the TCP Device Map page - that is for configuring in the
opposite direction.
3.2 Configuring Gateway with Modbus RTU as Master
If your Modbus RTU master wants to view one or more Modbus TCP devices as slaves, then from the
perspective of your RTU master, this gateway must be configured as an RTU slave. Make that selection by
clicking "I am one or more RTU Slaves". You must also select the baud rate that your Modbus RTU master
is using, as well as parity and whether 2 stop bits are required.
3. Configuring Gateway as a Modbus RTU Master
file:///C:/AAA_CSI/Literature/2015 User Guides/BB2-6010-GW User G...
2 of 6
12/23/2015 9:29 AM


