Do not subject the unit to
severe mechanical stress.
Do not drill or screw additional
screws into the casing to fix the
unit.
Find a suitable location for the
camera which is to be monito-
red.
Recommended camera lens
mounting height (1): approx.
1.8 m.
Take care that the camera is no
further than 20 metres from the
monitor.
Mechanical fixing:
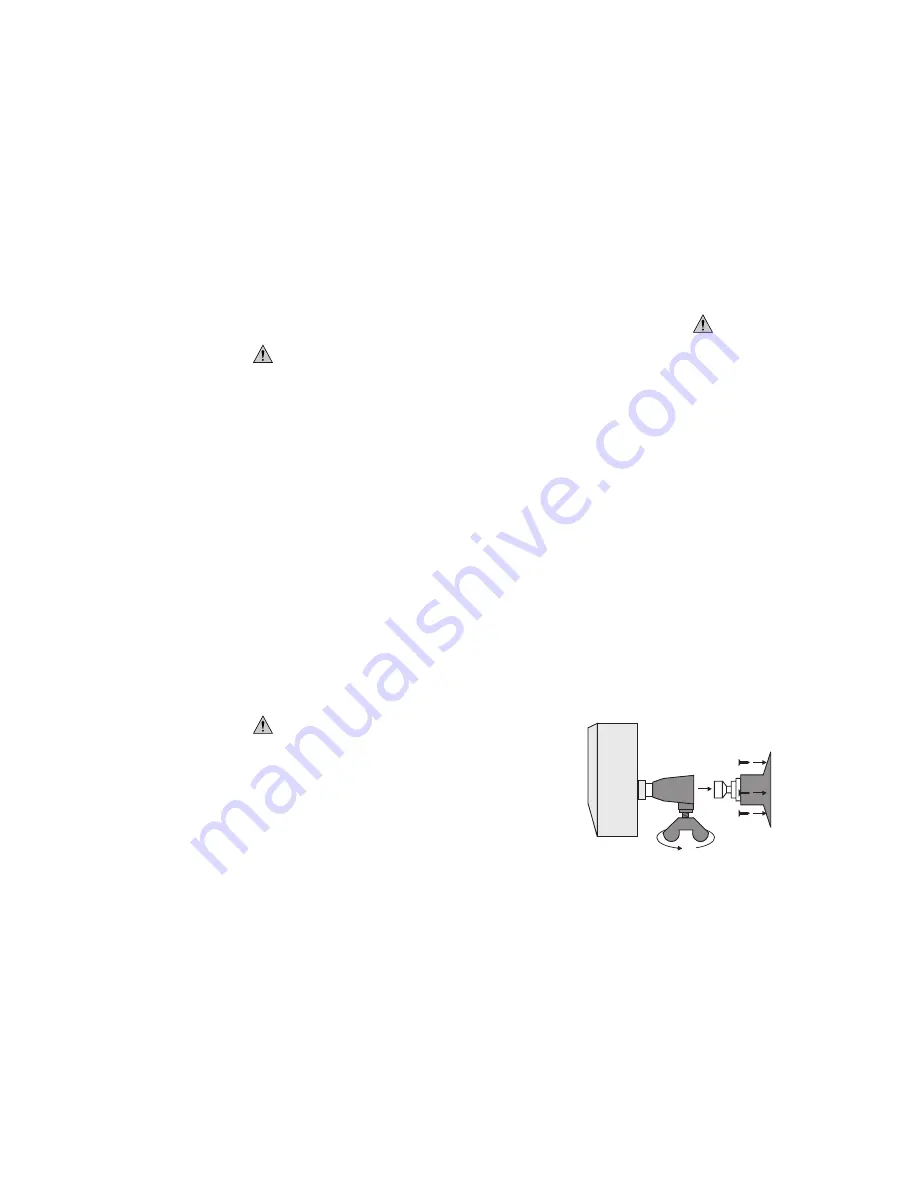
The camera can be mounted onto a wall or ceiling using the wall
fixture (8) or, using the clip fixture (9), onto a table top or shelf.
Using the drilling holes (7) of
the wall fixture (8), mark the lo-
cations of the fixing holes.
Remove the wall fixture again
and drill the fixing holes.
22
By doing this, dangerous volta-
ges can be contacted.
Note
The mounting height depends
on the object to be monitored.
The length of the connecting
cable is 20 metres.
Be careful that no electric ca-
bles, water pipes, etc. are be-
hind the proposed hole locati-
ons.
Benutzen Sie die Bohrlöcher (7)
der Wandhalterung (8) und
zeichnen Sie die Löcher für die
Befestigungsbohrungen an.
Nehmen Sie die Wandhalterung
wieder ab und bohren Sie die
Befestigungslöcher.
Schrauben Sie die Wandhalte-
rung mit geeigneten Schrauben
fest.
Stecken Sie die Öffnung (10)
der Kamera in die Halterung (6)
der Wandhalterung.
Richten Sie die Kamera auf das
zu überwachende Objekt aus.
Kontern Sie die Steckverbin-
dung mit der Flügelschraube
(11).
11
Achten Sie darauf, dass sich an
den vorgesehenen Bohrstellen
keine elektrischen Leitungen,
Wasserleitungen, etc. befinden.
Hinweis
Benutzen Sie bei Bedarf Dübel.
Verwenden Sie einen passen-
den Schraubendreher.
Drehen Sie sie nur so fest, dass
die Kamera sich nicht mehr be-
wegen lässt.


