


8
Getting Started
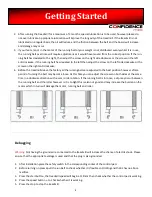
Debugging
Warning:
Not having the ground wire connected to the treadmill will increase the chance of electric shock. Please
ensure that the appropriate voltage is used and that the plug is also grounded.
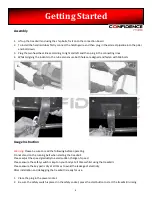
1. After installation place the safety switch in the corresponding socket of the control pad.
2. Before turning on please pull the run belt to check whether it is flexible and rolling and that it has no abnor-
malities.
3. Press the start button, the treadmill speed will begin at 1.0 km then check whether the control pad is working.
4. Press the speed - to check whether it is working.
5. Press the stop to stop the treadmill.
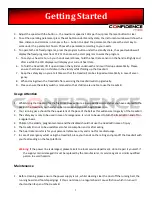
2. After running the treadmill for a maximum of 3 months, special lubrication is to be used, however please do
not over lubricate. Appropriate lubrication will improve the longevity of the treadmill. If the treadmill is not
lubricated on a regular basis, the oil will reduce and the friction between the belt and the board will increase
and damage may occur.
3. If your feet are not in the center of the running belt or your weight is not distributed evenly whilst it is in use,
the running belt over time will require adjustment as it would have moved from the correct position. If the run-
ning belt has deviated to the right, then adjust the screw on the right side clockwise or the screw on the left
anti clockwise. If the running belt has deviated to the left then adjust the screw on the left side clockwise or the
screw on the right anti clockwise .
4. Before the treadmills leave the factory all the running belts are adjusted to the best position however after a
period of running the belt may become loose. At this time you can adjust the screws on both sides at the same
time in a clockwise direction with a semi circle rotation. If the running belt is to loose, a slip may occur between
the running belt and the roller however is it is to tight this is also not good and may increase the burden on the
motor which in turn will damage the motor, running belt and roller.