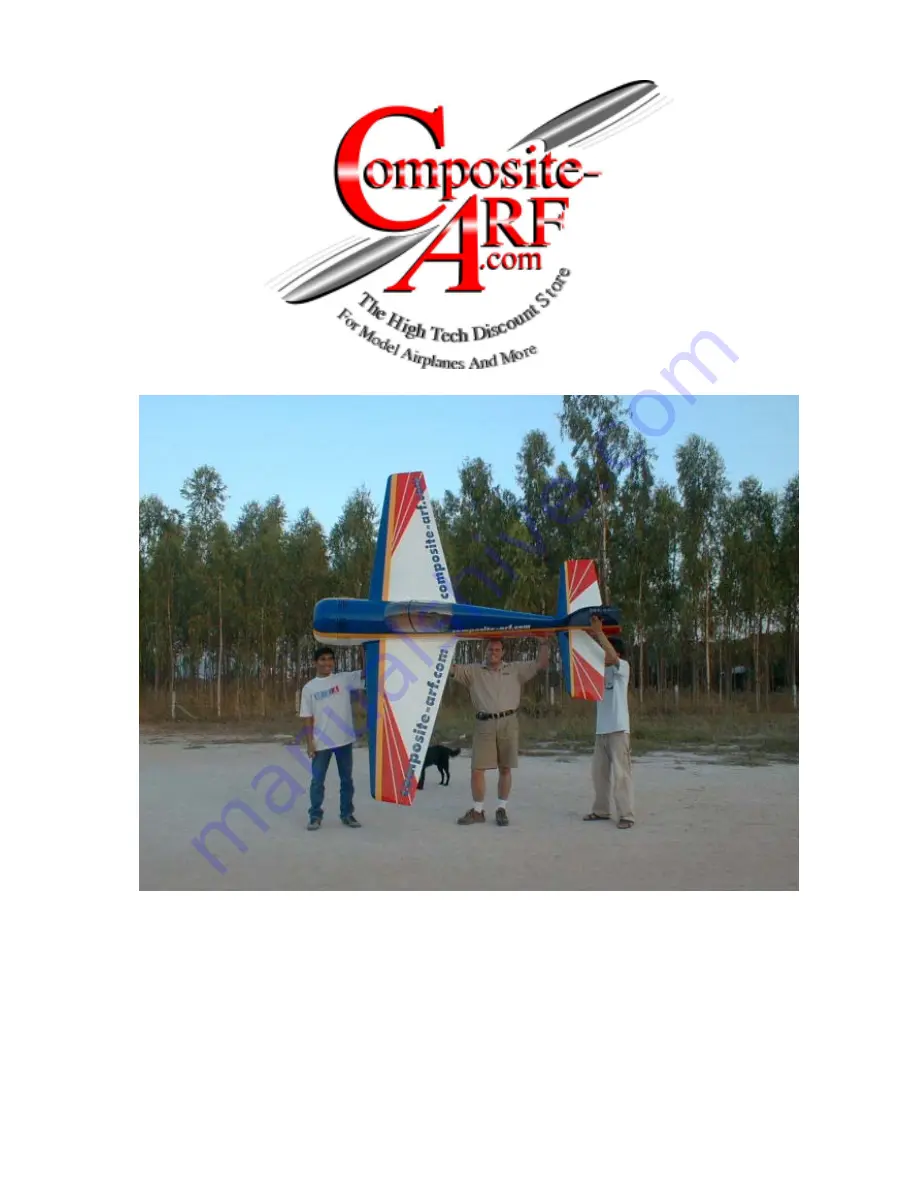
Ultimate RC-Aerobatic Contest Aircraft
Span:
3.31 m (131”)
Length:
2.95 m (115”)
Weight:
18.5 - 20 kg (40 - 44 lb)
Preliminary Assembly and Setting Instructions
Yak-55 SP
Страница 1: ...Ultimate RC Aerobatic Contest Aircraft Span 3 31 m 131 Length 2 95 m 115 Weight 18 5 20 kg 40 44 lb Preliminary Assembly and Setting Instructions Yak 55 SP ...
Страница 2: ... is your responsibility to land immediately if a real aircraft approaches When operating a jet engine you must keep people and animals in a safe distance from it This means In front of the engine 4 5 m To the side of the engine 7 5 m Behind the engine 4 5 m WARNING The operator of the model must be in full possession of his or her bodily and mental faculties Operating a model aircraft under the in...
Страница 3: ...operating manual regarding the construction operation and maintenance of the aircraft nor whether you install and use the radio control system correctly For this reason we at Composite ARF are unable to guarantee or provide a contractual agreement with any individual or company that the model you have made will function correctly and safely You as operator of the model must rely upon your own expe...
Страница 4: ...c servo tray Then plug the servos into your receiver and center them precisely Now glue the extension servo arms to the servo discs Use CA glue Steel rulers laid on the servo horns help to allign them BEFORE you glue them on All servos center slightly different You MUST center the servos first before you glue the horns on The horns must be 100 parallel Then take the disc of the rear servo off and ...
Страница 5: ...cut a little slot into the phenolic servo tray aside each servo you can feed the wires through and the whole unit is unmounted and removed from the wing within sec onds for maintainance or adjustments Now slide the whole unit into the wing and fix it with 14 servo screws Check the servo arm cut out in the bottom wing surface and re shape it if necessary Now install the ball link into the aileron c...
Страница 6: ...m rigid and stiff Mount the servos rock hard to the phenolic tray and mount the pheniolic tray with the rubber soft mounts in the stab Make sure again that the servo arms are 100 parallel this only can be done by centering the servos with the receiver FIRST and then glue the phenolic servo horns on the servo disc Use 2 small sheet metal screws to secure the phenolic arm to the servo disc Elevator ...
Страница 7: ...e the servo discs off again You cannot insert the servo tray with the arms mounted After the servo tray is in place then you can mount the servo arms to the servos and tighten the center screw Use thread locker to make sure that they don t come loose ...
Страница 8: ...ht have to re shape the cutout slightly You can get a 45 50 deg throw on the eleva tors Very important Make sure that the slot in the stab is WIDE ENOUGH so that the e rings on the aluminum pins cannot stripped of by touching the cutout borders ...
Страница 9: ...2 long all threads and the 4 ball links This setup is sufficient when you use the Volz Alustar Digital servos On top of that main drive both servos get a coupling to another backup servo which is connected to the main disk of each main servo But and this is important these 2 backup servos are NOT connected with each other This allows a better fine tuning for centering Start with screwing the 4 ser...
Страница 10: ...d paper to prepare the glue surfaces Use thin CA glue Then attach the top horn to the servo disc and the small phenolic doubler Attention The top servo horn has the addi tional horns for servo No 3 and No 4 Both sides are in mirror so check carefully which horn you glue to which side the additional arms point backwards and the slot for the pull pull cables must point forward This means the 2 big d...
Страница 11: ...ttom horn with a dot of 5 minute epoxy so that you can tighten the M3 screws properly the small horns are con nected with standard clevises It is on purpose that the holes in the discs are slightly bigger than the pin of the clevis This takes any possible tension out of the system Now insert the unit into the main fuselage board and fix it with the supplied sheet metal screws Install the pull pull...
Страница 12: ...imple pipe mount ing the adjustable wing and stab mount should be fixed permanently when you are satisfied with the adjustments during the first flights Especially I do not trust the carbon thread for more than a few hours of engine vibration so after you set the incidence perfectly fill the outer area of the hole with Silicon this still allows to get it off one day and readjust if needed This win...
Страница 13: ......
Страница 14: ......
Страница 15: ......
Страница 16: ...own up down Aileron 75 90 110 130 at root Rudder 135 135 160 160 counter blalance L E Elevator 60 60 150 150 couter balance L E Incindences We determined the wing to be 0 4 0 5 deg positive and the stab to be 0 2 deg negative this can be achieved by setting the rear wing dowel to approx the center of the slot and the front pin of the stab approx 1 1 5 mm down Thrust The Yak 55SP needs remarkably l...
Страница 17: ...is missing or inadequate We tried to offer this airplane as complete as possible Please let us know you will help us to continue making good things better You purchased a Yak from the very first production run If you notice any problems or have improvement ideas this is more important than ever that we know this immediately So we can make improvements quickly We try hard to improve our product con...