6-22
Removal and Replacement Procedures - Minitower
6.14 Replacement Battery
The real-time clock battery that came with the computer is non-replaceable and is permanently
installed on the system board.
!
WARNING:
The system board contains a clock/CMOS lithium battery. The lithium battery may explode if
mistreated. The battery is soldered into place and may not be removed. Do not abuse or disassemble. Use
only replacement batteries supplied by Compaq Computer Corporation.
✎
It is important to make a set of backup diagnostic diskettes before you install a new battery.
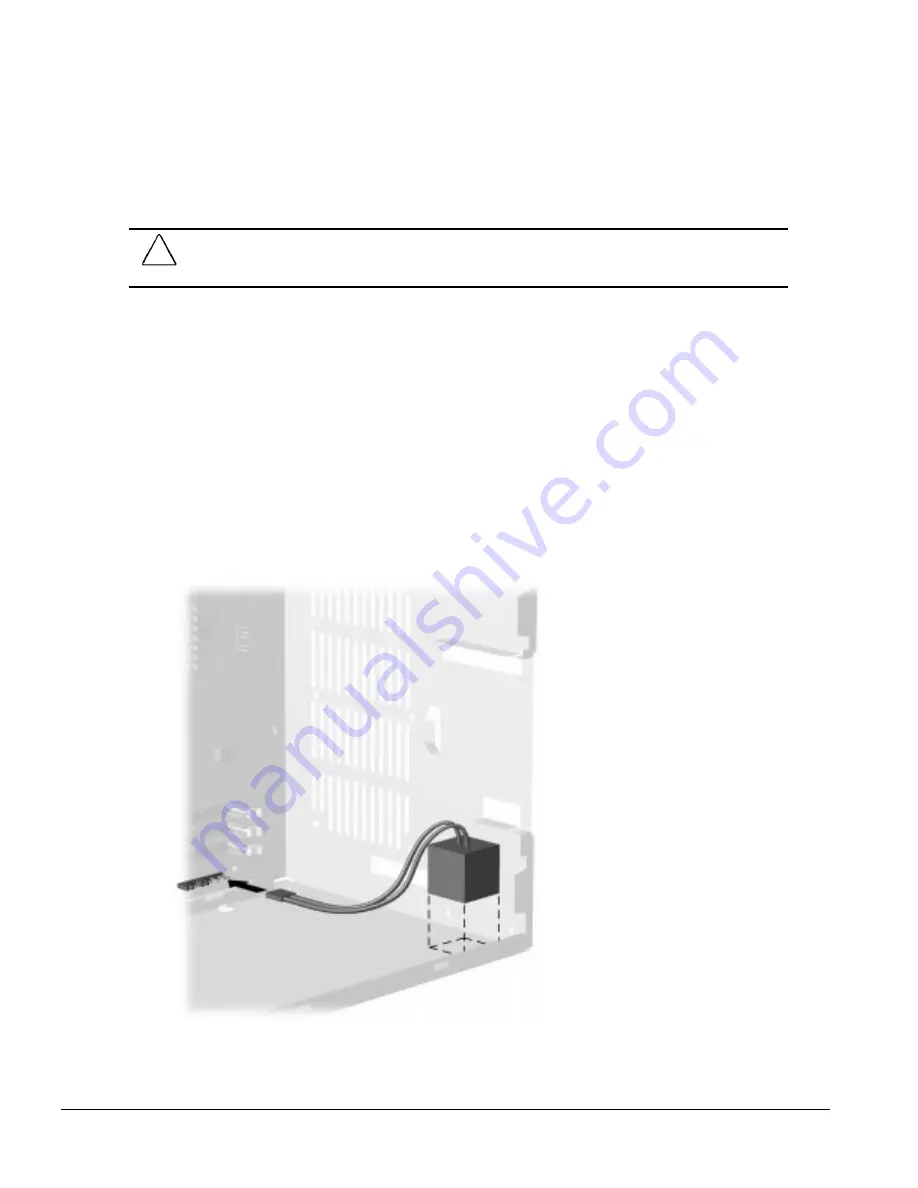
To install the external real-time battery, complete the following steps:
1. Remove the access panel (Section 6.6.1).
2. Remove the riser brace if a full-length ISA card is present (Section 6.7).
3. Connect the new battery to the pins on the battery header connector on the system board. The
battery connector is labeled “E9 Ext. Batt.” on the Pentium system board and labeled “Ext. Batt.”
on the Pentium II system board. When this battery is connected, the internal battery is
automatically disconnected.
The battery connector is keyed for proper installation.
4. Remove the backing from the adhesive on the hook-and-loop fastener strip attached to the
battery, and attach the battery as shown.
Figure 6-22.
Installing the Battery, Pentium System
Содержание 244100-005 - Deskpro 2000 - 16 MB RAM
Страница 2: ...278041 001 278785 002 ...
Страница 4: ...CPS ...
Страница 67: ...3 2 Illustrated Parts Catalog 3 1 System Unit Figure 3 2 System Unit Desktop ...
Страница 69: ...3 4 Illustrated Parts Catalog Figure 3 3 System Unit Minitower ...
Страница 71: ...3 6 Illustrated Parts Catalog 3 2 Mass Storage Devices Figure 3 4 Mass Storage Devices ...
Страница 73: ...3 8 Illustrated Parts Catalog 3 3 Cables Figure 3 5 Cables ...
Страница 75: ...3 10 Illustrated Parts Catalog 3 4 Standard and Optional Boards Figure 3 6 Optional Boards ...
Страница 77: ...3 12 Illustrated Parts Catalog 3 4 Standard and Optional Boards Continued Figure 3 7 System and Riser Boards ...
Страница 81: ...3 16 Illustrated Parts Catalog 3 6 Monitors Figure 3 9 Monitors ...


