background image

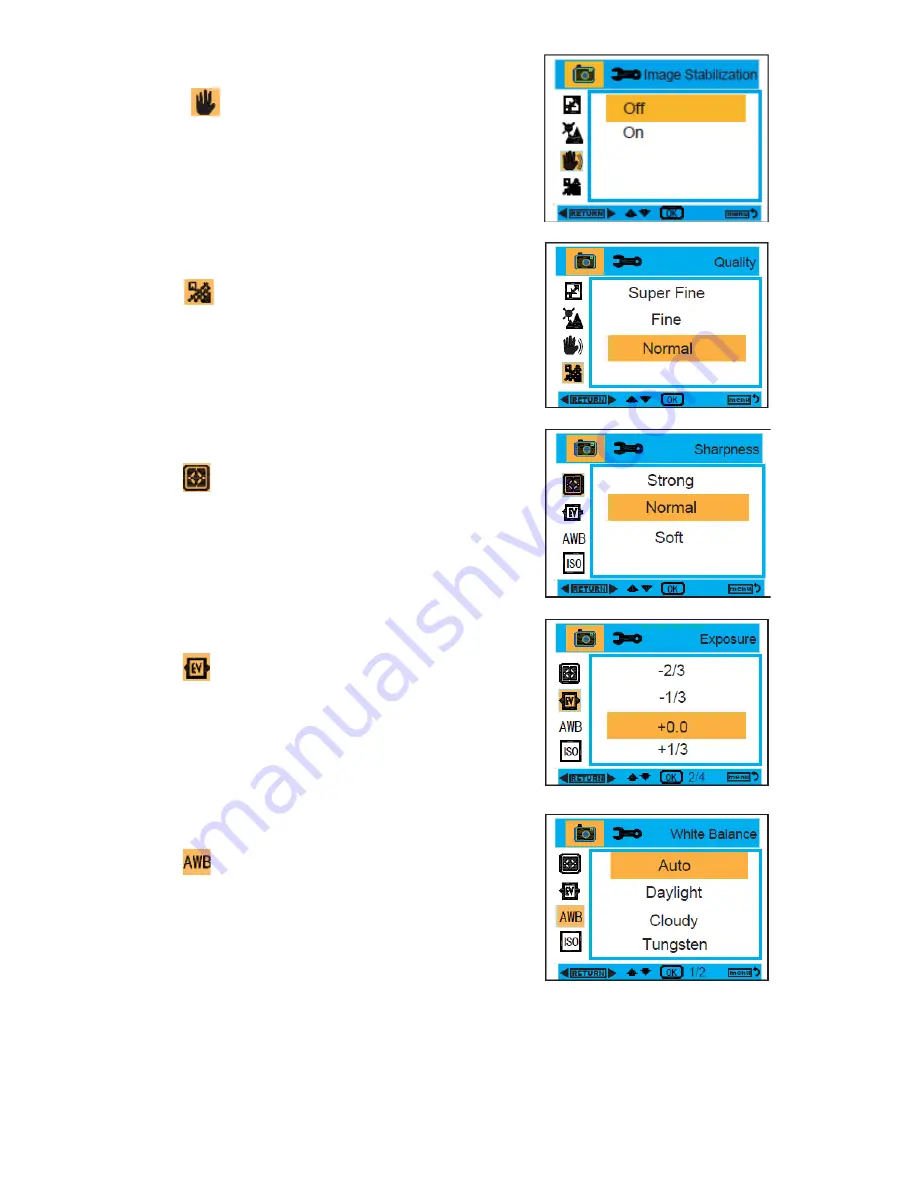
Image Stabilization : 

1.


Enter into the MENU, and press the Up/Down buttons to 
select   

  Image Stabilization. 

2.


Press the OK button, and then press the Up/Down buttons 
to select 

On/Off

3.


After selection, press the OK button to confirm, and press 
the Left button to exit. Or, press the MENU button to 
return. 


Quality : 

1.


Enter into the MENU, and press the Up/Down buttons to 

select 

  Quality. 

2.


Press the OK button, and then press the Up/Down buttons 
to select the quality, 

Super Fine , Fine , Normal


3.


After selection, press the OK button to confirm, and press 
the Left button to exit. Or, press the MENU button to 
return. 


Sharpness : 

1.


Enter into the MENU, and press the Up/Down buttons to 

select 

  Sharpness. 

2.


Press the OK button, and then press the Up/Down buttons 
to select sharpness, 

Strong , Normal , Soft


3.


After selection, press the OK button to confirm, and press 
the Left button to exit. Or, press the MENU button to 
return. 


Exposure : 

1.


Enter into the MENU, and press the Up/Down buttons to 
select 

  Exposure. 

2.


Press the OK button, and then press the Up/Down buttons 
to select exposure,

-2.0 , -5/3 , -4/3 , -1.0 , -2/3 , -1/3 , +0.0 , 

+1/3 , +2/3 , +1.0 , +4/3 , +5/3 , +2.0


3.


After selection, press the OK button to confirm, and press 
the Left button to exit. Or, press the MENU button to 
return. 


White Balance : 

1.


Enter into the MENU, and press the Up/Down buttons to 
select 

  White Balance. 

2.


Press the OK button, and then press the Up/Down buttons 
to select white balance,

 Auto, Daylight, Cloudy, Tungsten, 

Fluorescent


3.


After selection, press the OK button to confirm, and press 
the Left button to exit. Or, press the MENU button to 
return. 


Содержание C5WP Xtreme

Страница 1: ...ncluded 1 Computer System Requirements 1 Use Notice 1 Quick Look at Your Camera 2 Main Icons on the LCD 2 Prepare Your Camera for Use 3 Charging the Battery 4 Starting Your Digital Camera 5 Camera Mod...

Страница 2: ...XP Operating System Windows 7 Vista XP Mac 10 4 9 or above CPU Pentium III 1GHz minimum Pentium 4 3 0GHz or above processor recommended RAM At least 256MB minimum 1GB recommended Interface USB availab...

Страница 3: ...2 Quick Look at Your Camera Main Icons on the LCD...

Страница 4: ...the rechargeable lithium ion battery and micro SD memory card into the appropriate slots Your camera supportes a micro SD memory card up to 8GB Please refer to the diagram for correct installation Mic...

Страница 5: ...is installed correctly 1 Formatting will delete all the data on the SD memory card including protected data 2 Do not remove the memory card during formatting as this may permanently damage the card an...

Страница 6: ...o the position until the icon appears on the LCD screen This indicates that macro shooting is active Lanscape Shooting On the left side of the camera slide the macro switch to the position until the i...

Страница 7: ...setting You can chose from Resolution Scene Image Stabilization Quality Sharpness Exposure White Balance ISO and Face Detection Resolution 1 Enter into the MENU and press the Up Down buttons to select...

Страница 8: ...ss 2 Press the OK button and then press the Up Down buttons to select sharpness Strong Normal Soft 3 After selection press the OK button to confirm and press the Left button to exit Or press the MENU...

Страница 9: ...Video Mode Under Video mode press the Menu button once to enter into the menu and press Up Down buttons to select a setting Resolution White Balance and Exposure Resolution 1 Enter into Video Mode and...

Страница 10: ...and press the Up Down Left Right buttons to select the photo you would like to view After selection press the OK button to view the photo When viewing the photo you can press T Button to zoom in to th...

Страница 11: ...Or press the MENU button to return without any selection Crop 1 Enter into Playback mode and press the MENU button to select Crop 2 Press the OK button and then press the Up Down buttons to select Cr...

Страница 12: ...mat and Default Setting Date Time Select Date Time and press the OK button to set the date and time After selection press the OK button to confirm and press the Left button to exit Or press the MENU b...

Страница 13: ...ss the MENU and Right buttons to select Frequency 2 Press the OK button and then press the Up Down buttons to select 50 Hz or 60 Hz 3 After selection press the OK button to confirm and press the Left...

Страница 14: ...2 7 Inch TFT LCD Lens f 8 15mm F3 0 Zoom 8X digital zoom Exposure 2 0 5 3 4 3 1 0 2 3 1 3 0 0 1 3 2 3 1 0 4 3 5 3 2 0 Scene Auto Scenery Night Scene Portrait Night Portrait Sports Party Beach High Sen...

Отзывы: