17
6X-1090D
2.1.1 Video Control Area
The video control area is used for viewing video as well as allowing mouse control of the Camera.
Changing the Video Display
The video display can be expanded to the full screen by clicking the F11 key on the keyboard. To exit from
full screen display, press F11 again.
To close the control area, move the mouse pointer over video viewing area and double click the right mouse
button. To bring the control area back, double-click the right mouse button again.
Pan, Tilt, and Zoom (PTZ)
•
Pressing down the left mouse button and dragging the mouse allows user to control pan and tilt
functions (applies to 3960
HD
/3960
SD
).
•
Rolling the mouse wheel allows user to zoom in and out.
•
When the Camera optical zoom is at its maximum, further zoom in commands will enter digital
zoom mode. Zoom out commends affect optical zoom after digital zoom is at its minimum.
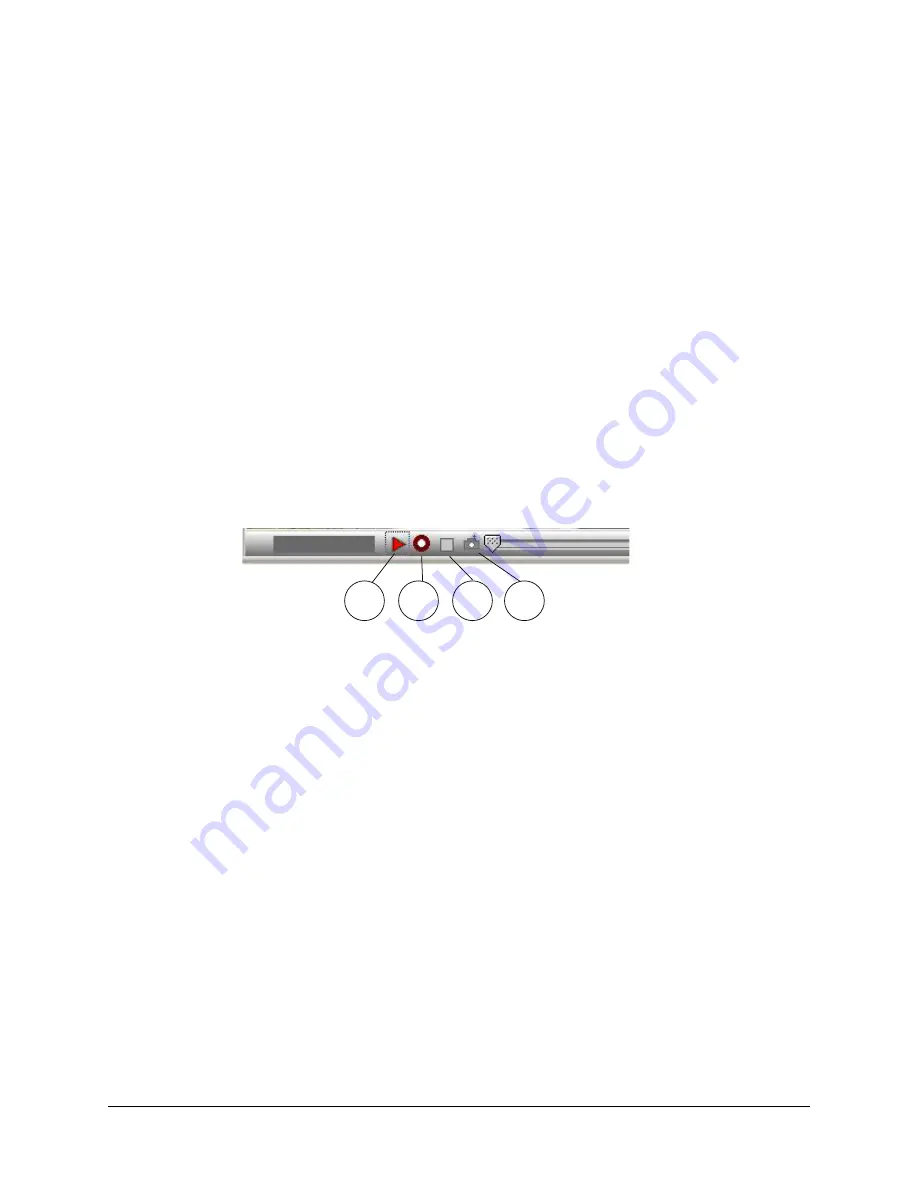
2.1.2 Live Video and Recording Controls
1. Start/Pause Live Video Button - Starts/Pauses Live Video stream.
2.
Start Recording/Stop Recording Button - Starts/Stops recording. See section 2.11 on how to find
and play back recorded video.
3. Stop Video Display Button - Stops Live Video activity and returns to the Nothing Loaded screen.
4.
Take Snapshot Button - Takes snapshots. See section 2.12 on how to find and display snapshots.
2.1.3 LED Indicators
Three LED indicators are located in the right top corner of the video area:
•
Right LED glowing solid green indicates that a live video connection is established.
• Middle LED flashing green indicates that the recorded video is playing back.
• Left LED flashing red indicates that recording is in process.
2.1.4 Text Overlay (On Screen Text Display)
On screen text display located in the top left corner of the monitor allows user to see the Camera name and
the existing status of pressure and temperature. For more information see the following sections:
•
for changing Camera name see section 2.2.1.4
•
for showing temperature/pressure see section 2.8
1
2
3
4


