Modular Test Platform
|
MTPmini
Coherent Solutions
|
MTPmini
(V1)
15
8.3.4
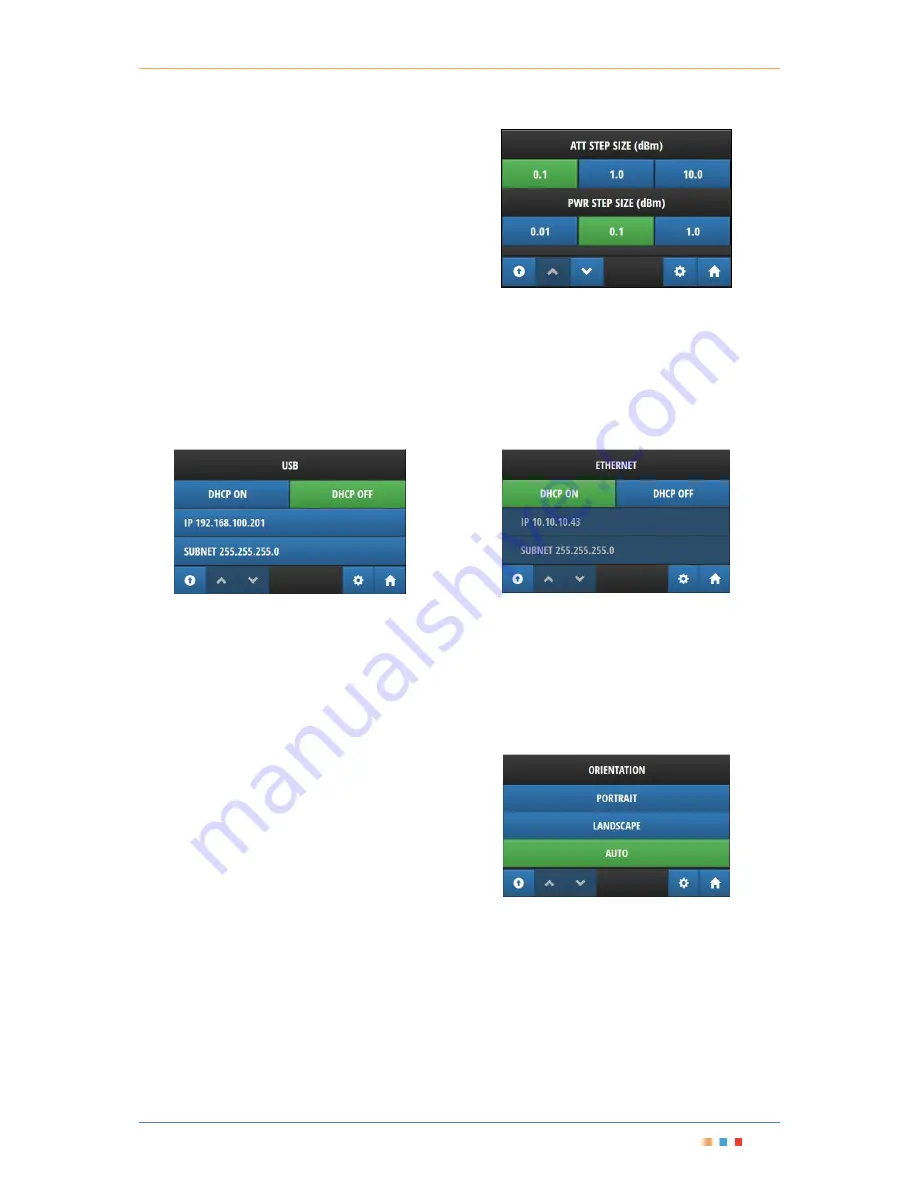
Changing Step Size
To change the step size for a laser source, navigate
to the ‘Settings’ menu and select ‘Step Size’. There
are individual options for Power, Frequency and
Attenuation. The frequency option will be replaced
by a wavelength option if the units have been
changed to 'nm' on the unit selection screen.
Figure 24 - Step Size selection menu
8.3.5
Viewing or Changing the Network Settings
To view the current network configuration of the instrument, navigate to the 'SETTINGS' menu and select
'ETHERNET'.
Once selected the configuration of the networking
interface including static IP i.e. ‘DHCP ON’ or 'DHCP OFF'
buttons, the IP address i.e. 'IP' row, subnet mask i.e. 'SUBNET' row will be displayed.
Network settings may only be changed via the USB interface.
Figure 25 - USB network configuration
Figure 26 - Ethernet network configuration
To allow your network to assign an IP address to the device, select the 'DHCP ON' button. This will disable 'IP'
and 'SUBNET' controls and an IP address will be automatically assigned to the device.
If 'DHCP OFF' is selected, the 'IP' and 'SUBNET' options will be enabled, clicking on either of them will show the
numeric input control so that an IP address can be entered.
8.3.6
Orientation Settings
The MTPmini can be used either horizontally or vertically,
and the device will change the interface orientation
automatically to match if it is set to "AUTO" mode.
If the device needs to be locked to a specific mode
regardless of how the device is oriented, choose
"PORTRAIT" or "LANDSCAPE" modes as required.
"PORTRAIT" mode will show the user interface as if it
were placed vertically, while "LANDSCAPE" mode will
show the user interface as if it were placed horizontally.
Figure 27
–
Orientation Settings menu


