background image

- 2 -

Important Safety Instructions

CAUTION:

 USE OF ANY CONTROLS, ADJUSTMENTS, OR PROCEDURES OTHER

THAN THOSE SPECIFIED HEREIN MAY RESULT IN HAZARDOUS RADIATION
EXPOSURE.

POWER SUPPLY

:

Connect the supplied adapter to the side of the DVD player in the slot marked “Power
In”. Plug the two-prong end of the power cord to an AC100-240V outlet. If you have
difficulty inserting the plug, turn it over and reinsert it, if the unit will not be used for a
long time, disconnect the plug from the outlet.

NOTE:

Before plugging the power cord into an AC outlet, make sure that all the connections
have been made.

CAUTION:

 These servicing instructions are for use by qualified service personnel only.

To reduce the risk of electric shock, do not perform any servicing other than that
contained in the operating instructions unless you are qualified to do so.
Refer to service manual for servicing instructions.


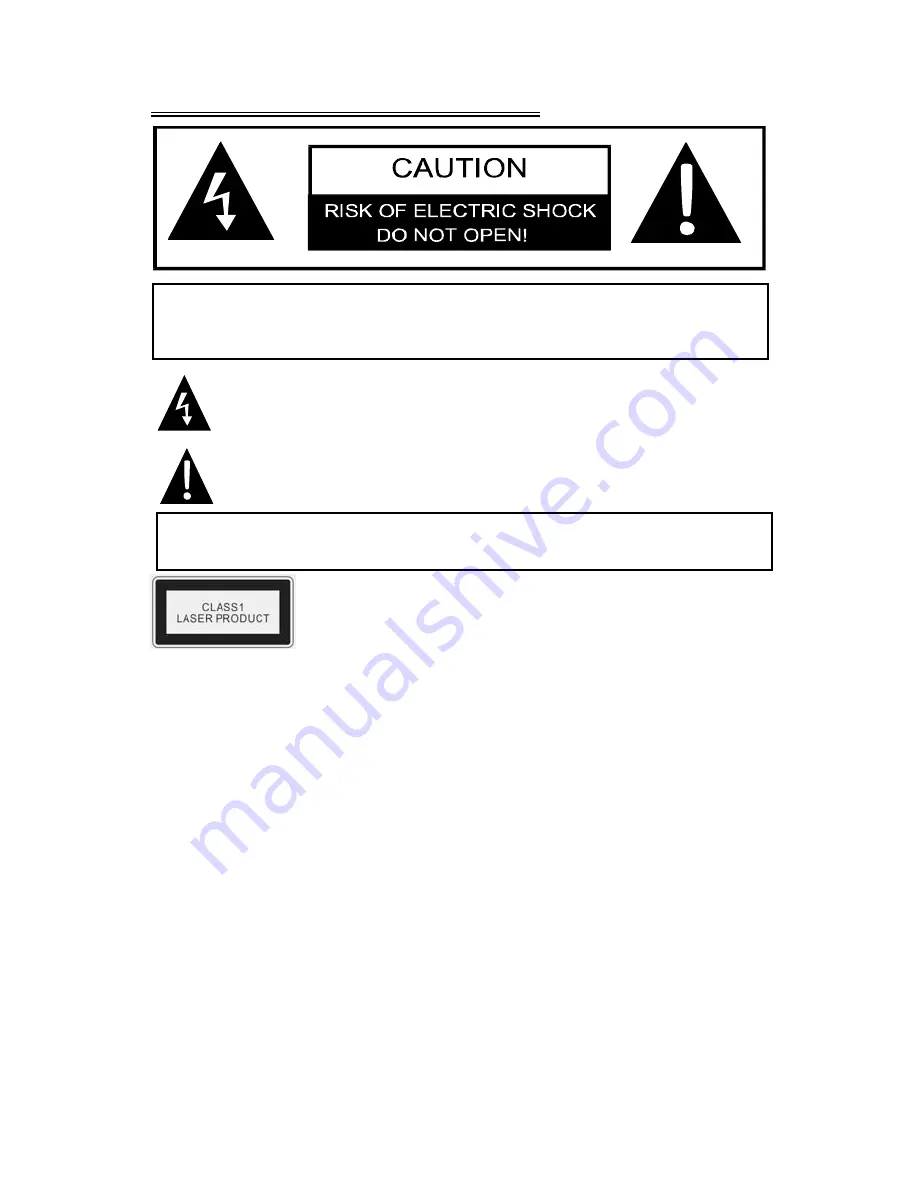
CAUTION:

 TO REDUCE THE RISK OF ELECTRIC SHOCK, DO NOT

REMOVE COVER (OR BACK). NO USER-SERVICEABLE PARTS
INSIDE. REFER SERVICING TO QUALIFIED SERVICE PERSONNEL.

The lightning flash with arrowhead symbol, within an equilateral triangle,
is intended to alert the user to the presence of uninsulated “dangerous
voltage” within the product’s enclosure that may be of sufficient
magnitude to constitute a risk of electric shock to persons.
The exclamation point within an equilateral triangle is intended to alert the
user to the presence of important operating and maintenance (servicing)
instructions in the literature accompanying the appliance.

WARNING: 

TO REDUCE THE RISK OF FIRE OR ELECTRIC SHOCK,

DO NOT EXPOSE THIS APPLIANCE TO RAIN OF MOISTURE.

CAUTION

: Laser radiation when open. Do not stare into beam.

Содержание KTFDVD1070

Страница 1: ...Connections Connecting to an External A V Signal Source Connecting to an TV Signal Input Source Connecting an Antenna Connecting the Power Adapter Radio Function TV Function A V Function Play Operati...

Страница 2: ...ing other than that contained in the operating instructions unless you are qualified to do so Refer to service manual for servicing instructions CAUTION TO REDUCE THE RISK OF ELECTRIC SHOCK DO NOT REM...

Страница 3: ...ly with the cart stand tripod bracket or table specified by the manufacturer or sold with the apparatus When a cart is used use caution when moving the cart apparatus combination to avoid injury from...

Страница 4: ...ce to radio communications However there is no guarantee that interference will not occur in a particular installation If this equipment does cause harmful interference to radio or television receptio...

Страница 5: ...g Power Adapter Automatically adapts to the input voltage Special Functions Supports Multi language and Parental lock features Advanced Playing Functions Compatibility Plays DVD CD and JPEG discs On S...

Страница 6: ...ifies the operation of some DVD discs Please refer to the instruction manual with the disc Care of Discs Do not touch the playing surface of the disc Do not stick paper or labels on the disc Storage o...

Страница 7: ...STOP button Press to stop playback in the DVD mode 5 CHAPTER button In the DVD mode press once to go to beginning of the current track chapter Press twice to go to the previous track chapter during D...

Страница 8: ...the time on the display panel Press it again to set the time on the display panel Use the buttons to select the editing position of hour or minute and then use the buttons to adjust the value of the...

Страница 9: ...mode 2 FM 75_coaxial antenna jack 3 AM antenna jack 4 Left Right AUDIO input jack Connection for audio input 5 VIDEO input jack Connection for video input 6 Direct current 12V input jack Display Panel...

Страница 10: ...rks inside the component Insert the receptacle into the remote control Using the Remote Control Point the remote control towards the main unit when operating The remote control works best at a distanc...

Страница 11: ...rk even when it is operated near the player replace the battery If the remote control will not be used for a long period of time please remove the battery from the compartment to prevent damage by lea...

Страница 12: ...ons forward and backward in the TV or the radio mode Press to adjust the time when setting the time on the display panel 10 SET button Press to exit from the timer setup menu Press to store the curren...

Страница 13: ...e 26 INFO button Press to display detailed playback information Press repeatedly to display additional information or to turn the information display OFF 27 LCD ON OFF button Press to turn the LCD scr...

Страница 14: ...14 functions use the direction buttons to pan around the screen 34 VOL_ _ Press to increase or decrease the speaker volume level 35 SLOW button Press to activate slow forward playback...

Страница 15: ...e unit it remembers the last function used Please make all the connections before installing the unit in the kitchen Connecting to an External A V Signal Source Connections should be made as follows C...

Страница 16: ...ible after connection _ When connecting the supplied AM loop antenna connect the two black cord ends to the AM and ground jacks as shown below _ If the FM reception is poor use a 75 coaxial cable to c...

Страница 17: ...elow figure for details 1 Connect the AC adapter to the jack marked with DC 12V IN on the rear panel of the unit 2 Plug the two prong end of the power cord to the grounded electrical socket 3 When not...

Страница 18: ...the saved stations _ Use the buttons to adjust the station number and press the SET button again The station will be saved with the selected preset station number _ Press the SET button again the sta...

Страница 19: ...Parameter Setup Press the TV LCD SETUP button once on the remote control to enter the PICTURE setup menu and the screen displays Use the _ _ buttons to select the item you want to set Brightness Contr...

Страница 20: ...e channel Skip When the _ button is pressed to turn the function ON it will skip the current channel when using _ _ to select channels When the _ button is used to turn the function OFF channels will...

Страница 21: ...nter Timer Setup menu the screen will display as below Use the _ _ buttons to select the item you want to set Use the _ _ buttons and the number buttons to adjust the seting Press the SET button again...

Страница 22: ...se the number buttons to input the desired off time Press the _ _ direction buttons to switch between am and pm Signal Use the _ _ direction buttons to select CATV ANT FM or AM Channel Use the number...

Страница 23: ...isplay as shown Use the _ _ buttons to select the item you want to set Brightness Contrast Color Use the _ _ buttons to adjust the items between 0 and 20 Use the _ _ buttons to select Language press t...

Страница 24: ...t playback DVD Playback Menu Many DVD discs have a main menu You can press the MENU button to enter the menu Use the direction buttons to highlight an item you would like to select Press the ENTER but...

Страница 25: ...CD when they develop your film You can also create one yourself using a PC Normal Playback Load a JPEG disc Use the ENTER button and Left Right direction button to select a folder Use the Up Down dir...

Страница 26: ...te control to cycle through the different zoom settings Fast Playback Press the or button on the remote control to activate fast forward or rewind playback Slow Playback Press the SLOW button to activ...

Страница 27: ...the following repeat options Repeat Chapter Title All You can temporarily select a section of a DVD that you would like to play repeatedly You do this by marking the start and the end of the section...

Страница 28: ...egory all the items under this category will appear the highlighted category is the current set up Press the right direction button to select another category new selection will be highlighted Press t...

Страница 29: ...t the sharpness level Brightness Use this setting to adjust the brightness level Contrast Use this setting to adjust the contrast level Preference Page Audio Subtitle Disc Menu This setting allows you...

Страница 30: ...set Use this function to reset the unit to the factory default settings NOTE For preference settings the unit must be in the stop mode LCD Setup In the DVD mode press the TV LCD SETUP button A menu wi...

Страница 31: ...The suggested mounting position of the unit is under a wall cabinet See the drawing below NOTE The dimensions of the player 14 x 3 x 11 25 W H D There should be at least a 1 4 distance between the un...

Страница 32: ...oking appliances beneath the unit especially while the LCD screen is open Mount the unit so that its AC power cord can be plugged directly to a wall outlet Do not use a converter or extension cord Be...

Страница 33: ...section repeatedly Make sure the player is not in A B repeat status Press A B button to cancel A B repeat status Is your disc dirty or warped Clean or replace it The remote control does not work Make...

Страница 34: ...e 80dB 1KHz System PLL AM 520 1710kHz Radio Frequency Range FM 87 5 108MHz Power AC100V 240V 50 60Hz Power Consumption 30W Dimensions 14 x 3 x 11 25 W H D Weight About 8 8 lbs DESIGN AND SPECIFICATION...

Отзывы: