


Copyright © 2020 Cobra Systems, Inc. All rights reserved
1.
Select the recommended density based
on the ink being used and press Enter.
Black: 3-5 White: 10-13
Blue / Green / Red: 1-3
1.
Select
2
for the recommended speed
and press Enter.
VnM®4 Pro Printer Settings
NOTE: See pages 21 - 22 for
fonts and symbols.
1.
Select
Font Settings
by pressing
Enter
on the keyboard.
2.
Select your Font option and press Enter.
(Reference Fonts on Pg.21)
3.
Press ESC to exit to the Main Menu and
proceed with making your sign or label.
9
Printer Settings
Back
Select
Label Settings
Print Settings
Font Settings
Symbols Settings
Printer Settings
Back
Select
Label Settings
Print Settings
Font Settings
Symbols Settings
Main Menu
Back
Select
VnM Templates
Printer Settings
Tech Support Card
To make changes to your printers display,
print settings or font settings, press ESC
on printers keyboard until you reach the
Main Menu. Select Printer Settings and
press Enter.
Once in the Printer Settings, you will be
able to make changes to the following...
Label Settings, Printers Speed, Printers
Density and any Font or Symbol Settings.
1.
Select
Print Settings
by pressing
Enter
on the keyboard.
2.
Select one of the following options...
Speed
- To change the printers speed.
Density
- To change the printers density.
Cutter
- To change the cutter settings.
3.
Press ESC to exit to the Main Menu and
proceed with making your sign or label.
Select Font
Back
Select
Bold
Normal
Italic
Utility
Select Font
Back
Select
Pipe Marker
Symbols 1
Symbols 2
Symbols 3
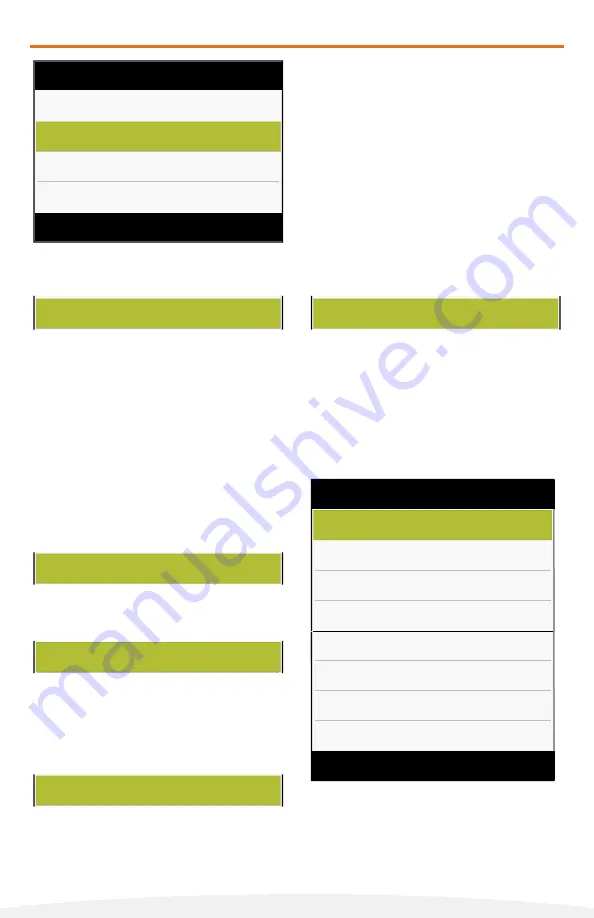
To Change the Print Settings of your Printer
To Change the Font Setings of your Printer
SETTINGS
Back
Select
Speed
Density
Cutter
SETTINGS
Back
Select
Speed
Density
Cutter
SETTINGS
Back
Select
Speed
Density
Cutter
1.
Select
ON
or
OFF
ur printer cutter
option and press Enter.


