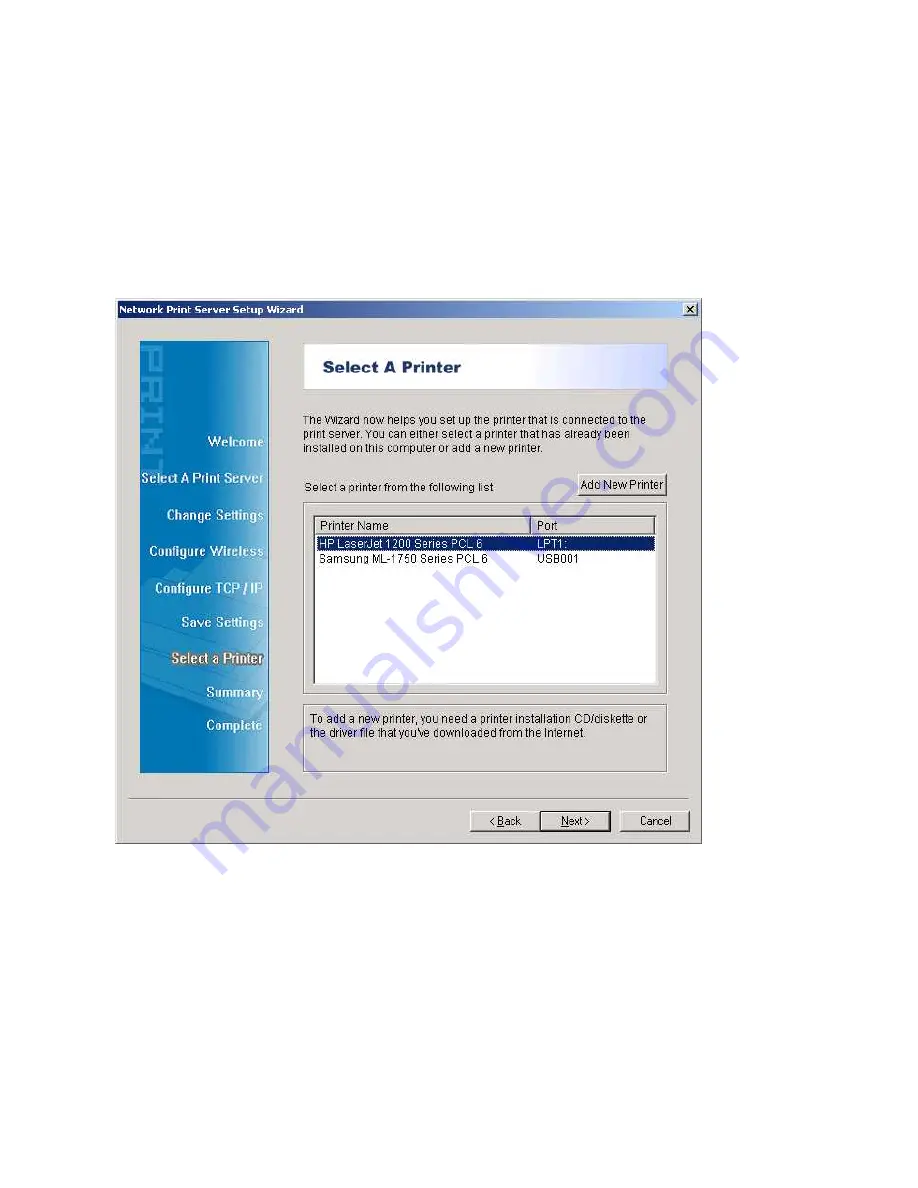
12. If you already have the printer’s driver installed, you will be asked whether to keep it or to
replace it. Click
Next
. Supply a name for the printer and choose whether you want to
make it your default printer. Then click
Next
.
13. Then, choose whether you want to share the printer with other network user, print a test
page (please select
No
.), etc. Select the appropriate radio-button and click
Next
and
Finish
.
14. In the setup wizard, finish the installation by highlighting the installed printer in the
Select a Printer
list and click
Next, NEXT
->
Finish
.
15. From Windows system, go to
start
->
Printers and Faxes
and highlight your newly
installed printer.
16
Содержание CNP-102U
Страница 11: ...11...
Страница 61: ...7 Click Forward button 8 In the Name field type a user defined name click Forward 61...
Страница 63: ...15 Done 63...
Страница 66: ...4 Click Browse and select the firmware file 5 Click Upgrade 6 Done 66...
Страница 74: ...3 Double click it again 4 Now you have to install the printer s driver 74...
Страница 75: ...5 Choose it from the Add Printer Wizard 6 Install printer successfully 75...
Страница 76: ...7 Now you can find your printer s icon and you can use the SMB printing mode 76...


