


25
DIGITAL VIDEO RECORDER
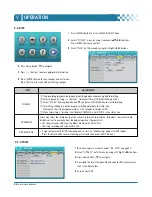
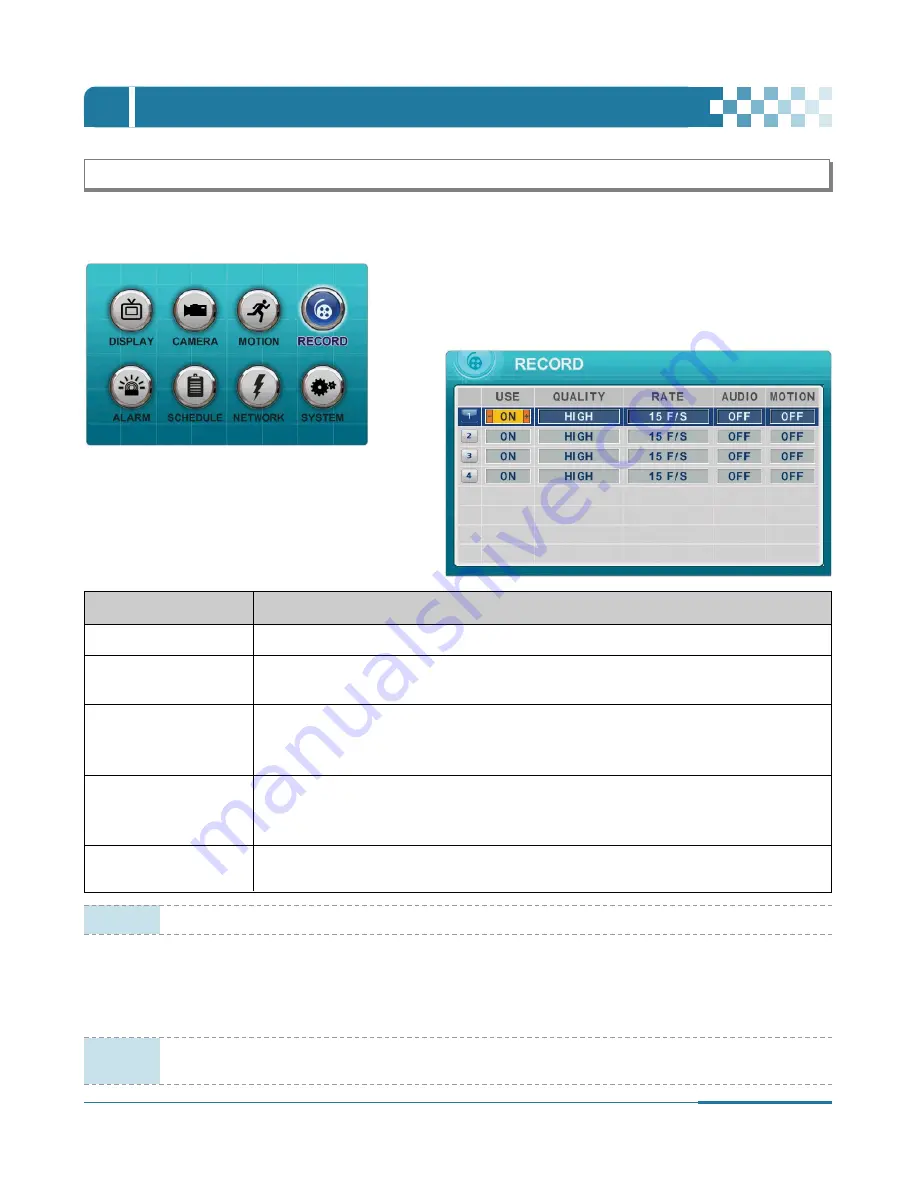
5. Continuous Recording
The DVR comes with a number of presets. Presets allow users to record without extensive setups. Therefore immediate recording is
possible by pressing the record button. By default, audio, alarm, motion recording are off.
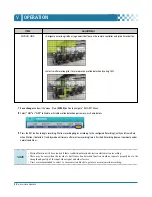
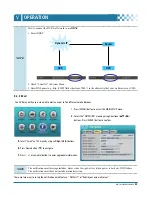
5
.
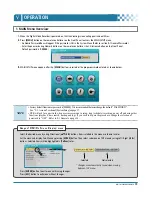
Press [ENTER] button to exit menu with saving changes.
6
.
Press [REC] button. Red REC LED on the front panel will come on to indicate that recording has begun.
7
.
To stop recording, press ”STOP” on the remote controller or [REC] button again on the front panel.
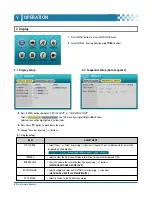
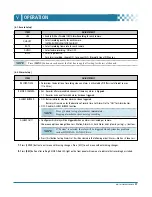
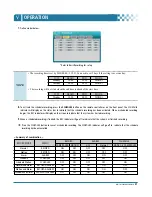
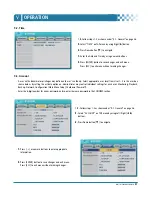
USE
• Enable (ON) or Disable (OFF) Recording for each camera.
QUALITY
• Select recording quality for each camera.
[ULTRA
/
SUPER/HIGH/MIDDLE/LOW]
RATE
• Select recording speed for each camera.
: Recording resolutions is changed to Frame, Field and CIF mode. (See “9-1. General” section of
[System Setup] on page 36.)
• Select audio recording: ON or OFF.
AUDIO
Audio is always recorded in real time whereas video can be recorded in various
modes including real time. There may be a slight delay in synchronization between audio and video.
MOTION
• Select Motion Recording ON or OFF. If ON is selected, cameras do not record under normal conditions.
It is discussed on Motion Recording Section. (Refer to page 23.)
ITEM
ADJUSTMENT
NOTE
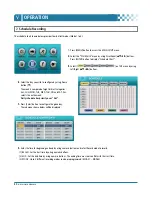
Estimated Recording Time varies due to different picture qualities and capture rates.
Estimated Recording Time is updated every 10 seconds.
NOTE
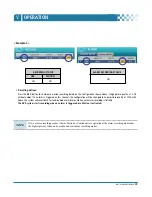
Press [MENU] button on each item at the first line to apply all settings for the rest of channels.
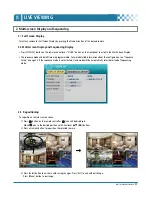
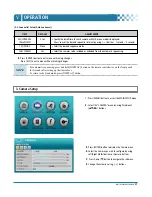
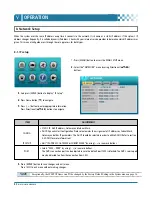
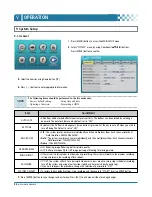
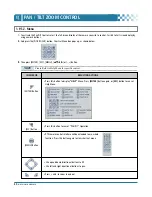
1
.
Press [MENU] button to access the MAIN SETUP menu.
2
.
Select the “RECORD” menu by using Directional [
…†œ √
] buttons.
And press [ENTER] button to confirm.
3
.
Select the Camera (1 to 4) you wish to configure by
using Directional [
…†œ √
] buttons.
4
.
Press [-, +] buttons to change the value.
OPERATION
Ⅴ
Содержание CDR-4770
Страница 2: ......
Страница 51: ...CLIENT PROGRAM CLViewer...
Страница 52: ......
Страница 90: ...88 DIGITAL VIDEO RECORDER...


